In a previous post, we discussed how stepping-stone pathways can transform your outdoor space, and how they’re often the missing element in many hardscape designs.
Now, we’re back with the basics on how to install stepping stone pavers yourself. While Rochester Concrete Products always recommends working with a professional installer, placing pavers as stepping stones is a simpler DIY project than building a full patio or driveway.
In this guide, we’ll walk you through the installation process and explore design options to help you create a beautiful pathway in your yard. Whether you’re connecting a patio to your garden or adding a charming focal point to your landscape, paver stepping stones are a smart and stylish solution.
Grab your pavers and shovels, it’s time to get started
Benefits of a Well-Installed Stepping Stone Path
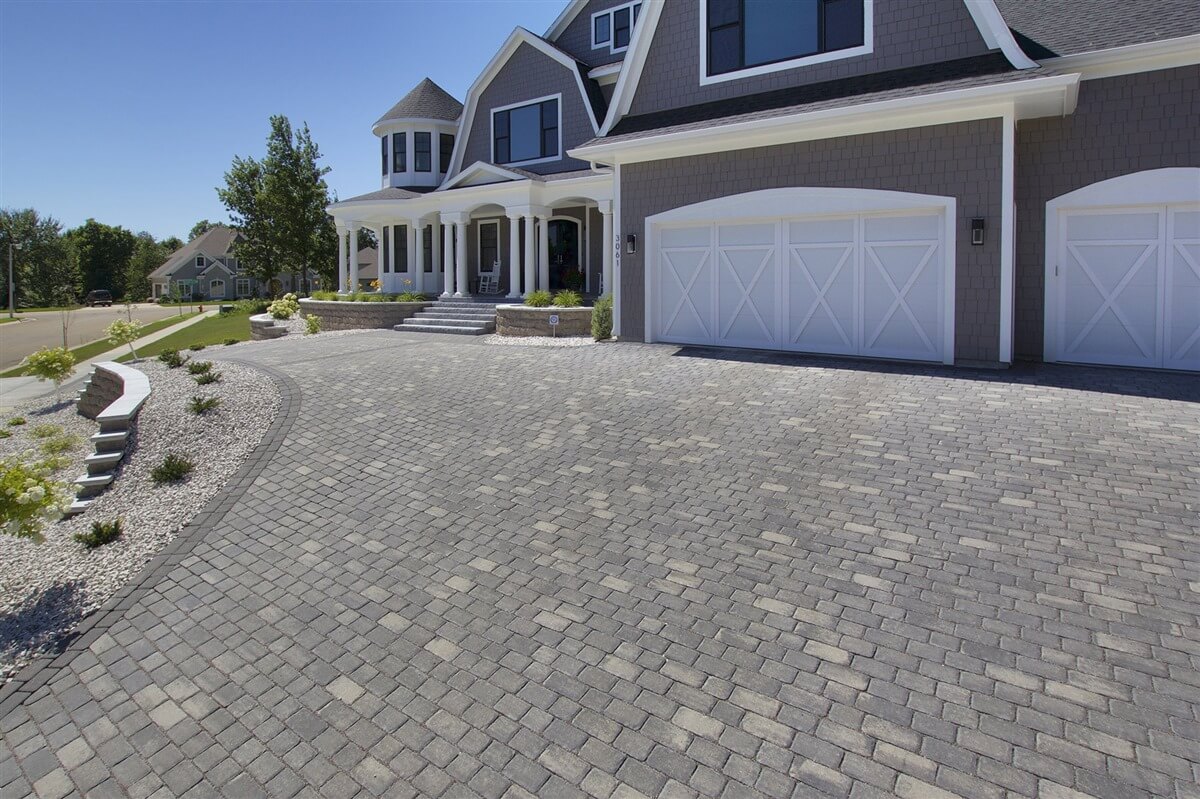
Concrete pavers are an excellent choice for creating beautiful, functional stepping-stone paths in your landscape design. Compared to natural stone, concrete pavers offer a wider range of design options and materials, making them ideal for use as stepping stones.
A concrete paver stepping-stone path can offer several advantages:
- Versatility to match any style or design preference
- A smooth, stable surface for safe and comfortable walking
- Flexible installation, whether tightly spaced for a formal path or loosely spaced for a more natural garden look
- Durability to handle heavy foot traffic and withstand weather
- Low maintenance compared to other materials
- Protection for your lawn by reducing foot traffic wear
The best design and layout for your stepping stone pavers will depend on your personal style and the overall theme of your outdoor space. Take time to explore different stone walkway ideas to find a look that enhances both the beauty and functionality of your yard.
Planning your New Paver Step Stone Pathway
Once you’ve chosen the type and shape of pavers for your stepping stones, the next step is planning your path. Start by identifying the exact location in your outdoor space where you want the stepping stone path—whether it leads to a patio, garden, driveway, or pool area. While it may seem obvious at first, many homeowners change their minds mid-project, so it’s important to finalize the layout before digging up your lawn.
Understanding the size, layout, and purpose of your stone path will help you determine how many stepping stones you’ll need, as well as the right amount of base materials.
For best results, choose concrete pavers that are at least 1.5 inches thick and 18 to 24 inches wide. These sizes provide a sturdy, reliable surface suitable for people of all sizes and ensure long-lasting durability.
Materials You’ll Need:
- Stepping stones or concrete pavers
- Bedding sand, stone dust, or gravel for leveling and filling gaps
- Weed fabric (optional) to reduce weed growth
- Landscape fabric (optional) for added soil stability
- Edging material (only necessary for tightly spaced paver walkways)
Tools to Gather:
- A measuring tape or ruler
- Stakes and string (or a garden hose) to outline your path
- A shovel or a garden spade for digging
- A wheelbarrow or buckets to move materials
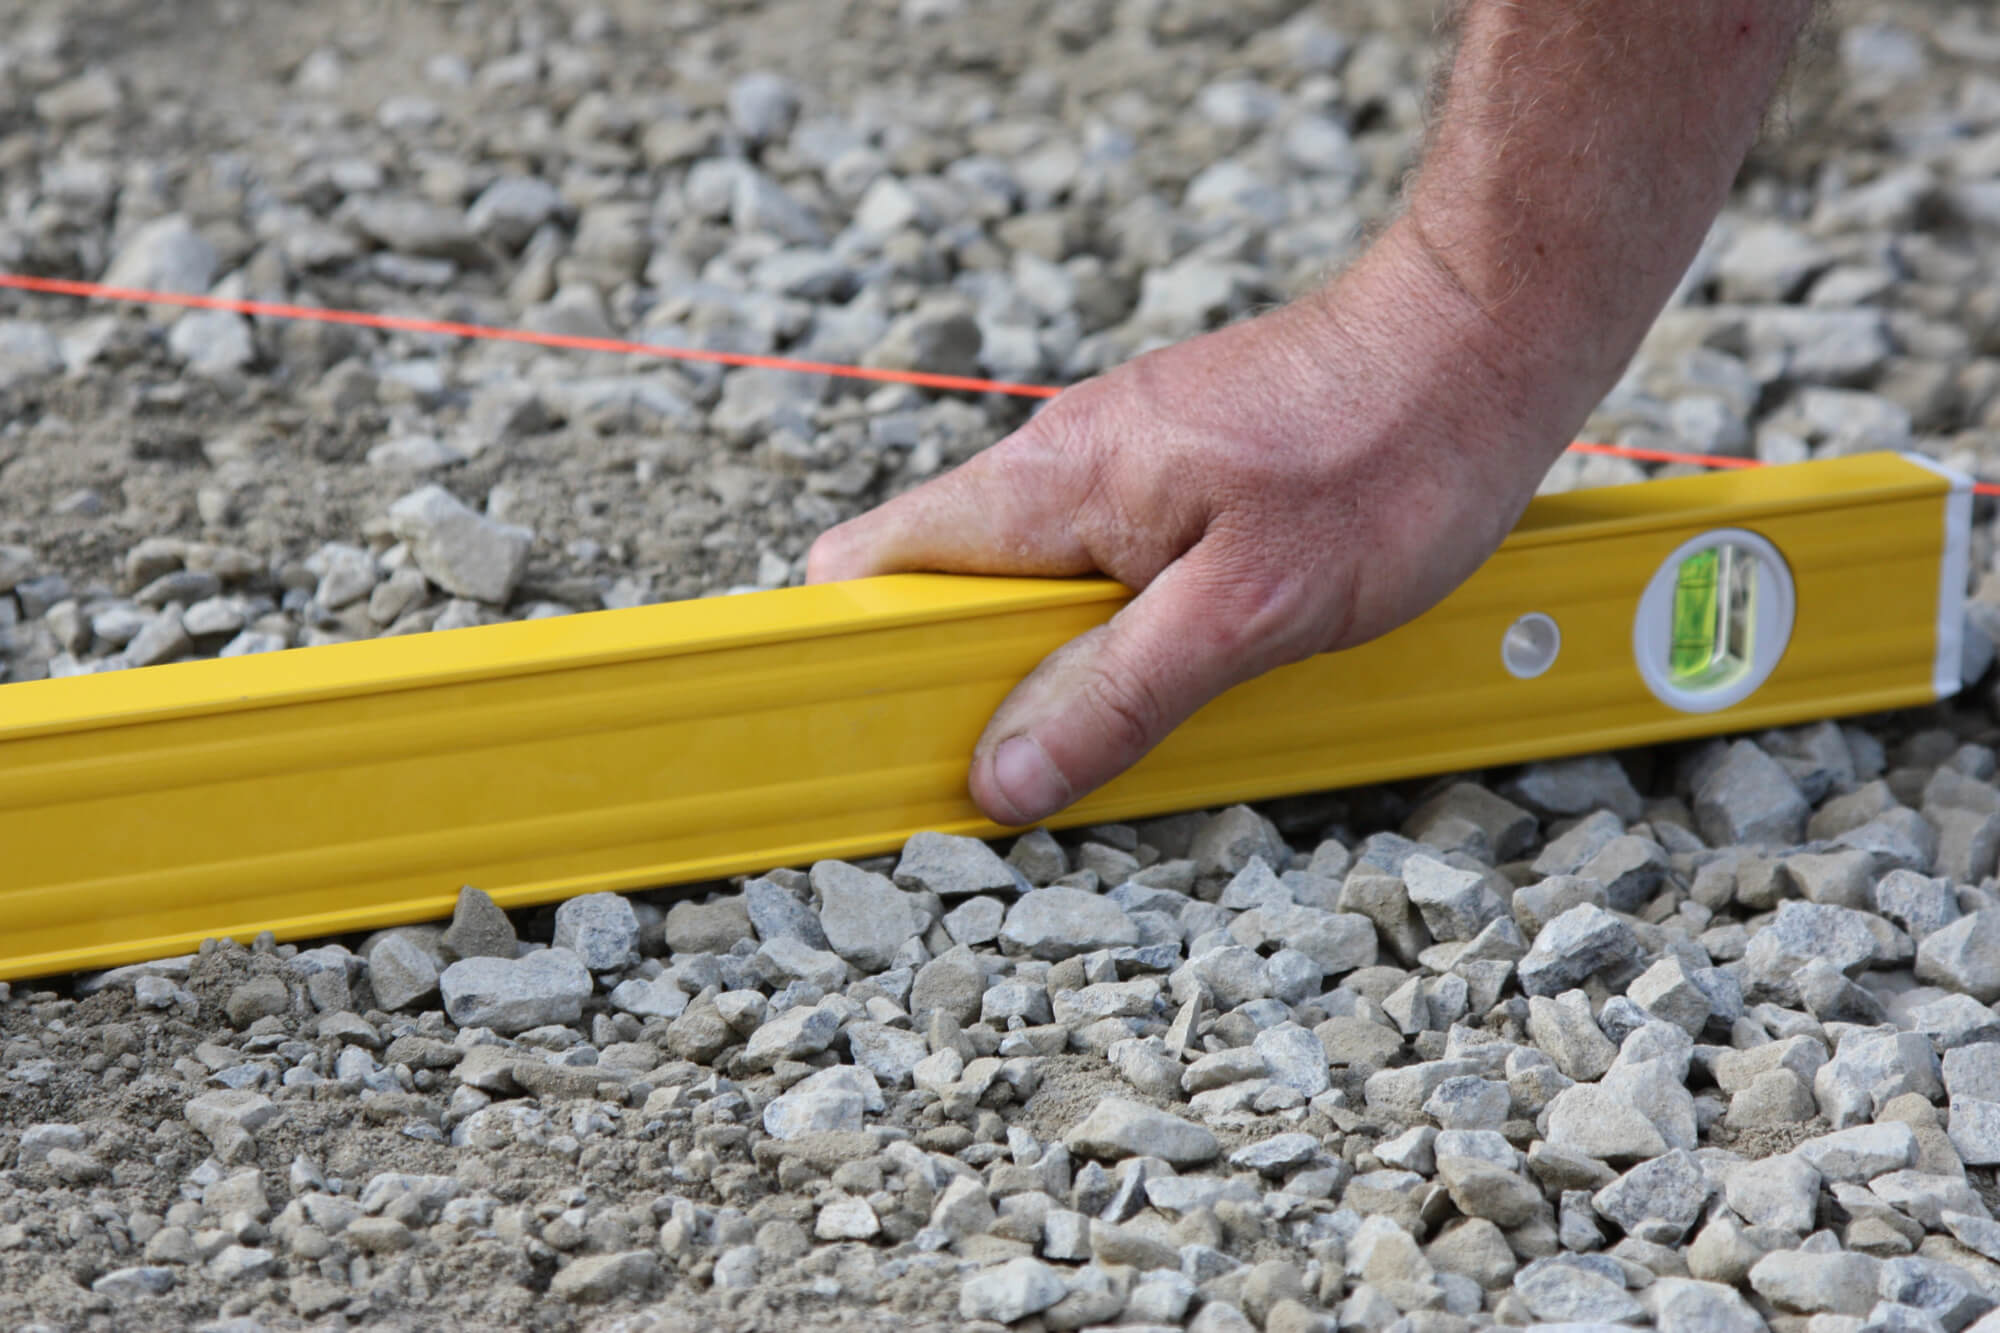
- Level to ensure even placement
- A rubber mallet or hammer to set pavers in place
- Tamper or plate compactor to compact the base
With a solid plan and the right tools and materials, you’re ready to begin laying out your paver stepping stone path with confidence.
Step 1: Measure and Plan Your Stone Path
Start by measuring the area where you want your stepping stone path and marking the boundaries. A garden hose works well for tracing the layout, it’s flexible and easy to reposition as you shape the path. Once you’re happy with the design, mark the path on the ground using chalk, spray paint, or another visible method.
Next, use stakes and string to define the height and alignment of the path. The string should represent the final surface level of your stepping stones, typically flush with the surrounding ground. Plan to dig several inches below this line to allow space for a gravel base and paver sand beneath the stones.
As you plan, consider both the function and flow of the path:
- How wide should it be?
- Will it need to accommodate two people walking side-by-side (36–48 inches)?
- Should it be accessible for strollers or wheelchairs?
- What’s a comfortable stride length for your household’s shortest walker?
Typically, stepping stones are spaced 3 to 6 inches apart, but you can adjust based on personal preference and stride. Before digging, lay out the pavers directly on the grass to visualize the final look and test the spacing. This quick dry run will help ensure your path is both beautiful and functional within your outdoor living space.
Step 2: Prepare the Ground
Prepare the ground by removing any grass, weeds, or debris using a garden spade, trowel, or similar tool. Clear the area down to bare soil, leaving only the surrounding grass or plants you want to keep near your stone path.
Before you begin digging, always check for underground utilities. While you won’t be digging very deep, it’s still possible to hit sprinkler lines or shallow pipes, especially in a well-landscaped outdoor space.
You can place the stones either before or after preparing the ground, but it’s best to position them first so you can trace their outlines and know exactly where to dig.
Step 3: Start Digging
Using a shovel, carefully excavate the area in the shape of each stepping stone. You should dig an area slightly larger than the stepping stone you are placing in the path. Unlike a full DIY patio pavers installation, you don’t need to dig too deep—just enough to account for the thickness of the paver stones plus an additional 1.5 to 2 inches for a layer of sand or gravel beneath them.
Be precise with depth; if you dig too far, the paver may sit below ground level, requiring extra base material to bring it back up.
Once the holes are dug, level the soil, compact it using a plate compactor or hand tamper, and you’re ready to move on to the next step.
Step 4: Prepare and Add the Layer of Sand, Stone Dust, or Gravel
Using your wheelbarrow, add a 1.5- to 2-inch base layer of material beneath each stepping stone. This layer can be coarse sand, stone dust, gravel, sharp sand, builder’s sand, or whatever suitable base material you have on hand.
Most projects use sand to cushion the stones, but gravel is a good alternative, especially in areas that require better drainage. In wetter climates or on unstable soil, you may even consider setting pavers in cement beds for added stability. Be sure to follow any mixing or prep instructions if your chosen material requires it.
If needed, you can add a slight slope to each paver to help direct water away from your path, but take care to maintain a safe, walkable surface. Once your base material is in place, compact and level it thoroughly to create a stable foundation.
Note: If you’re using landscape fabric or a weed barrier, lay it down after placing the sand or base layer, not before.
Step 5: Place Paver Stones
When you’re ready to place each stone, gently wiggle it into the prepared bed, then use a rubber mallet to tap it firmly into place. Check with a level to ensure it’s even and aligned with the surrounding pavers.
Repeat the process for each paver, then step back and enjoy your finished stepping stone path!

Other Paver Stepping Stones Installation Tips
While this guide focuses on the simple installation of spaced stepping stone pathways, some homeowners may prefer a tighter layout or a decorative finish using gravel or pebbles between the stones. Here are a few tips to customize your path:
1. Fill the Gaps
If you’re placing stepping stones closer together to form a more continuous walkway, fill the spaces between them with jointing sand (such as polymeric sand) or fine gravel. This not only stabilizes the stones but also helps prevent weed growth. Be sure to sweep away any excess material once finished.
Alternatively, if you want to avoid grass or weeds altogether, consider filling the entire path, bordered by edging, with decorative gravel or pebbles. This creates a clean, modern look and improves drainage.
2. Secure the Edges
To prevent your paver stepping stones from shifting over time, install plastic or metal edging along the sides of the path. This adds stability and gives the walkway a clean, finished appearance.
3. Maintain Regularly
To keep your stepping stone path looking great and functioning properly, perform occasional maintenance:
- Sweep away leaves and debris
- Pull weeds as needed
- Clean any stains or buildup on the pavers
A little regular upkeep will help preserve both the beauty and durability of your walkway for years to come.
Consider Professional Installation
Installing a new stepping stone walkway or stone path can be a rewarding DIY project, but it’s essential to get it right the first time to avoid costly rework. Whether you’re creating a simple paver walkway through your lawn or a more elaborate stone paver walkway that leads to a patio or garden feature, following a detailed installation guide can make all the difference.
If you’re short on time, tools, or confidence, you should consider hiring a professional landscaper or contractor. They’ll know how to lay stepping stones evenly, choose the right materials, and properly space each stone for both beauty and functionality. A properly installed stepping stone path should be both sturdy and safe to walk on, even when wet.
When planning your stepping stone project, you’ll want to find the right paving materials for your environment. Concrete pavers, natural stone, or a stone paver blend can all offer beautiful results. To find the best option, think about the surrounding landscape, your preferred aesthetic, and how to make the walkway blend naturally with the grass, side garden beds, or other hardscape elements.
Rochester Concrete Products can help you select the perfect stepping stones, stone pavers, or concrete pavers for your walkway, patio, or stone walkway, and connect you with a certified paver installer in your area to bring your vision to life with expert craftsmanship.. Whether you’re looking for modern pavers or rustic natural stone, we’ll guide you through your choices and suggest the best mixture of material to suit your needs.
If done correctly, your stepping stone or paver walkway will enhance your outdoor space for years to come. Use this simple guide to make your next project one that’s built to last.