If you’ve ever looked at your plain, weathered concrete patio or driveway and wished for a fresh, updated look—without the mess and expense of tearing it out—you’re not alone. The good news? If your slab is still in good condition, you don’t have to remove it at all.
Instead, you can overlay pavers directly on top of the concrete. This approach is a proven, cost-effective way to transform your outdoor space, adding beauty and functionality while avoiding the heavy labor of full demolition and excavation.
At Rochester Concrete Products, we guide homeowners through the process—whether you’re tackling the project yourself or working with a professional—so you know the key steps, best practices, and common pitfalls to avoid. With the right preparation, your pavers-over-concrete project can look stunning and last for years.
Benefits of Placing Pavers Over Concrete
Still deciding whether to leave that slab as-is, rip it out, or go the overlay route? Here are a few reasons overlaying pavers on concrete might be the smarter move:
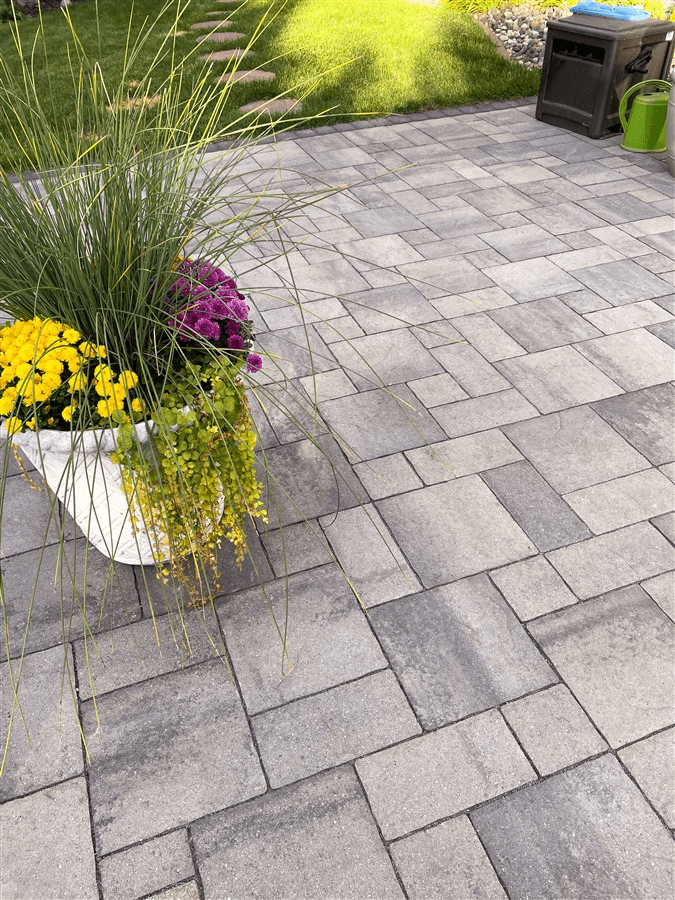
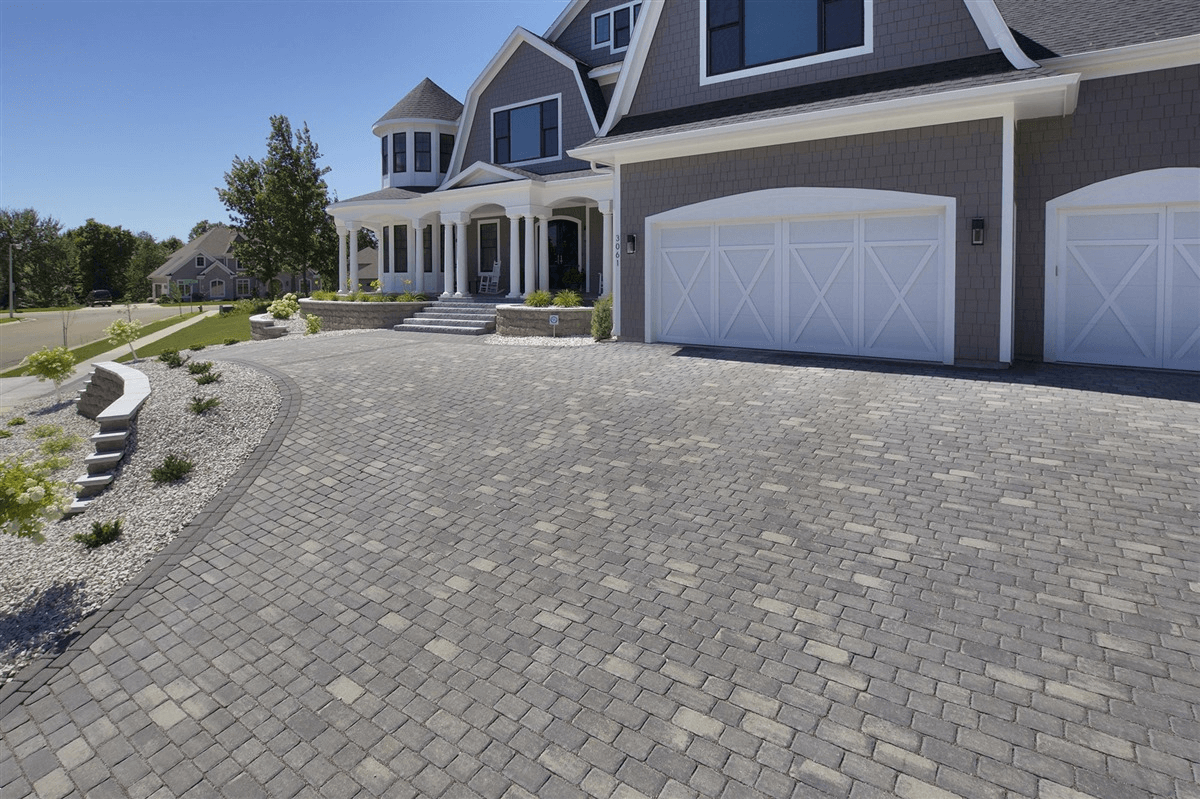
- Curb appeal: Concrete pavers come in countless colors, shapes, and patterns, giving you endless design possibilities and an instant boost in visual appeal.
- Easy repair: Damaged paver? Just pop it out and replace it—no jackhammers or major reconstruction needed.
- Flexible Design: From tight corners to sprawling patios, pavers can be cut and arranged to fit almost any shape or size.
- Lower Cost: While exact costs vary based on your chosen materials and method, overlays are generally more budget-friendly than full slab removal and replacement.
Getting Your Paver-Over-Concrete Project Started
Once you’ve decided that overlaying is the right approach, the first—and most critical—step is to evaluate the condition of your existing concrete slab.
The slab must be structurally sound with no major cracks, sinking, or erosion caused by age or water damage. If your driveway has a fracture running down the middle, is crumbling at the edges, or is sloping toward your lawn, an overlay won’t hold up. In that case, removal and a full paver installation from the ground up will be the better long-term solution.
Small cracks or minor surface unevenness can sometimes be repaired before installation, but this step should never be left to guesswork—a professional assessment is highly recommended to ensure your base will support the new surface for years to come.
Consider the Height of the Finished Surface
The next key factor is the final height of your walkway, patio, or driveway once the pavers are in place. Unlike traditional paver installations—where gravel, sand, and pavers are set into excavated ground—an overlay adds height to the existing surface.
Between the drainage layer and the pavers themselves (typically 2–3 inches thick), you could raise the surface enough to cause clearance issues:
- A walkway may sit too high against a patio door.
- Steps might become uneven.
- A driveway may no longer line up with the garage floor.
If height is a concern, you have options:
- Choose thinner pavers—many are specifically designed for overlays.
- Adjust the layering method—in certain cases, you can modify or reduce layers, but only with expert guidance to avoid compromising stability or drainage.
Once you’ve confirmed the slab’s condition and determined the correct finished height, you’re ready to start preparing the surface for your new pavers.
Prepare the Concrete Surface
A clean surface is essential for a long-lasting overlay. Begin by sweeping away all dirt, leaves, and loose debris from the slab.
If it’s been years since the last deep clean—or if you notice ground-in grime or moss—a pressure washer can help restore the surface. In drier climates or if you maintain the concrete regularly, a thorough sweeping and spot scrubbing may be all you need.
Measure and Plan
Accurate measurements save time, money, and headaches. Measure the length and width of your slab to calculate the exact number of pavers and materials required. Then, map out your design, considering any patterns, borders, or color variations you want to incorporate.
Taking this extra planning step will make installation smoother and reduce the risk of last-minute layout changes.
Concrete Pavers vs Other Materials
Not all pavers perform equally well over concrete. Concrete pavers offer several distinct advantages compared to other materials:
- Exceptional durability and long lifespan.
- Available in a wide range of shapes, sizes, colors, and styles.
- Highly customizable to fit any design vision.
- Naturally compatible with concrete slabs, making them ideal for overlay installations.
While the choice is yours, at Rochester Concrete Products, we’ve seen time and again that concrete pavers deliver the best combination of performance, style, and value.
Required Materials and Tools
Once you’ve measured the area and calculated square footage, you can determine how much material to purchase. Always buy 10–20% extra to account for curves, cutting waste, or the occasional damaged paver.
Keep in mind that the exact materials may vary depending on the size, layout, and complexity of your project. When in doubt, follow the manufacturer’s instructions or get professional guidance.
Materials You’ll Need:
- Pavers – Select the type, size, and color that best suit your design. Make sure they’re rated for your intended use. For example, if you’re placing border pavers directly on the slab, choose a thicker paver than the ones in the inner area, where you’ll add bedding sand.
- Concrete adhesive or mortar – Secures the border pavers to the concrete surface.
- Bedding sand – Provides a leveling and cushioning layer between the pavers and the slab.
- Joint sand – Fills gaps between pavers; polymeric sand is a common choice for added stability.
- Edge restraints – Prevent pavers from shifting or spreading. Options include plastic or metal edging, concrete curbing, or even other pavers used as a frame.
- Gravel or crushed stone (optional) – Improves drainage and stability in certain climates or site conditions.
- Geotextile fabric (optional but recommended) – Adds stability and helps block weed growth.
Tools You’ll Need
- Tape measure
- Level
- Rubber mallet
- Box cutter
- Broom
- Circular saw (for cutting border pavers)
- Tamper or manual compactor
- Safety equipment – gloves, goggles, and a dust mask
Steps for a Pavers-Over-Concrete Installation
Once your concrete slab is clean, your tools and materials are ready, and your determination is set—it’s time to start laying pavers. You’ll begin by establishing the perimeter and then work inward.
1. Install Edging or Border Pavers
The approach here depends on whether you’re working on a driveway, patio, or walkway, but in most cases, it’s best to create a perimeter frame first:
- Use concrete adhesive or mortar to secure the border pavers directly to the slab.
- Follow your chosen pattern carefully so the border aligns with the final design.
- If you plan to add fabric, gravel, and sand inside the border, make sure your border pavers are at least 1 inch thicker than the inner pavers.
- For patios and driveways, border pavers alone are usually sufficient to keep everything in place.
- For curved or irregular walkways, however, consider adding separate paver edging to help maintain the shape and prevent shifting.
2. Add Landscaping Fabric (Optional)
While not strictly required, landscaping fabric or geotextile fabric offers two big benefits:
- Suppresses weed growth between pavers.
- Aids in drainage when paired with a sand layer.
To install:
- Cut the fabric to size with a box cutter.
- Lay it flat over the concrete surface, trimming as needed so it fits neatly within the border.
3. Lay the Paver Base (Optional)
When overlaying on concrete, a gravel base isn’t always required—especially if your slab is already at the right height and drains well.
However, if you want extra stability or improved drainage:
- Spread a 2–4 inch layer of gravel evenly over the slab.
- The exact depth will depend on your paver type and project requirements.
4. Compact the Base
Using a tamper or plate compactor, press the gravel firmly until it’s stable and level. A well-compacted base prevents settling and ensures a smooth final surface.
5. Add a Layer of Sand
Spread a 1-inch layer of bedding sand over the base (or directly on the slab if you’re skipping gravel). The sand acts as a cushion, evens out minor height variations, and supports drainage.
Compact the sand lightly once it’s spread.
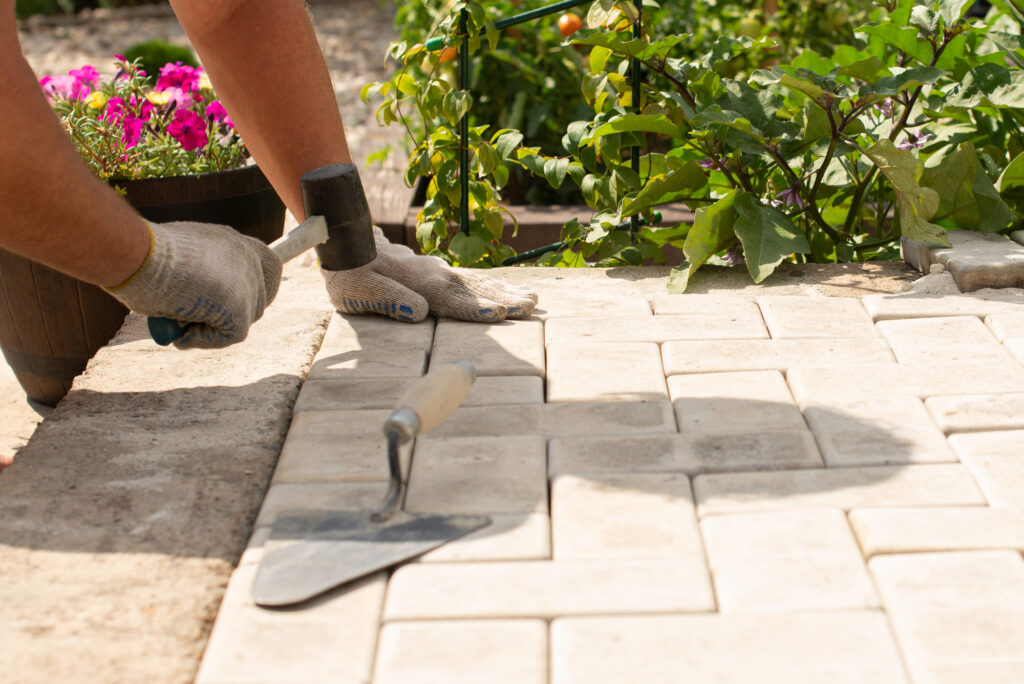
6. Begin Laying the Pavers
- Start in a corner or along the longest straight edge of your project.
- Lay pavers according to your planned pattern.
- Press each one gently into the sand.
- Use a rubber mallet to adjust height and alignment as needed.
7. Fill the Gaps with Polymeric Sand
After all pavers are in place:
- Sweep polymeric sand over the surface, making sure it settles into all joints.
- Use a broom to work the sand in thoroughly.
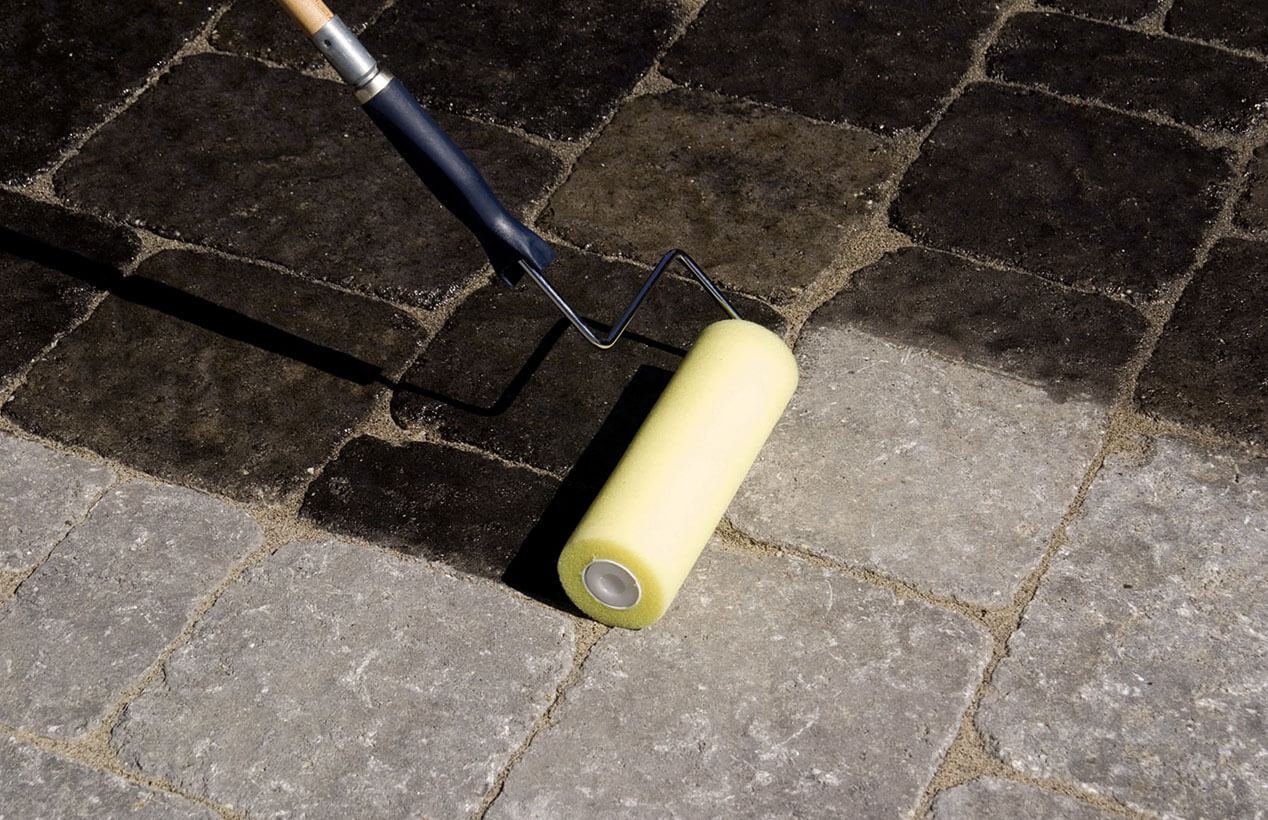
- If required by the manufacturer, lightly mist the surface with water to activate the binding agents.
8. Compact and Finish
- Run the compactor or tamper over the finished surface to set the pavers firmly into place.
- Sweep away any excess sand.
- Give the area a final clean—and enjoy your new paver surface.
Don’t Let a Simple Renovation Project Go Sideways – Call the Pros
Congrats on deciding to upgrade your old concrete driveway, patio, or walkway! While installing pavers over concrete might look like a weekend DIY project, it can quickly turn complicated without the right tools, skills, and know-how.
Working with experienced professionals—like our team at Rochester Concrete Products—ensures your investment looks great and lasts for years. We’ll:
- Assess your existing slab to confirm it’s suitable for a paver overlay.
- Recommend the best paver type and installation method for your project.
- Handle every step with precision, so you get a flawless finish without costly mistakes.
Thinking about a paver overlay? Contact Rochester Concrete Products today for expert guidance, answers to your questions, or a project estimate.
Frequently Asked Questions
Can I skip the bedding sand and just glue all the pavers?
Technically, yes—but it’s rarely worth it. You’d need to glue every single paver and wait for each one to set before moving to the next. That means more adhesive, more labor, and more time. For that reason, this approach is best reserved for very small areas like entryways or compact grill pads.
What other materials can I use for pavers?
Aside from concrete pavers, you have a few options:
- Porcelain or ceramic pavers – Stylish, stain-resistant, and available in many patterns, though typically more expensive.
- Natural stone (granite, limestone, etc.) – Elegant and timeless, but often cost-prohibitive for overlays.
- Brick pavers – Durable and versatile, but limited in color range and more porous, making them less ideal for direct overlays.
- Rubber pavers – Eco-friendly, made from recycled materials, and softer underfoot. Great for play areas, but may not perform well in extreme climates.
Your choice will come down to budget, style preferences, and how you plan to use the space.