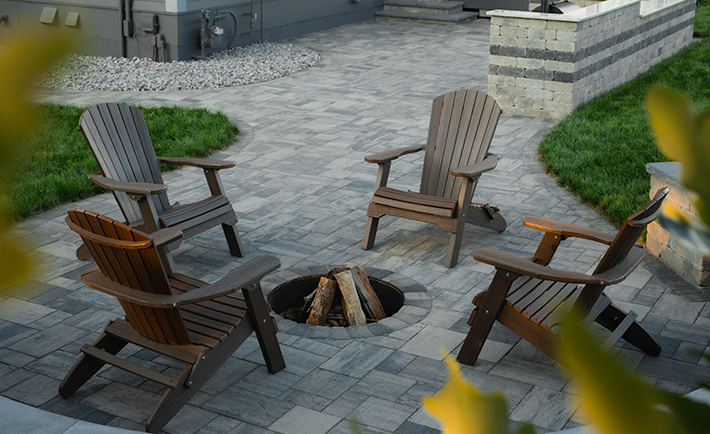
Pavers, especially concrete pavers, can dramatically transform your outdoor space.
Whether you’re installing a paver patio, walkways, or driveways, the visible surface often gets all the attention.
But here’s the truth:
Most paver failures have nothing to do with the pavers themselves.
They’re caused by improper paver base preparation.
A properly installed paver base, including the subgrade, sub-base, aggregate layers, and sand setting bed, determines whether your interlocking concrete pavers perform beautifully for decades… or begin shifting, settling, and failing within a few seasons.
In this guide, we’ll walk through exactly what proper base preparation looks like, how professional contractors approach base prep, and the warning signs that indicate you may be dealing with a bad base layer.
Let’s start where every successful segmental pavement system begins: underneath the surface.
Why Paver Base Preparation Matters More Than the Pavers Themselves
It doesn’t matter whether you’re installing traditional concrete pavers, porcelain paver systems, natural stone pavers, or permeable pavers; every successful project depends on what’s below.
The paver base is the structural foundation of the entire installation approach.
When done correctly, the base layer:
- Distributes loads evenly across the surface
- Supports pedestrian and vehicular traffic
- Prevents settling and joint failure
- Controls moisture and water drainage
- Resists frost heaving in cold climates
- Maintains long-term alignment of paver joints
When done poorly, it leads to:
- Sunken paving stones
- Spreading edges
- Rutting in driveways
- Standing water
- Frost heave damage
- Premature joint sand erosion
Segmental Pavement Systems Rely on Structure
Interlocking concrete pavers and segmental pavement systems are engineered to perform as flexible systems. Unlike a poured concrete slab, they rely on:
- A compacted subgrade
- A dense graded base of proper base material, which is crushed stone in most cases.
- A properly installed sand bed
- Mechanical compaction
- An edge restraint system
- Polymeric sand or joint-filling sand to lock the surface
If any layer is compromised, especially the sub-base or gravel base, the entire system becomes vulnerable.
Climate and Soil Conditions Matter
Base preparation must account for regional variables such as:
- Clay-rich soil or expansive clay soil
- Any climate with heavy rainfall and saturation cycles
- Northern climates that are prone to frost heaving and frost heave cycles
- High groundwater conditions
- Poor natural drainage
Clay soil, for example, retains moisture and expands when saturated. Without proper grading, drainage, and a stable aggregate base, this movement can push pavers upward or cause uneven settlement.
In freeze-thaw regions, improper base prep allows trapped water to expand beneath the surface, resulting in frost heaving and long-term instability.
This is why professional contractors often begin with soil analysis and evaluate soil conditions before excavation even begins.
The base isn’t just a layer of gravel.
It’s an engineered foundation system.
Step 1: Proper Excavation and Subgrade Preparation
If you want to understand what a proper paver base looks like, start with excavation.
Every durable paver installation begins with preparing the subgrade, the native ground that supports the entire system.
Excavation Depth Depends on Application
The required depth of base preparation varies depending on the function of the surface and what it will support most of the time.
General guidelines:
For the light foot traffic of paver patios and walkways:
- 7–9 inches total excavation
- 4 inches compacted gravel base (minimum)
For the heavy foot or vehicular traffic of driveways or entryways:
- 8–12 inches total excavation
- 6–8 inches compacted dense graded base
In all cases, the excavation must extend beyond the finished surface area to allow room for edging and edge restraint barriers.
Remove Organic Material Completely
Proper base prep means removing:
- Sod
- Roots
- Topsoil
- Organic debris
Leaving organic material in place leads to decomposition, voids, and settlement. That’s one of the most common causes of base layer failure.
The exposed subgrade should be:
- Firm
- Uniform
- Free of soft spots
- Properly graded for drainage
If weak areas exist, additional sub-base stabilization may be required, including thicker crushed stone layers or geotextile fabric separation.
Grading for Water Drainage
Before adding any aggregate, grading must establish a proper slope for water drainage to support moisture control, prevent water pooling, and ensure long-term joint stability.
The standard recommendation is a minimum of 1/4 inch per foot away from structures.
Poor drainage is one of the clearest signs of inadequate base preparation.
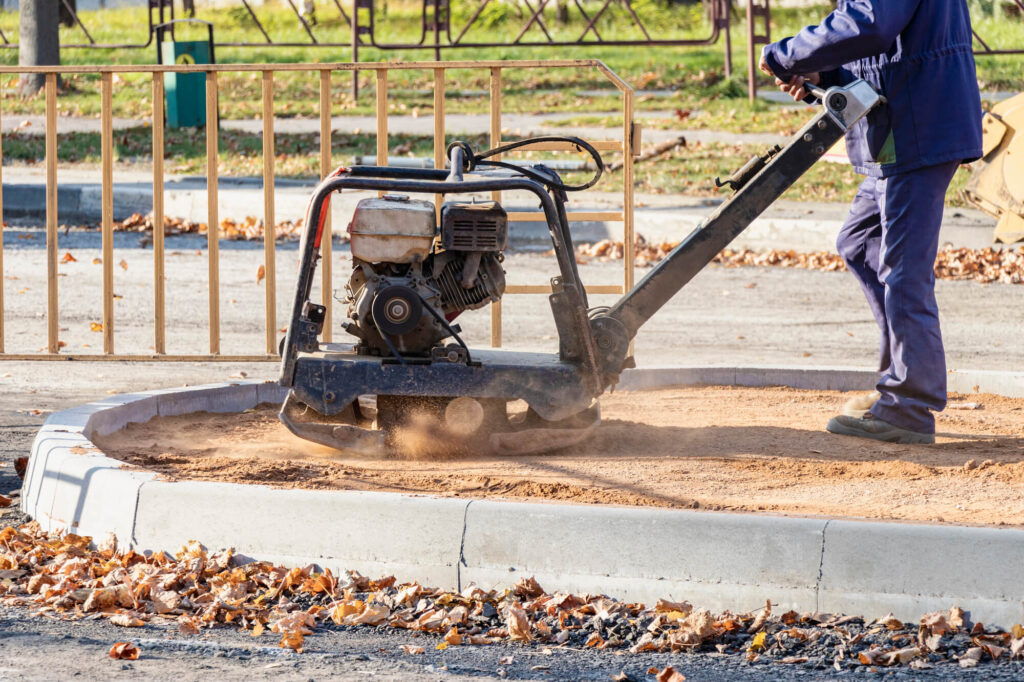
Mechanical Compaction of the Subgrade
Once excavation and grading are complete, the subgrade must be compacted.
This is not optional.
Proper compaction ensures the ground can support the aggregate base above it.
Professional contractors typically use:
- A plate compactor for mechanical compaction
- A steel tamper for tight areas
- Hand compaction in confined spaces
Simply tamping down loose soil by foot is not sufficient. Mechanical compaction increases soil density and load-bearing capacity.
In clay-rich soil, proper compaction is especially critical to reduce long-term movement and frost heave risk.
If the subgrade feels soft or pumps under pressure, additional stabilization may be required before installing the gravel base.
When to Use Geotextile Fabric
In regions with clay soil, poor soil conditions, high moisture, or climates like Washington state or Florida with frequent rainfall, incorporating a geotextile separator fabric between the subgrade and crushed stone is advisable.
This layer safeguards the base by preventing aggregate migration into soft soil, sustaining base thickness, and reducing the risk of sub-base contamination over time.
It improves moisture control and long-term stability.
To recap, by the end of this stage, what you should see is:
- Proper excavation depth
- Uniform grading
- Firm, compacted subgrade
- Clean separation between soil and aggregate (if fabric is used)
Only then is the project ready for the next critical phase: installing the gravel base and compacting the aggregate in lifts.
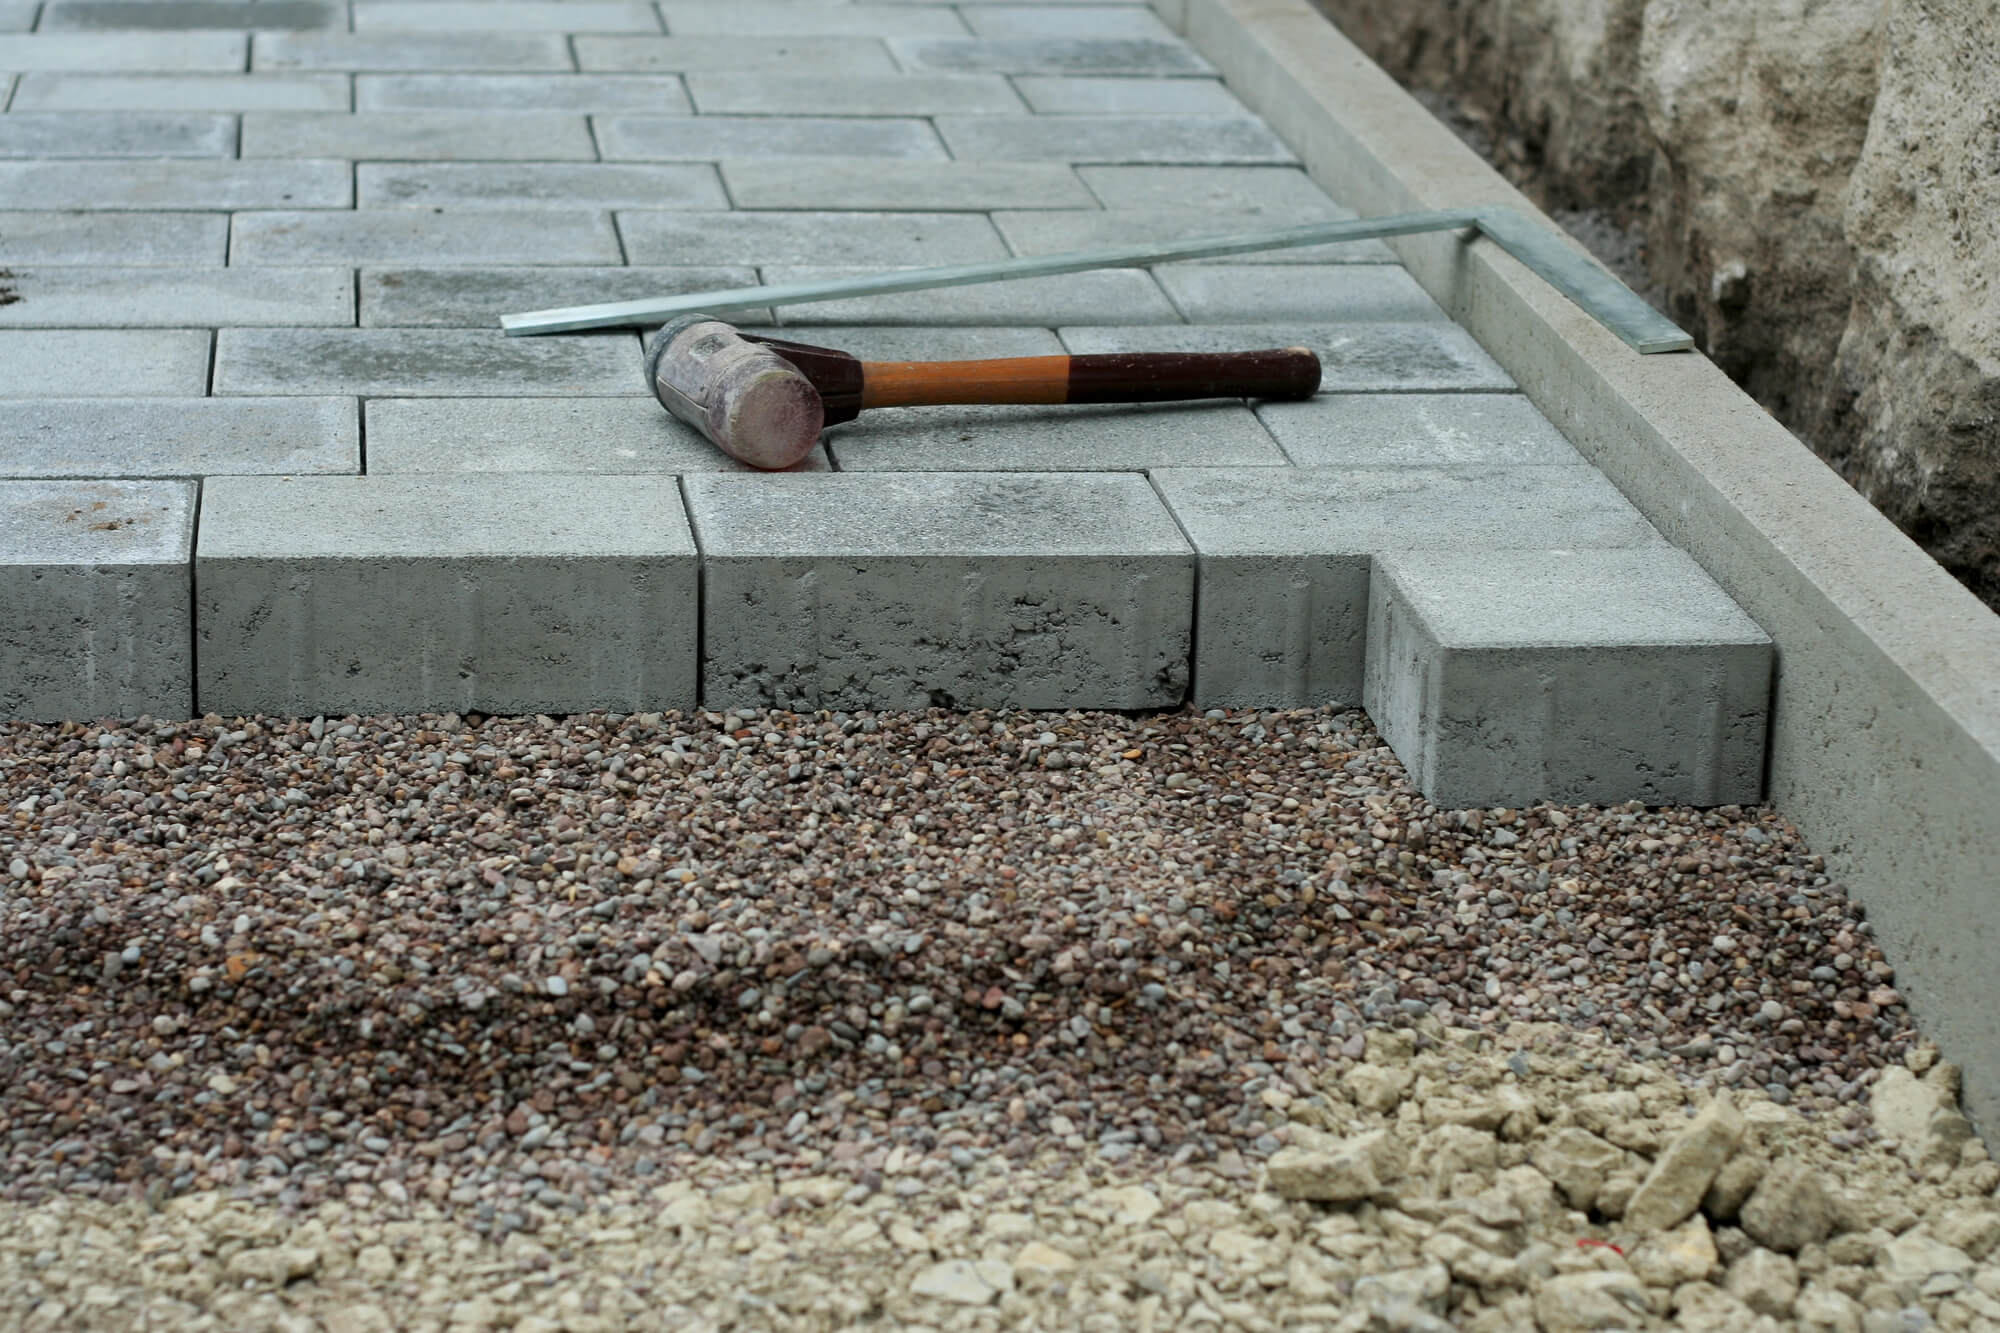
Step 2: Installing and Compacting the Aggregate Base
Once the subgrade is properly excavated, graded, and mechanically compacted, it’s time to build the structural core of your paver base: the aggregate base layer.
This layer is often referred to as:
- The gravel base
- The dense graded base
- The crushed stone base
- The sub-base
No matter the terminology, this is the load-distribution layer that supports your concrete pavers or porcelain paver system.
If this layer is weak, improperly compacted, or too shallow, everything above it will eventually fail.
Choosing the Right Base Material
The correct base material is typically:
- ¾” minus crushed stone
- A dense graded base containing fines
- An angular aggregate that locks together under compaction
Avoid rounded river rock. Rounded stone does not interlock and cannot achieve proper compaction.
Angular crushed stone compacts into a stable, load-bearing platform, which is essential for:
- Driveways
- Heavy landscape design features
- Outdoor kitchens
- Areas with vehicular traffic
For permeable pavers, the aggregate base design may differ to support enhanced drainage and water infiltration. In those cases, open-graded aggregate may be used instead of dense-graded base material.
Installing the Base in Lifts (Layered Compaction)
One of the biggest mistakes in base preparation is dumping all aggregate at once and compacting only the surface.
Professional base prep is done in lifts, meaning:
- Spread 2–3 inches of crushed stone
- Perform mechanical compaction
- Add another 2–3 inches
- Compact again
- Repeat until the full base depth is reached
For patios and walkways:
- Minimum 4 inches of compacted gravel base
For driveways:
- 6–8 inches compacted base (sometimes more, depending on soil conditions)
Each lift must undergo full mechanical compaction using a plate compactor.
Mechanical Compaction vs Hand Compaction
Proper compaction is what transforms loose aggregate into a structural foundation.
- Mechanical compaction using a plate compactor: Increases density, reduces air voids, locks the aggregate together, and enhances load-bearing capacity.
- Hand compaction using a steel tamper: Tamping down manually is acceptable for tight corners and spaces where a vibrating plate compactor can’t reach. Keep in mind that it’s not enough for full surface preparation on large paver projects or ones for heavy loads.
Every lift should receive multiple passes with the plate compactor in alternating directions to ensure uniform density.
Maintaining Proper Grading and Drainage
Remember that throughout base installation, grading must be continuously checked to prevent poor grading that results in water pooling, joint sand erosion, or trapped water that could freeze and lead to frost heave. That is why the aggregate base must mirror the intended slope of the finished pavers.
Throughout the process, use a long straightedge, like a 2×4, alongside a level or string lines to ensure the base is smooth and adheres to the predetermined slope. The base must align with the necessary drainage slope, generally 1/4″ per foot.
What a Properly Installed Aggregate Base Should Look Like
When finished, the compacted gravel base should:
- Feel solid underfoot
- Show no visible shifting
- Maintain a consistent slope
- Have no low pockets or soft areas
- Be fully compacted to uniform density
At this point, your sub-base is complete, and your foundation is structurally sound.
Now comes the precision layer that supports the pavers themselves.
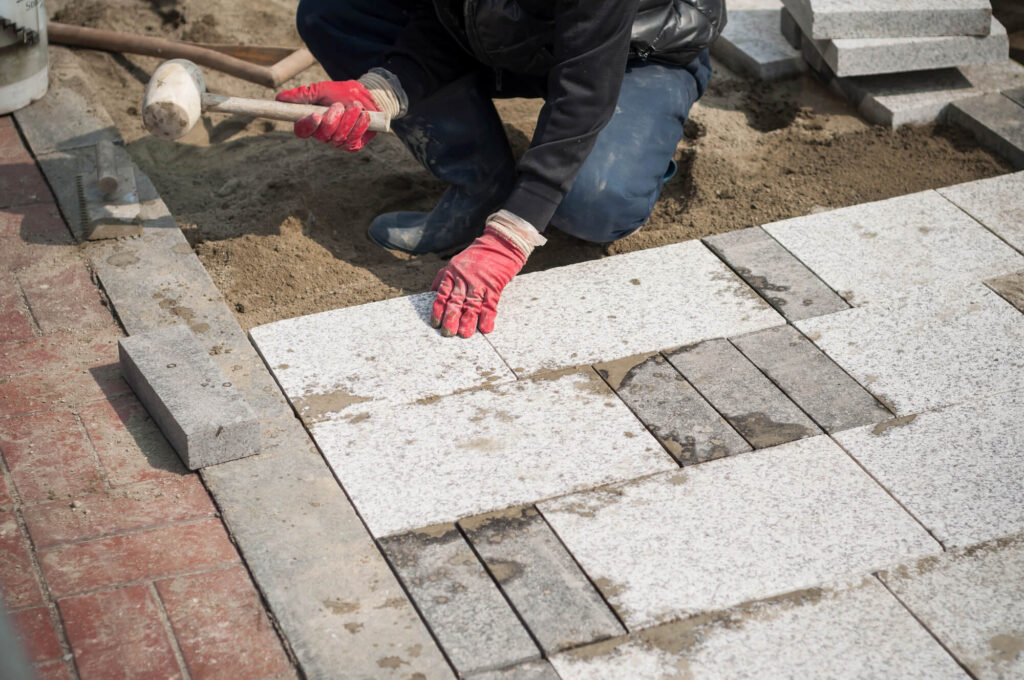
Step 3: Screeding the Sand Bedding Layer and Installing Edge Restraints
With the aggregate base complete, the next step in paver base preparation is installing the sand bedding layer.
This layer is not structural.
It is a precision leveling layer.
Its purpose is to create a uniform surface for laying pavers, whether you’re installing interlocking concrete pavers or porcelain paver systems.
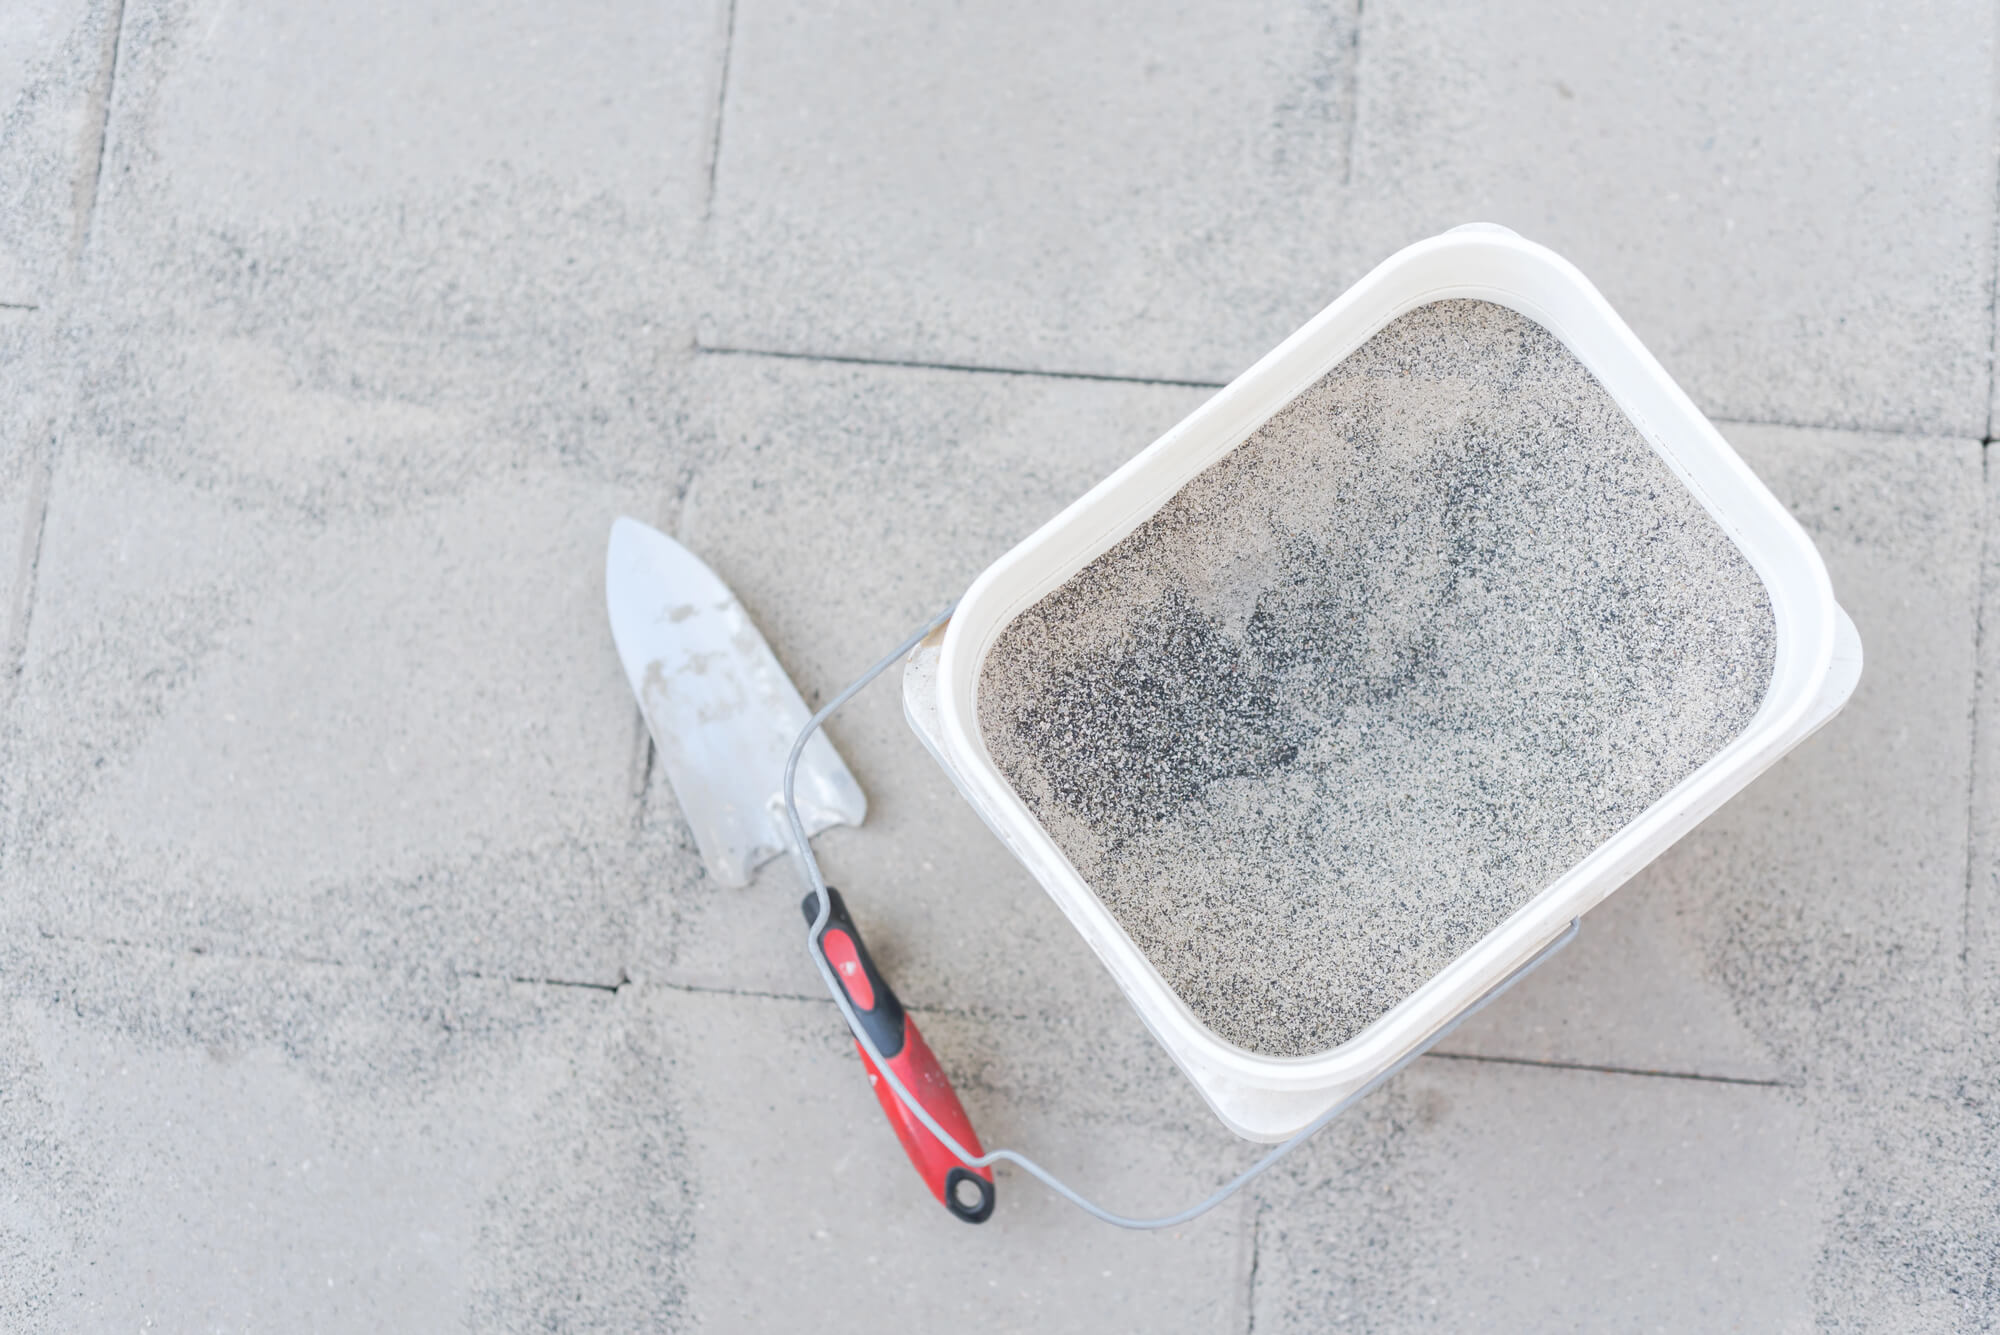
Using the Correct Sand
The proper bedding material is:
- Washed concrete sand
- Coarse bedding sand
- Angular sand suitable for interlocking systems
Avoid:
- Play sand
- Masonry sand that is too fine
- Excessively dusty materials
The bedding sand should be installed at a consistent 1-inch thickness.
It should not be used to compensate for poor base preparation. If the gravel base is uneven, fix it there, not in the sand layer.
Screeding for Precision
Screeding ensures uniform sand thickness.
Professional installers use:
- Screed rails
- Runner boards
- Metal pipes
- Or a notched screed board
These screed rails are set on the compacted base to guide leveling.
The process:
- Spread bedding sand between screed rails
- Pull a straight screed board across the rails
- Remove excess sand
- Fill voids after removing rails
- Avoid walking on screeded sand
Do not compact the sand layer before laying pavers. Compaction occurs after the pavers are installed.
Proper screeding prevents:
- Uneven pavers
- Lippage
- Rocking paving stones
- Premature joint failure
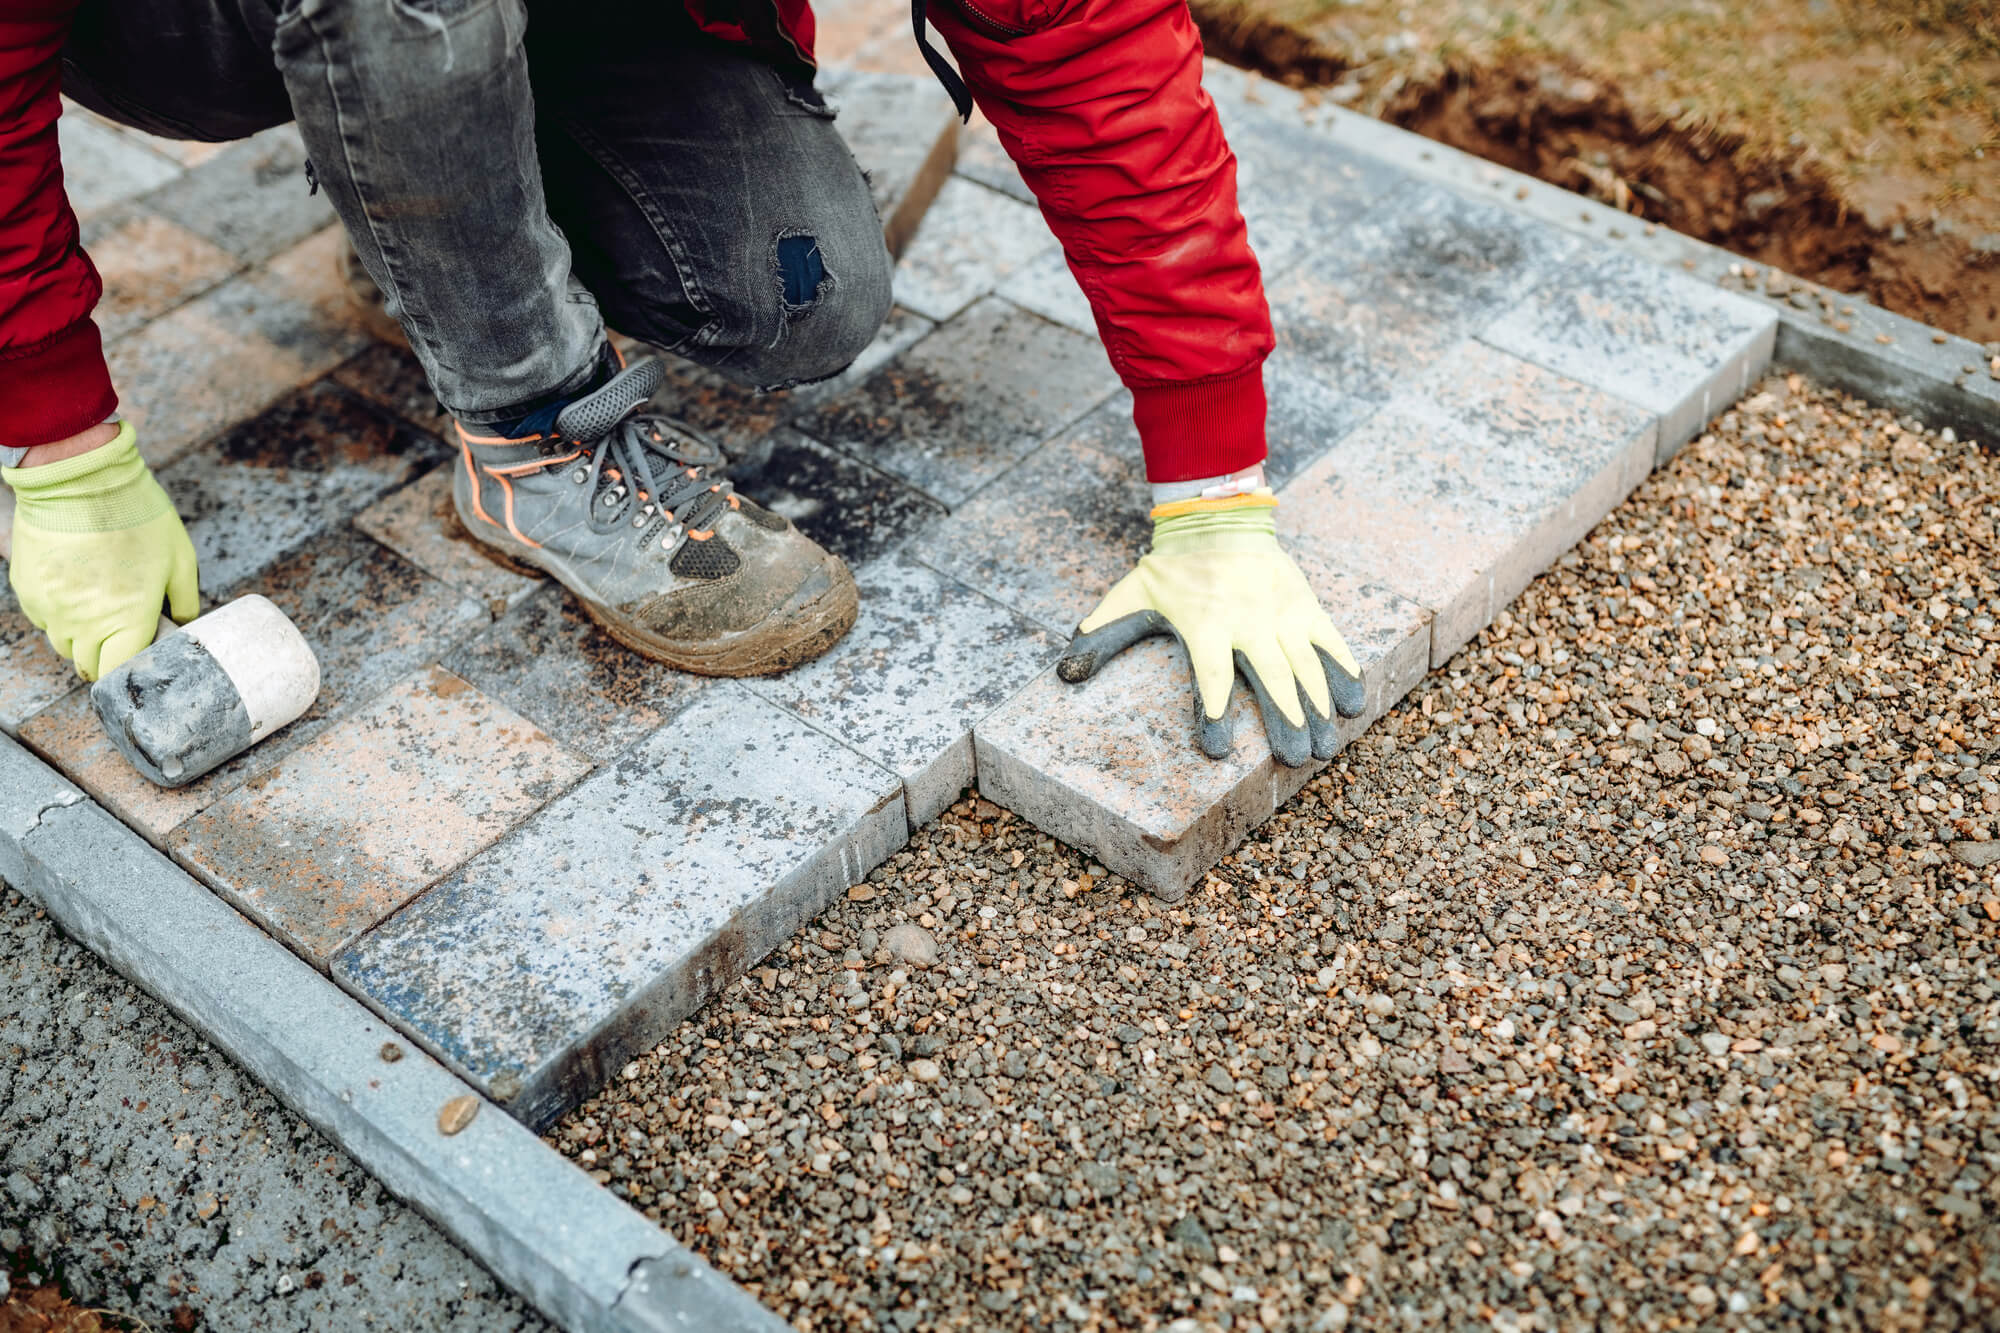
Step 4: Edge Restraints and Joint Stabilization
After screeding, lay the pavers (as described in our paver installation guide). You will be almost done, but there are still two main details left before a final compaction: installing edge restraints and joint sand stabilization.
Installing Edge Restraints
Edge restraints are critical to long-term performance, as they:
- Prevent lateral movement and edge spreading.
- Protect paver joints while maintaining pattern alignment.
Common systems include:
- Plastic edging
- Aluminum edging
- Concrete curbs
- Rebar reinforcement anchoring
The edge restraint barrier must be secured into the compacted aggregate base, not into loose sand or soil.
Improper edging is one of the leading causes of paver spreading and joint sand erosion.
Final Surface Lock-Up with Joint Sand
After laying pavers and the edge restraints, polymeric sand or joint-filling sand is swept into paver joints.
Polymeric sand:
- Hardens when activated
- Reduces weed growth
- Improves joint stability
- Enhances moisture control
Joint failure often begins when sand erodes due to improper drainage or poor base preparation.
What a Properly Prepared Paver Base Should Include at This Stage
At the completion of this section of base prep, you should see:
- A compacted dense graded base
- Consistent slope for drainage
- A precisely screeded 1-inch sand layer
- Proper edge restraint system installed
- Pavers ready for mechanical compaction and joint sand
Only when all of these elements are properly executed does the segmental pavement system function as designed.
Warning Signs You’re Dealing with a Bad Base
Most base preparation mistakes don’t show up immediately. In fact, many paver installation failures reveal themselves months or even years after completion.
Here are the most common indicators that your base layer, sub-base, or subgrade was not properly prepared.
1. Uneven or Sunken Pavers
If pavers begin to sink, settle, or develop low spots, it almost always traces back to improper compaction or insufficient aggregate depth.
When crushed stone is not properly compacted with a plate compactor, voids remain in the base. Over time, traffic and moisture cause those voids to collapse.
The result?
Uneven paving stones, misaligned paver joints, and visible settlement.
In driveways, especially, poor base preparation leads to rutting and depressions where vehicles regularly pass.
2. Water Pooling or Poor Drainage
Standing water on a paver patio or driveway is a red flag; Water problems always begin below the surface.
Proper grading and drainage planning should eliminate surface pooling.
3. Spreading or Separating Edges
When pavers begin to spread outward, the issue is almost always the edge restraint system. Once movement begins, joint sand erodes, paver joints widen, and the segmental pavement system loses structural integrity.
A proper edge restraint barrier must be anchored into the compacted aggregate and installed tightly against the pavers.
4. Excessive Weed Growth or Joint Failure
Polymeric sand hardens to stabilize paver joints and prevent most weed growth, but it depends on a stable foundation beneath it.
Weeds emerging between pavers often signal issues with the base or grading that has led to the joint-filling sand being washed out. It might also mean that no geotextile fabric was installed, even though it was clearly needed.
If the base shifts, even the best joint sand cannot compensate. Over time, moisture intrusion combined with unstable base prep accelerates joint erosion.
5. Rocking or Loose Pavers
If individual pavers move when stepped on, it typically means:
- Uneven screeding
- Voids in bedding sand
- Poor aggregate compaction
- Inconsistent subgrade stability
This often occurs when sand is used to “fix” poor base preparation instead of correcting the sub-base properly.
The sand layer should be uniform and 1 inch thick, not a leveling patch for structural mistakes.
6. Driveway Rutting or Surface Deformation
Driveways experience heavy loads.
If the base layer is too thin or improperly compacted, deformation becomes visible in tire paths.
Whether it was due to insufficient thickness (or quality) of the dense-graded base material or a lack of soil analysis, driveway failures are among the most expensive to repair and almost always originate from insufficient base preparation.
When Professional Base Preparation Is the Smart Investment
While many homeowners can tackle small landscape design projects, base prep for paver patios and driveways requires careful planning, proper equipment, and experience.
Professional contractors bring:
- Plate compactors are designed for full-depth mechanical compaction
- Laser grading tools
- Soil analysis experience
- Cost estimating accuracy
- Understanding of local soil conditions
- Proper dense graded base sourcing
In challenging environments, such as clay-rich soil, areas prone to frost heaving, or regions with heavy rainfall, base preparation becomes even more critical.
Larger format pavers often require stricter base tolerances and more precise grading.
When structural integrity matters, especially for driveways, professional installation significantly reduces long-term risk.
Quick Checklist: What a Proper Paver Base Should Include
Before laying concrete pavers or paving stones, confirm that the base prep includes:
✔ Proper excavation depth based on application
✔ Removal of organic material
✔ Compacted subgrade
✔ Soil condition evaluation
✔ Geotextile separation (if needed)
✔ 4–8 inches compacted crushed stone or dense graded base
✔ Layered mechanical compaction using a plate compactor
✔ Proper grading for water drainage
✔ 1-inch screeded bedding sand
✔ Secure edge restraint system
✔ Properly installed polymeric sand
✔ Final mechanical compaction of pavers
If even one of these steps is skipped or rushed, the long-term performance of your segmental pavement system is compromised.
Build the Foundation Right and Your Pavers Will Last for Decades
Whether you’re installing interlocking concrete pavers, porcelain pavers, or natural stones, the visible surface is only as strong as the base beneath it.
Proper paver base preparation is not just about adding gravel.
It is a structured system of:
- Excavation
- Subgrade stabilization
- Aggregate installation
- Mechanical compaction
- Grading for drainage
- Sand screeding
- Edge restraints
- Joint stabilization
When these layers work together, the result is a durable, flexible segmental pavement system that can withstand a wide range of conditions and uses.
At Rochester Concrete Products, we manufacture premium concrete pavers designed for long-term performance, beauty, and durability when properly installed. We also provide extensive online resources, installation guides, and technical support materials to help both DIY homeowners and professional contractors achieve successful results.
If you’re planning a paver patio, walkway, or driveway:
- Consult a trusted local contractor for proper base preparation
- Visit the Rochester Concrete Products website for installation resources and technical guides
- Explore our full line of concrete paver styles, colors, and design options to bring your outdoor vision to life
Because when it comes to concrete pavers, the beauty is on top, but the performance is underneath.