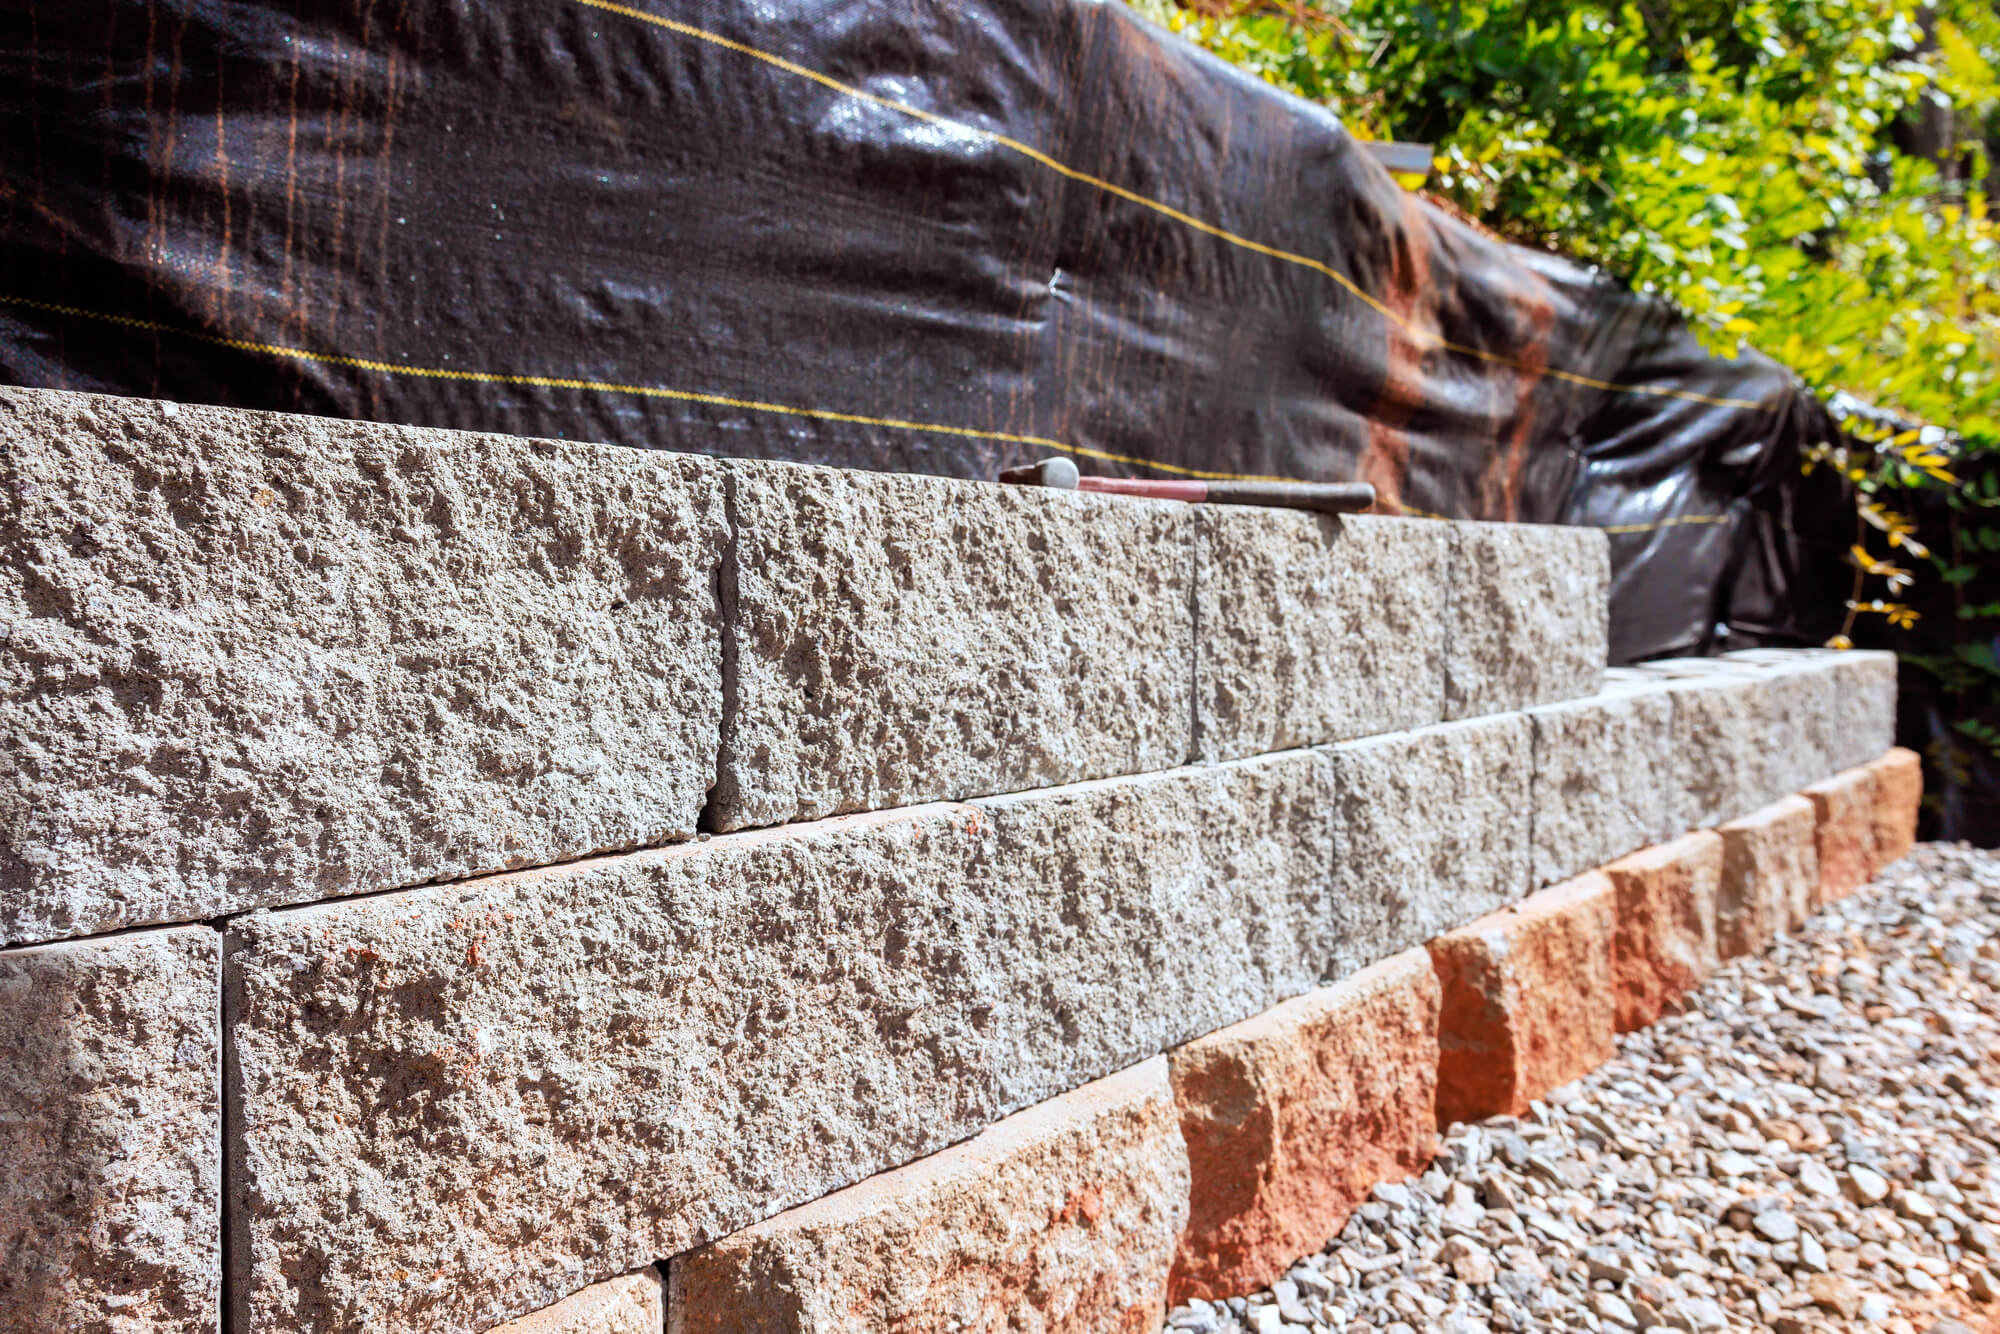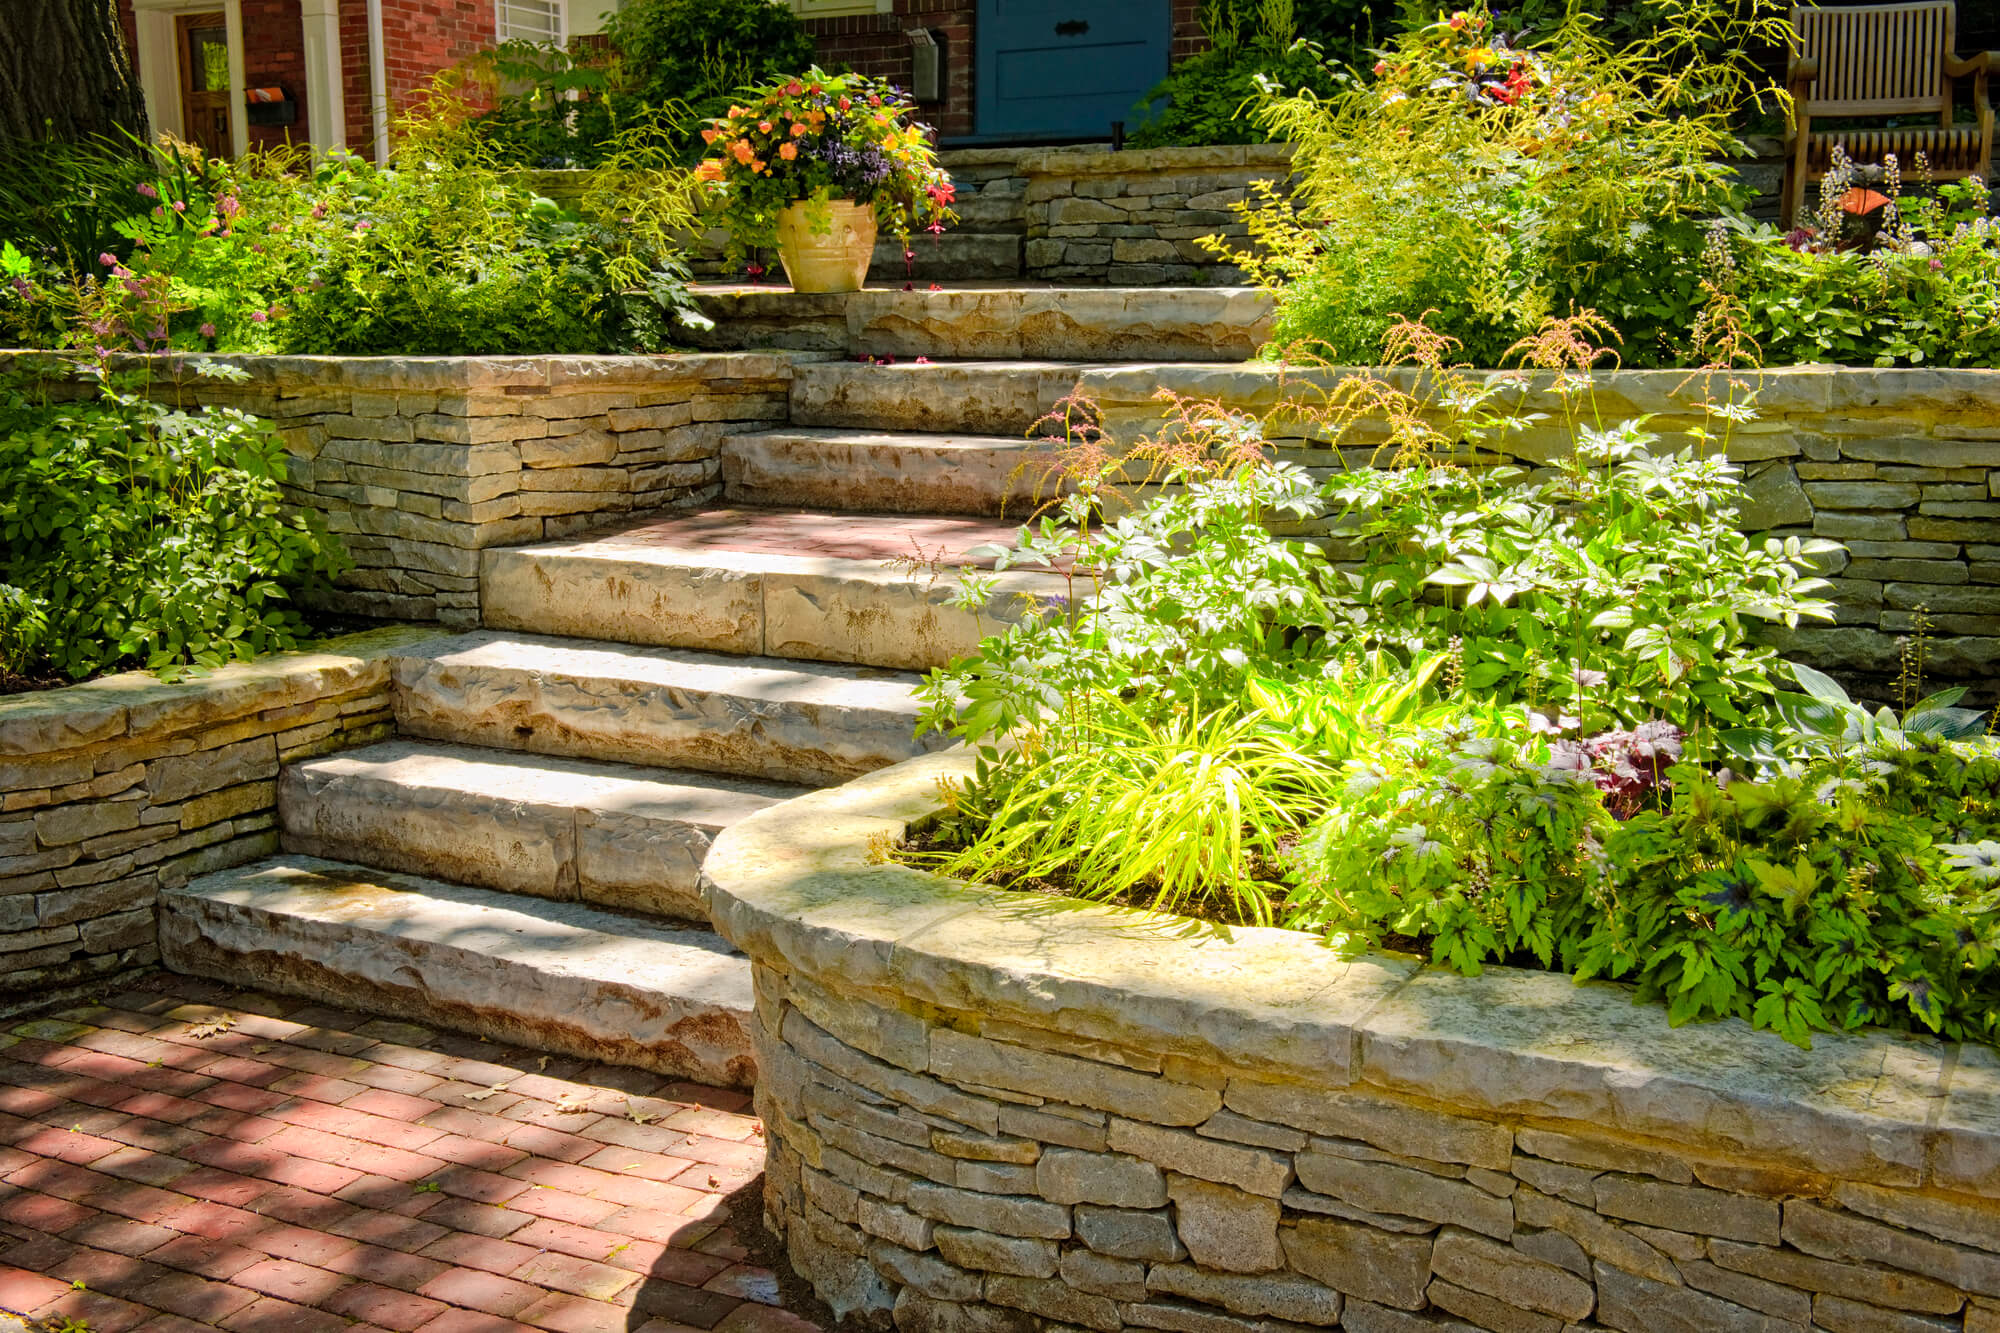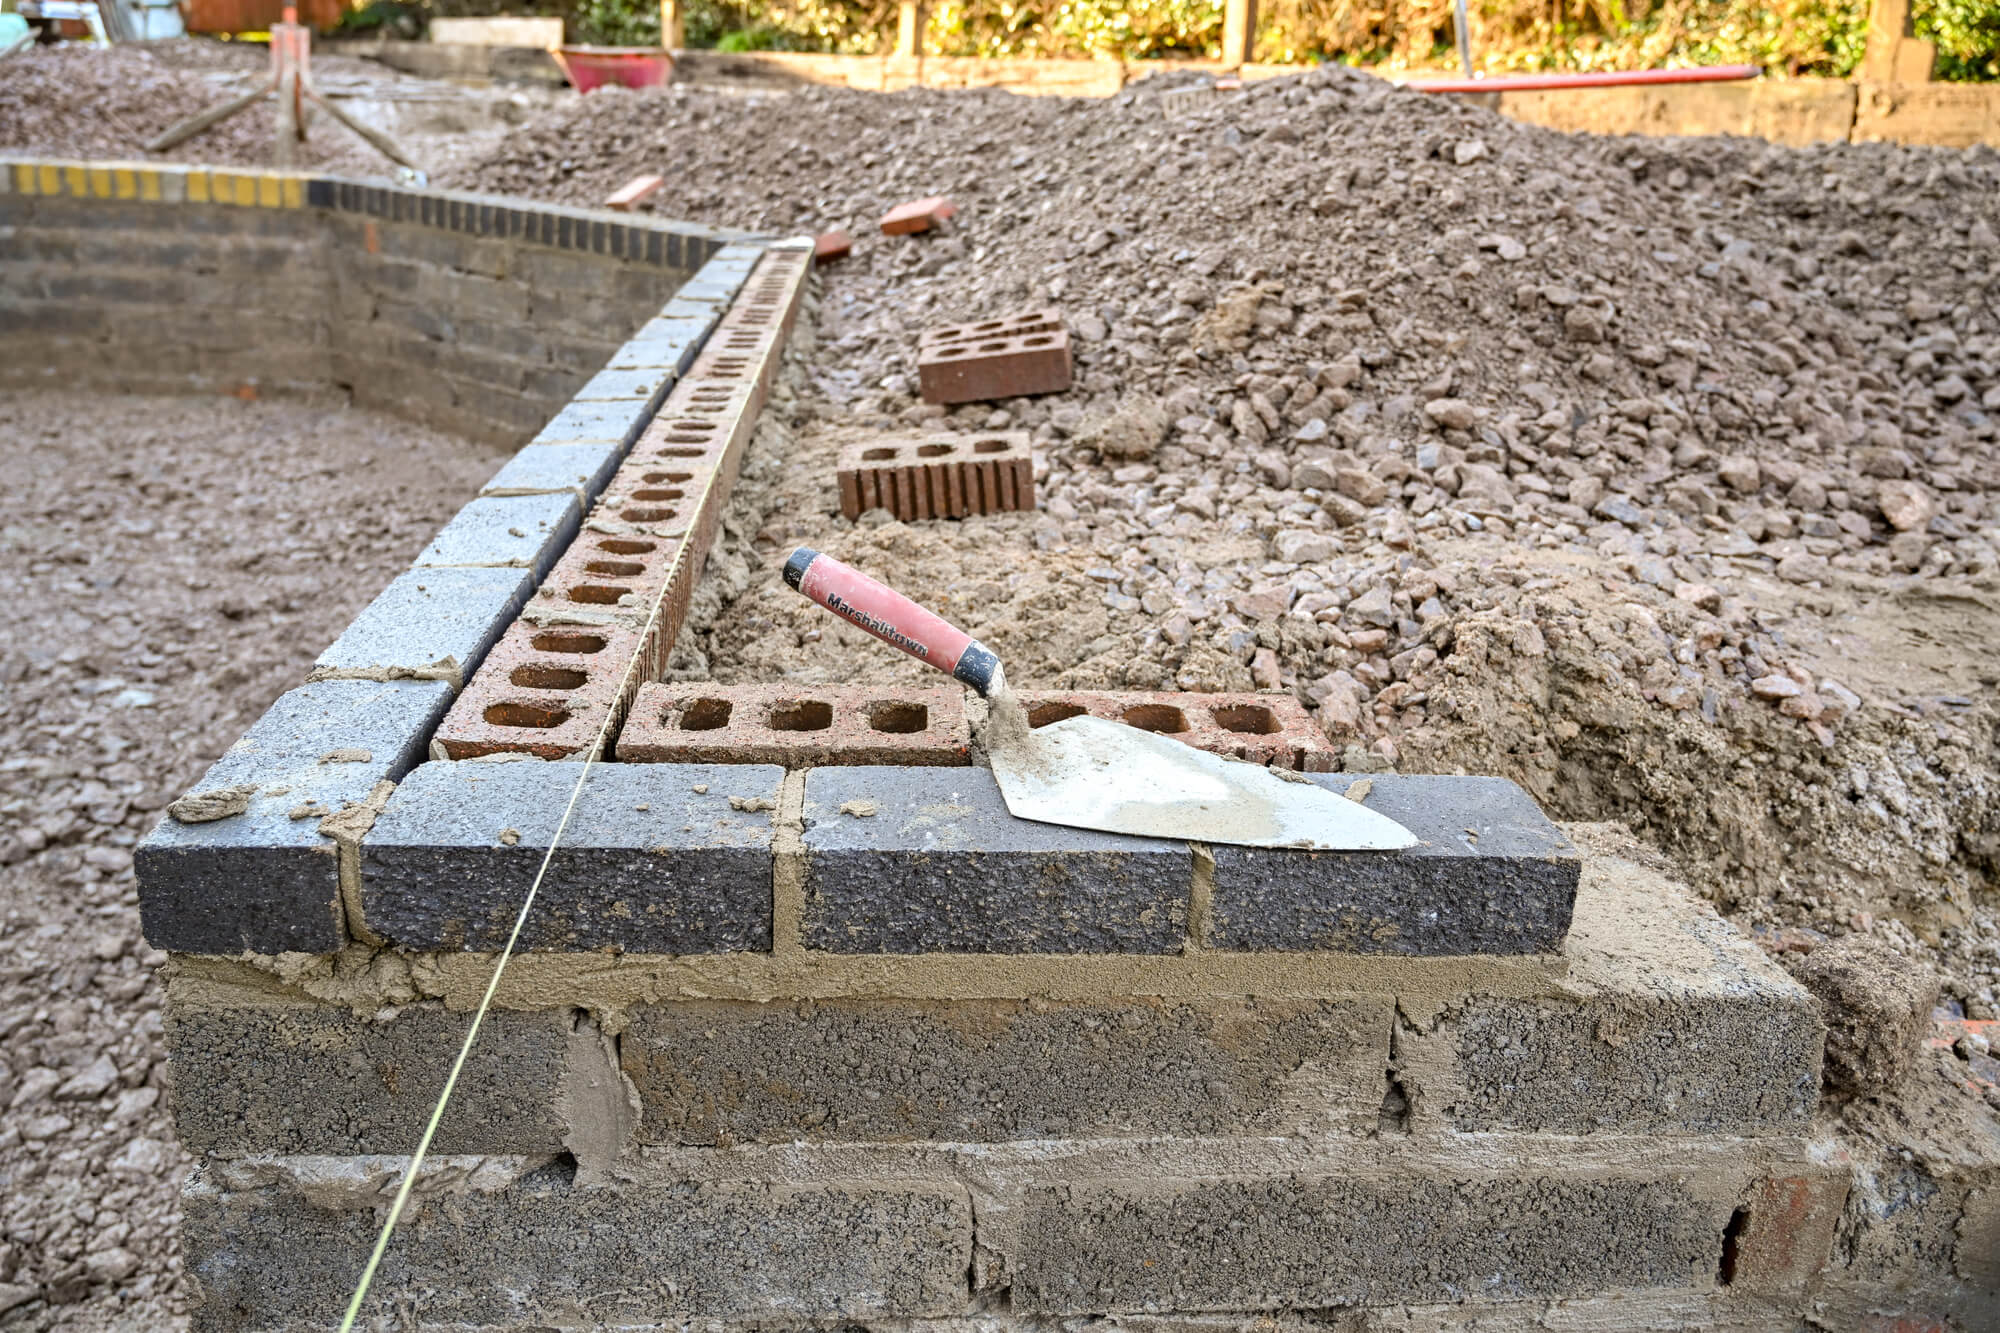
You almost never see bad drainage the week a segmental retaining wall (SRW) goes in. You see it a few winters later, when the face starts to bow, caps loosen, and dark, wet bands appear after every storm. At that point, you are usually talking about rebuilding, not touching up a few blocks.
Good retaining wall drainage is a quiet insurance built into the base, stone, and outlets from day one. Most long-term problems come from shrinking or skipping those details, not from the block itself.
Properly designed segmental retaining wall systems treat the block, reinforcement, backfill, and drainage as parts of one assembly. By the time you are done here, you will understand why drainage matters, how the stone and pipe zone work together, and which SRW drainage details help keep freeze-thaw cycles and water from winning.
Why Retaining Wall Drainage Matters and Where Water Comes From
Proper retaining wall drainage is essential to prevent hydrostatic pressure from building up behind the wall, which can lead to failures such as leaning or bulging walls.
If the water can flow freely through a drainage layer and out, the wall works harmoniously with the soil instead of opposing it, ensuring long-term stability.
Water Wants a Way Out, Always
In any segmental block or poured concrete retaining wall, water seeks the lowest and easiest escape route. This can come from surface runoff from the grade above after a heavy rain, water percolating from flower beds to retained soil, drainage from nearby hardscape projects, or concentrated flows from elements like downspouts. Understanding the site’s drainage systems and soil type is crucial, as some site-specific conditions may contribute additional water.
Water Can Stay, Freeze, and Expand
When water is trapped in fine soil or backfill, it can increase pressure behind the retaining wall and freeze during colder temperatures, potentially causing caps to pop or dark wet bands to appear on the wall face. These issues may signal deeper, underlying problems within the wall’s structure.
Additional Strain from Other Loads
For retaining wall construction near buildings, driveways, steep slopes, or areas with significant surcharge loads, it’s critical for contractors and homeowners to follow engineering requirements detailed in precast retaining wall design guides.
This includes using the appropriate reinforcement, such as geogrid, and ensuring proper compaction of aggregates for a robust foundation. To avoid potential issues, always refer to SRW products and solutions and consult with industry professionals and dealers.
Incorporating suitable drainage systems and elements such as geotextile or landscape fabric can further enhance the wall’s durability, ensuring water is effectively managed, and the structure remains secure.
Core Components and Geometry of a Well-Drained Segmental Retaining Wall
A well-drained segmental retaining wall integrates several crucial components, including a stable foundation, a vertical zone of clean drainage stone, strategically placed perforated drain pipes, and filter fabric for separation from surrounding soils.
These components align with the specified SRW drainage detail to ensure water flows through the system efficiently and prevents hydrostatic pressure buildup.
The Four Hidden Drainage Pieces Behind an SRW
A typical SRW drainage assembly includes:
- Base: Compacted aggregates under the concrete blocks to provide a stable, level foundation and facilitate load distribution.
- Drainage Stone Zone: A vertical band of clean, angular stone positioned directly behind the wall to form a continuous drainage zone.
- Perforated Drain Pipe: Located at the bottom of the drainage zone, this pipe is routed to an appropriate outlet as specified in the system detail.
- Filter Separation: Nonwoven geotextile or another designated separation detail prevents fines from entering the stone and pipe, safeguarding the integrity of the drainage system.
These components create the “chimney” of your drainage system.
For taller reinforced walls, additional features such as geogrid layers, step-backs, and high-performance structural fill are incorporated following the engineered precast systems design, supplementing the basic drainage strategy.
By adhering to the detailed SRW section provided by the block manufacturer or project engineer, you ensure that your retaining wall construction is based on precise specifications rather than guesswork.
How Far and How High the Drainage Stone Should Extend
In many SRW details, a continuous column of drainage stone is situated directly behind the interlocking concrete blocks. Depending on the wall system and project conditions, the drainage stone typically:
- Extends back from the retainer wall enough to establish a complete free-draining zone.
- Runs from the base of the drainage zone upwards toward the finished grade, stopping just below the topsoil, pavement, or other surface treatment.
- Integrates with the lower drainage systems when a perforated pipe is specified, ensuring vertical water flow has a clear exit path.
Behind the drainage zone, either engineered fill or appropriate native soil is placed in lifts and compacted as dictated by the SRW design guide.
The precise width of drainage stone, aggregate gradation, pipe placement, and reinforcement requirements should adhere to the relevant SRW products and project-specific documentation, such as those from Rochester Concrete Products, to ensure optimal performance and durability.
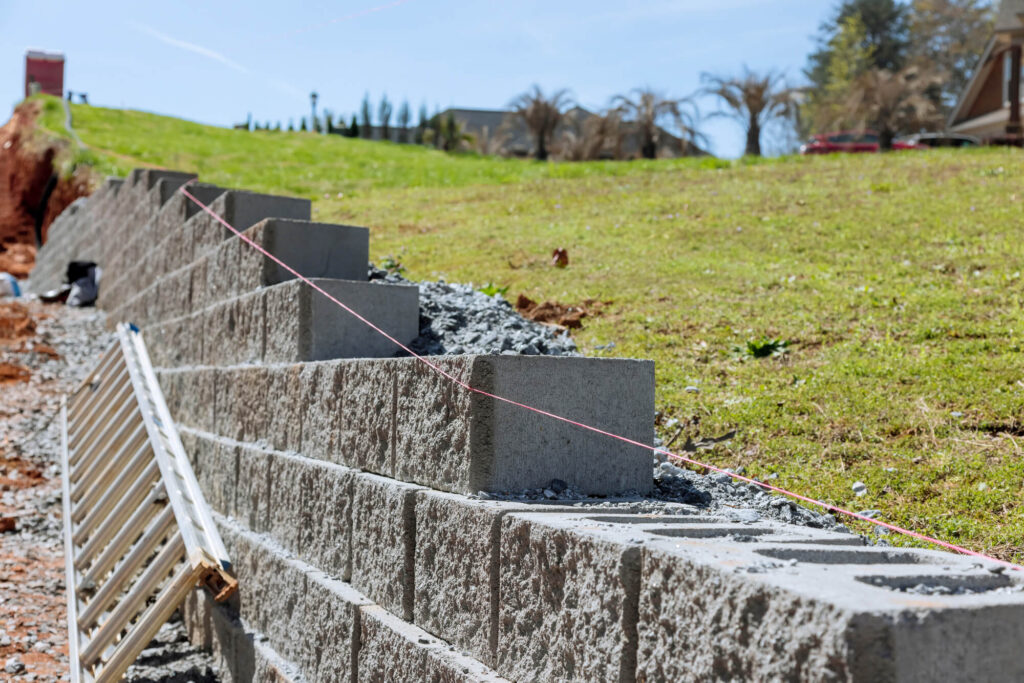
Getting Retaining Wall Gravel Backfill Depth and Gradation Right
Retaining wall gravel backfill must be thick and clean enough to ensure proper water drainage and structural stability over the life of the retaining wall.
This requires creating a continuous band of clean, angular drainage stone directly behind the blocks, as specified in the applicable SRW design and detail. It should never be replaced with compacted native soil or recycled fines that might impede drainage.
The type of material you choose for the drainage zone is critical.
The ideal drainage aggregate behind the wall should offer stability while maintaining open void spaces for water to flow through efficiently. If this zone becomes clogged, contaminated with fines, or settles unevenly, hydrostatic pressure and frost can build up behind the wall, potentially causing damage by seeking out weaker paths, often through the wall face.
Good and Poor Gravel Choices in Plain Language
When simplifying the specifications, the choice of materials is straightforward:
- Good: Clean, angular drainage stone placed continuously behind the units according to the wall-system detail.
- Borderline: Thin or interrupted bands of clean stone, broken up by pockets of native soil that can hinder drainage efficiency.
- Poor: Mixed crusher run, construction debris, clay-rich fill, or similar unsuitable materials placed directly against the back of the blocks when the system specification calls for free-draining aggregate.
Away from the drainage zone, engineered fill or suitable native soil can be compacted in lifts per the SRW design. It’s crucial to adhere to the specified drainage zone of the wall to avoid relying on silt-prone soil to handle water, thereby preventing water-related issues in your landscaping projects.
Where Does the Drain Tile Go Behind a Retaining Wall?
The perforated drain pipe, often called drain tile in the Midwest, is commonly placed at the bottom of the drainage stone zone where the wall-system detail requires one. Its job is to collect water reaching the lower part of the wall (which is why it’s also known as a collection pipe) and move it toward a suitable outlet instead of allowing that water to remain trapped in the backfill.
In practice, the perforated pipe is typically set within clean stone near the base of the wall.
Depending on the wall system and project design, the pipe may:
- Run continuously along the wall length, with minimal dips or rises.
- Be surrounded by clean drainage stone.
- Use fabric or another filter separation detail in fine soils to help keep silt out.
- Daylight to a slope, tie into an approved storm system, or discharge through another designed outlet.
On flat sites where you cannot easily daylight the pipe, you need a plan to move water elsewhere, typically a sump, collector line, or another drainage solution laid out for the site. On taller or longer walls, there may be multiple outlets or transitions to collector pipes.
Outlet spacing and discharge locations should follow the engineered layout or applicable SRW manufacturer details, not an every-20-feet guess.
Building the Base and Managing Surface Water Above the Retaining Wall
A drainage-safe SRW (Segmental Retaining Wall) starts with a base that is solid, level front to back, and integrated with the wall’s drainage strategy. Effective surface-water controls above the wall are essential to prevent runoff from saturating the backfill. Proper base and top treatment are crucial components of your drainage strategy.
Retaining Wall Base and Subgrade: Get the Footing Right
Under the retaining wall, you need a compacted gravel base built to the precise dimensions and material requirements specified for the wall system and unique site conditions. This base, often constructed wider than the interlocking concrete blocks where required and compacted properly, should:
- Sit on undisturbed or properly improved subgrade.
- Be level across the width of the blocks, with no soft spots.
- Provide a stable foundation without creating a place where water remains trapped beneath the wall.
A flat, well-compacted base allows the block system and geogrid reinforcement to perform their structural functions without battling settlement, frost-related movement, or poor subgrade conditions.
Between that base and the surface grading above are key areas where DIY builds and rushed installations might feel tempted to cut corners.
Surface Runoff: Keep Water Out of the Backfill
Above the retaining wall, grade adjustments and hardscaping decisions dictate how much water ever reaches the backfill.
Simple planning can make a big difference:
- Swales or shallow ditches to direct runoff away from the back of the wall.
- Downspout extensions that discharge well clear of the retained soil.
- Pavement and patio slopes that channel water across the surface, not toward the wall.
- Edge drains or other drainage systems where a patio or driveway connects with the SRW.
The aim is not absolute perfection; it’s about minimizing how often concentrated surface water intrudes into the drainage zone. The less water funneled into this area, the less the drainage system needs to be activated, preventing possible hydrostatic pressure issues.
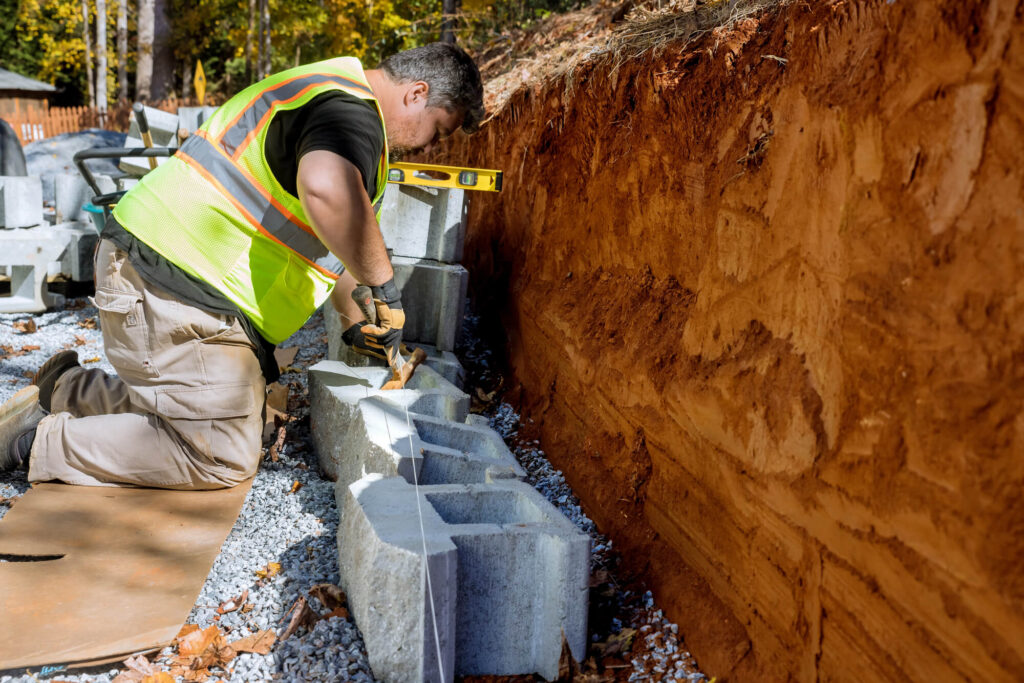
What a Typical SRW Drainage Detail Looks Like in Sections
A typical SRW drainage detail reads like a clear cross-section: compacted gravel base (typically) under the units, a vertical zone of clean stone with a perforated pipe at its lower portion where required, reinforced soil or engineered fill behind that, and surface grading or hardscape details that move water away from the wall.
You can think of each part of that section as having one main job and one common failure when it is undersized, installed incorrectly, or missing. Here is a quick way to connect each component to the symptoms you may see on finished walls:
| Component | Primary Job | If It Is Wrong, You May See… |
| Base aggregate | Carry load and level units | Settling, tipped blocks, uneven courses |
| Vertical drainage stone | Relieve water pressure and move water downward | Bulging, wet staining, freeze-thaw movement |
| Perforated drain pipe | Collect and discharge water where required | Standing water, saturated soils, frost-related movement |
| Geotextile/filter separation | Help keep fines out of stone and pipe | Clogged stone zone, restricted drainage flow |
| Reinforced soil/geogrid | Extend the reinforced soil mass behind the wall | Movement, cracking, or sliding when structural design is inadequate |
Surface grading and top-of-wall details finish the picture by steering runoff away from the backfill. When they are missing, you may see erosion at the top, washouts, ponding, or staining on the face.
If you see one of those symptoms, start by checking the matching part of the wall assembly, not just the visible face.
Rochester Concrete Products offers multiple retaining wall products for different landscape, residential, commercial, and engineered applications. Drainage aggregate, geogrid, setbacks, base preparation, and outlet requirements should follow the documentation and project design applicable to the wall system being used.
For taller walls, walls near structures, or walls carrying traffic or other surcharge loads, those system-specific details, and any required local engineering review, are the standard you should lean on.
Common Retaining Wall Drainage Mistakes That Lead to Frost and Water Failure
Many retaining wall problems that show up as movement, staining, or freeze-thaw cycle damage have a drainage component behind them.
Typical mistakes include:
- Using unsuitable native soil instead of the specified drainage stone directly behind the interlocking concrete block is crucial for managing hydrostatic pressure.
- Omitting drainage required by the wall-system detail or assuming wall height alone determines whether a perforated drain pipe is needed. Contractors often overlook the importance of creating an effective drainage system to prevent water accumulation and pressure.
- Letting outlets clog or become buried so water has nowhere to go, impacting the wall’s integrity and effectiveness.
- Building walls in low, wet spots without a plan to move surface and subsurface water through an adequate drainage depth.
- Ignoring manufacturer SRW details and “eyeballing” drain locations, stone widths, reinforcement, or backfill requirements. Using products like geotextile fabric can help separate soil types and improve drainage efficiency, for example.
If you are evaluating an existing wall, these are the tells to look for before you ever see major movement in the face.
During construction, if you do not see the drainage materials shown in the applicable wall detail going in behind the wall, it is worth pausing the project and asking how drainage is being handled.
The cost difference between getting drainage right and doing it halfway is minor compared with rebuilding a wall that has started to lean, crack, or wash out.
Proper planning will aid in maintaining drainage efficiency while contributing to sustainable landscaping projects.
Lean on Rochester Concrete Products for Drainage-Safe SRW Design
You should lean on Rochester Concrete Products documentation and qualified project professionals the moment you catch yourself guessing about stone depth, pipe location, outlet configuration, geogrid layout, or backfill requirements.
That is the line between using a defined wall system and relying on jobsite assumptions.
Engineering and local building codes still lead for critical walls; Rochester Concrete Products fits in alongside that process by providing retaining wall systems, product information, technical resources, and system guidance rather than replacing professional design.
If you are a homeowner, this is the drainage language you want to hear from your installer, backed by system details instead of hand-waving. If you are the contractor, these are the details your name is attached to when you sign the proposal.
Rochester Concrete Products offers retaining wall systems for a range of landscape and structural applications. Selecting the right product is only part of the job. Drainage, reinforcement, backfill, base preparation, and site-water management all need to match the wall height, soil conditions, loading, and site.
Make Your Next SRW Drainage Detail the Strong Link
Once you understand how much long-term performance rests on drainage, it becomes hard to feel comfortable eyeballing stone thickness, pipe layout, outlet details, or backfill.
The safest move is to treat this article as context, then anchor your next wall in the applicable Rochester Concrete Products documentation, engineered design where required, and local site conditions.
If you want your retaining wall to perform through winter after winter without leaning, staining, or loosening caps, pair proper drainage with the right wall system and qualified local expertise. Give the hidden parts of the wall, the base, drainage stone, backfill, reinforcement, and outlets the same attention you give the finished face.
Before construction begins, make sure the drainage plan matches the RCP wall system you are actually building. Review the applicable technical resources and RCP’s SRW Best Practices guide, then bring in the right level of support for the project—whether that is your dealer, installer, or RCP representative.
That is where long-term retaining wall performance starts.