The first wobble underfoot or a puddle that never seems to drain is often the first sign that something has changed beneath your pavers. A paver patio, walkway, or driveway that once felt solid may begin to develop low spots, raised edges, rocking pavers, or trip hazards that affect safety, drainage, and curb appeal.
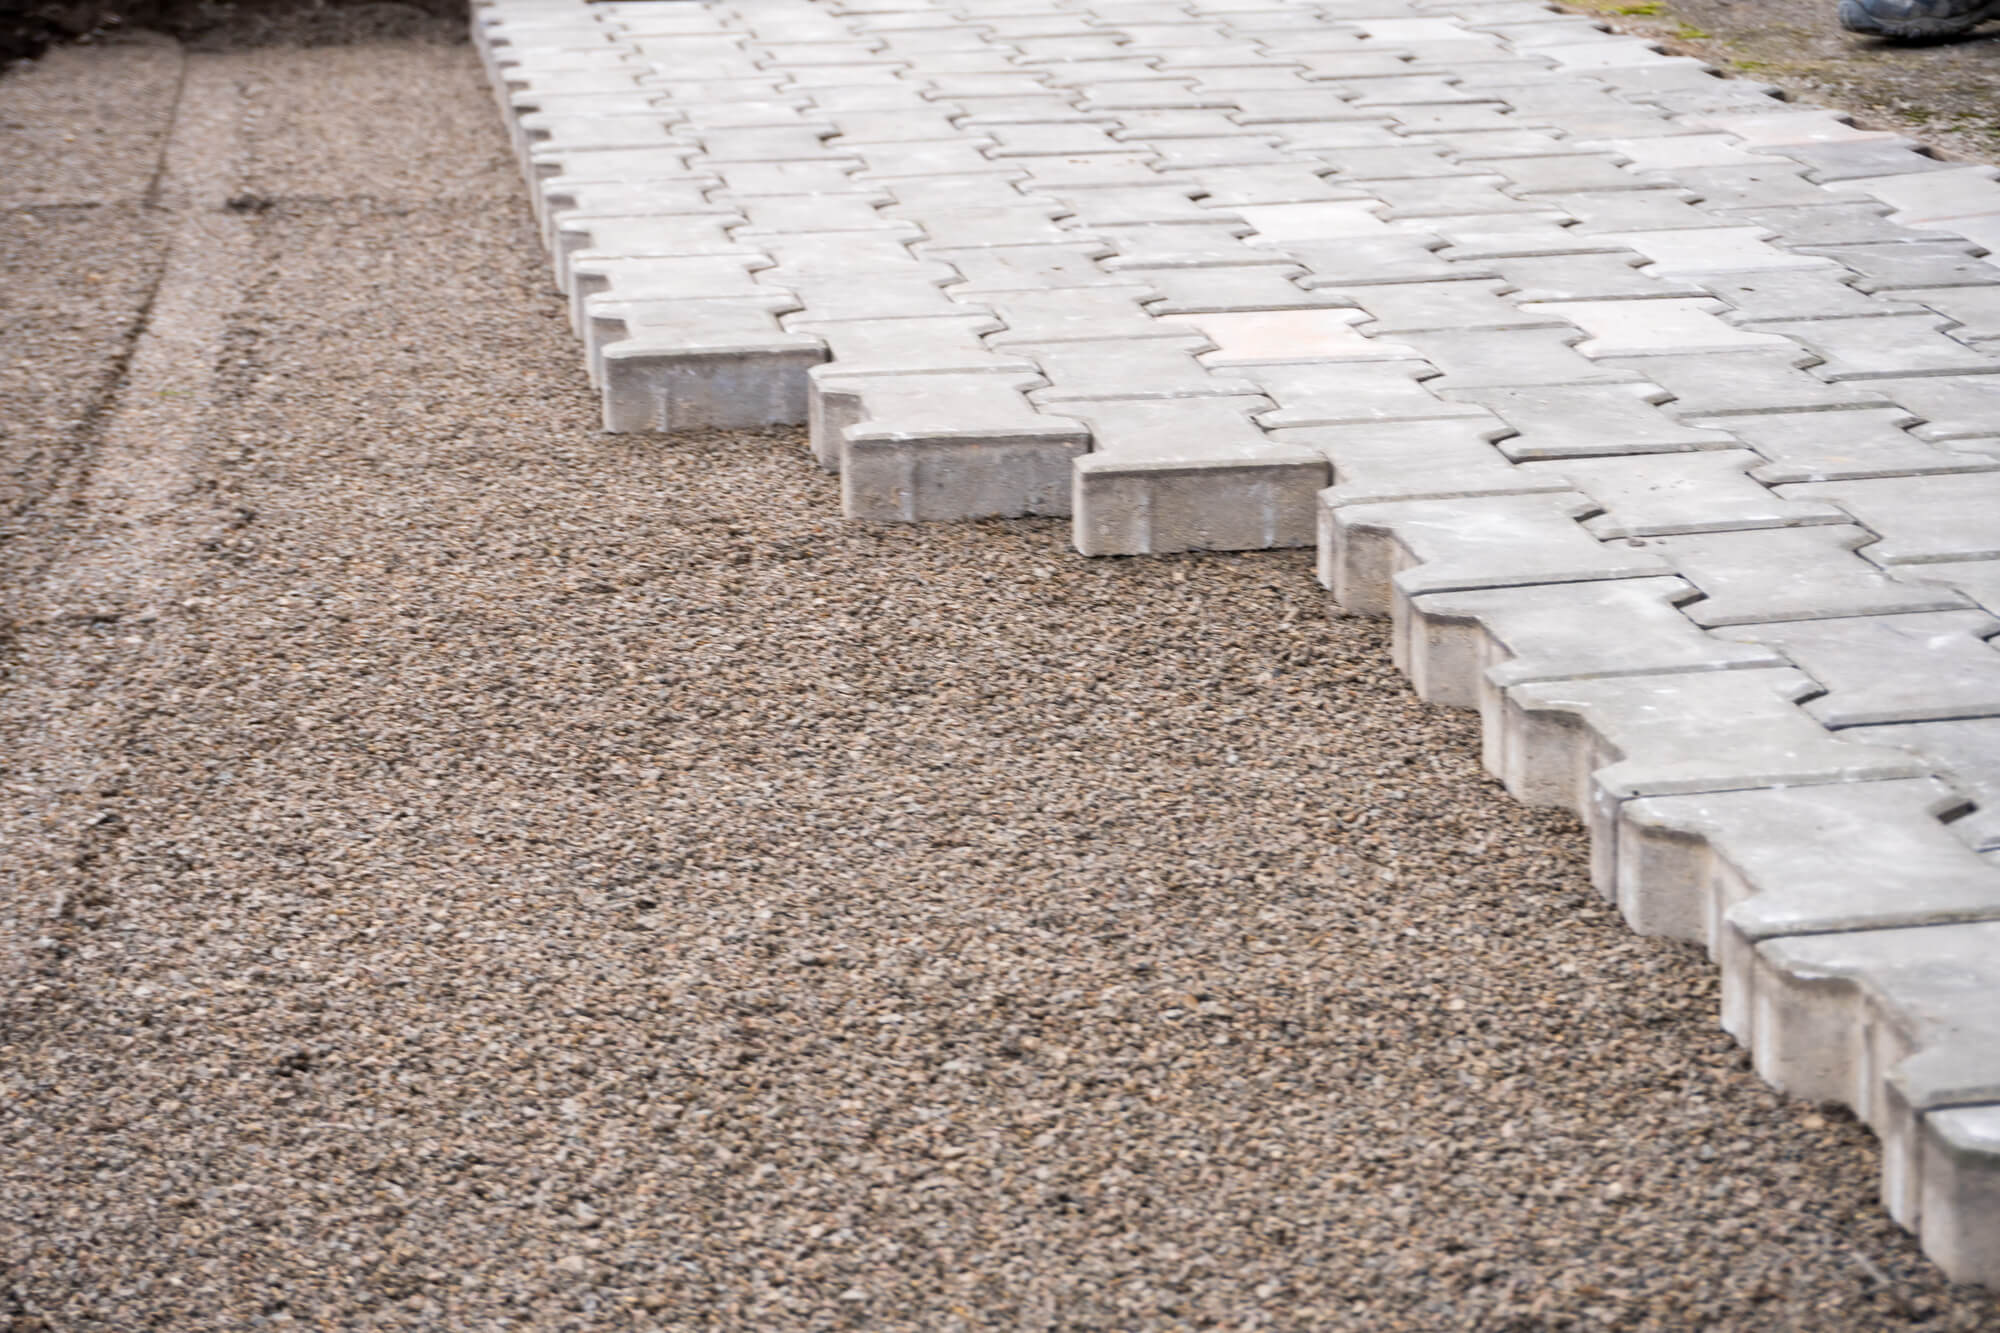
In most cases, sunken pavers or uneven pavers are not caused by defective pavers. Instead, they are symptoms of movement beneath the surface. A segmental pavement system is made up of several components working together, including the subgrade (native soil), a properly compacted aggregate base, a bedding layer, the concrete pavers, edge restraints, and jointing material. When each layer is correctly designed and installed for the site’s soil conditions, climate, drainage, and expected traffic loads, the entire system performs as a durable, stable pavement.
Because the pavers themselves are rarely the source of the problem, a sunken or uneven paver patio is usually a sign that something beneath the surface has shifted or failed. The underlying cause may be poor base preparation, inadequate compaction, soil settlement, drainage problems, failed edge restraints, or a combination of these factors.
Before you repair sunken pavers, it’s important to identify what caused the movement in the first place. Understanding whether the problem originates in the bedding layer, aggregate base, underlying soil, drainage system, edge restraints, or another part of the pavement structure will help ensure the repair addresses the root cause—not just the visible symptoms.
Why Do Concrete Pavers Sink or Become Uneven?
Concrete pavers are among the most durable, stable, and versatile paving materials available, but even the highest-quality pavers depend on proper installation and a well-constructed foundation to perform as intended.
In most cases, settling concrete pavers indicate that the bedding layer, aggregate base, or underlying soil has shifted, settled, or lost support. The pavers themselves are rarely the source of the problem.
Common causes of sunken or uneven pavers include inadequate compaction, poor drainage that allows water to erode or weaken the base, unstable soils, failed edge restraints, and traffic loads that exceed what the pavement system was designed to support.
Poor Paver Installation Practices
Many settlement problems begin during paver installation, even though the symptoms may not appear until months or years later.
Some of the most common installation mistakes include:
- The subgrade was not properly graded or compacted.
- The aggregate base was not deep enough for the intended application.
- The base material was placed in overly thick lifts instead of being compacted in multiple layers.
- The bedding sand was installed too thick or was not screeded to a uniform depth.
- Edge restraints were missing, damaged, or inadequately secured.
- Paver joints were not completely filled with jointing material or were not properly maintained over time.
It’s also important to understand that paver patios, walkways, and driveways should not all be built the same way. Each application has different structural requirements based on expected loads, soil conditions, drainage, and climate.
For example, a concrete paver driveway must support the repeated weight of vehicles and therefore typically requires a deeper, stronger base than a pedestrian walkway or patio. When a pavement system is underbuilt for its intended use, it may initially appear sound but gradually develop low spots, wheel-path rutting, rocking pavers, or spreading joints as traffic and weather expose the underlying weaknesses.
The difference between a long-lasting pavement and one that develops dips, ruts, or rocking pavers often comes down to the quality of the supporting layers beneath the surface. The comparison below highlights the installation practices that have the greatest impact on long-term pavement performance.
| Aspect | Properly Prepared System | Shortcut Installation |
| Base depth | Selected for the application and site | Minimal or inconsistent |
| Compaction | Aggregate compacted in appropriate lifts | One thick layer with limited compaction |
| Drainage | Surface directs water away from structures | Flat, uneven, or back-pitched |
| Subgrade | Shaped and compacted | Disturbed or uneven soil left unsupported |
| Long-term behavior | Remains stable with normal movement | Dips, ruts, and rocking units develop |
Drainage and Water Infiltration
Water is one of the most common causes of sunken pavers and uneven pavers. When moisture infiltrates the pavement system, it can soften the underlying soil, erode or weaken the aggregate base, wash away bedding or jointing material, and reduce the support beneath the pavers.
Common sources of excess water include:
- Downspouts that discharge near the edge of the pavement
- Poor yard grading that directs water toward the paved surface
- Irrigation systems that repeatedly saturate the same area
- Water entering through open, deteriorated, or poorly maintained joints
- Runoff collects against retaining walls, steps, foundations, or other structures
In regions with freeze-thaw cycles, excess moisture can make these problems even worse. As trapped water freezes, it expands and can temporarily lift portions of the pavement. When the ice melts, the soil or base may not settle evenly, leading to uneven pavers, low spots, or recurring movement over time.
Proper drainage is essential to the long-term performance of any paver patio, walkway, or driveway. Controlling water before it reaches the pavement structure is often the best way to prevent future settlement and extend the life of the installation.
Soil Movement and Heavy Loads
The soil beneath a paver patio, walkway, or driveway plays a critical role in long-term pavement performance. Different soil types respond differently to moisture, temperature changes, and applied loads. For example, expansive clay soils can shrink during dry periods and swell when wet, while loose or poorly confined sandy soils are more susceptible to erosion when exposed to concentrated water flow.
Excessive or concentrated loads can also contribute to sunken pavers and uneven pavers. Heavy planters on a patio, outdoor kitchens or fireplaces that were not accounted for in the original design, repeated vehicle parking in the same location, or construction equipment operating near unsupported pavement edges can all place additional stress on the pavement system.
Over time, these conditions can cause the underlying soil or aggregate base to settle, resulting in wheel-path depressions, shallow low spots, tilted or rocking pavers, and uneven pavement surfaces.
Tree Roots and Landscaping
Although less common than drainage or installation issues, tree roots and surrounding landscaping can also contribute to uneven pavers and pavement movement. As tree roots grow and expand, they can displace the soil or aggregate base beneath the pavement, causing pavers to lift, separate, or become uneven. In other cases, roots may redirect water or alter soil moisture, indirectly contributing to settlement in nearby areas.
To help reduce the risk of root-related pavement problems:
- Plan before planting. Choose tree species with less aggressive root systems and avoid planting large trees too close to patios, walkways, or driveways.
- Install root barriers where appropriate. Root barriers can help direct root growth away from the pavement and reduce the likelihood of future displacement.
- Inspect paved areas regularly. Watch for lifting pavers, widening joints, or localized areas of movement near mature trees so problems can be addressed early.
- Seek professional guidance when needed. If tree roots have caused significant pavement movement, consult a qualified landscape professional or arborist before removing roots. Cutting major roots can affect tree health and stability, so repairs should balance both the integrity of the pavement and the long-term health of the tree.
While tree roots can cause sunken or uneven pavers, they are typically a localized issue. Proper landscape planning, routine inspection, and early intervention can help protect both your paved surfaces and the surrounding landscape.
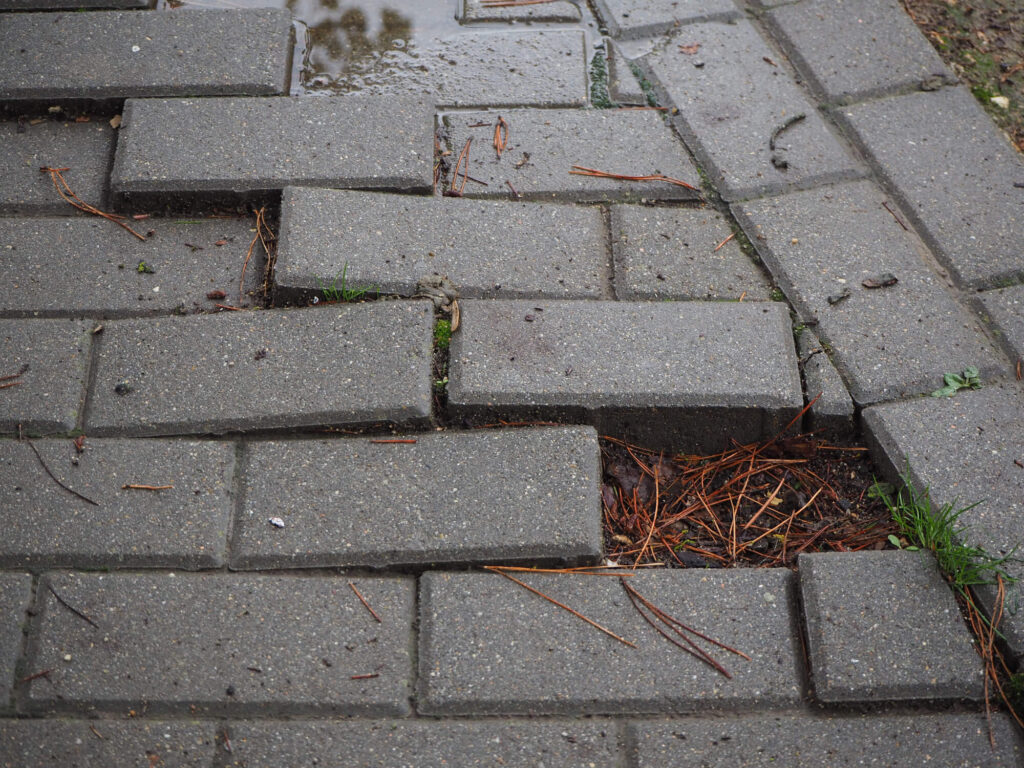
The First Warning Signs of Paver Settlement
Paver settlement often develops gradually, and the earliest warning signs can be easy to overlook. Changes in how the pavement feels underfoot, how well the joints retain sand, or where water collects may indicate movement beneath the surface long before a noticeable depression or trip hazard develops.
Recognizing these symptoms early can help limit the extent of repairs and make it easier to identify and correct the underlying cause before the problem worsens.
Watch for these common signs of sunken or uneven pavers:
- Pavers that rock, wobble, or click when walked on
- Raised or sunken edges between adjacent pavers (lippage)
- Joints that repeatedly open or lose jointing sand
- Puddles that consistently form after rain
- Fine soil or sediment collects in low areas
- Wheel-path depressions in driveways
- Pavement edges that appear to be spreading outward
- Ice forms repeatedly where water crosses a walkway during winter
Also, look beyond the pavement itself. Damp foundation walls, water draining toward your home, or persistent pooling near steps, retaining walls, or the edge of the paved area may indicate a drainage problem affecting the entire pavement system—not just the visible surface.
Recurring weeds, ant activity, or repeated loss of jointing sand can also indicate that joints have opened or deteriorated, allowing water to enter the pavement structure. While these conditions do not typically cause settlement on their own, they are often signs that the pavement should be inspected more closely.
Not every sunken paver or uneven paver patio requires a professional repair, but the size of the affected area is only one factor to consider. Whether your pavement is constructed with concrete pavers, brick pavers, or natural stone, the underlying cause of the settlement is what ultimately determines whether a DIY repair is appropriate.
Before attempting repairs, consider the location of the problem, drainage conditions, soil type, the condition of the base, and how the pavement is used. A small, isolated low spot is very different from recurring settlement near a retaining wall, foundation, or driveway.
A DIY Repair May Be Reasonable When:
- Only a few pavers are affected.
- The settlement is isolated and has not spread to surrounding areas.
- The surrounding pavement remains level and stable.
- The likely cause, such as minor settling or localized base movement, can be identified.
- The repair area is well away from foundations, retaining walls, mature tree roots, and other structures.
- The affected area is not subject to regular vehicle traffic.
- The same location has not required repeated repairs.
- No underground utilities are located beneath the work area.
- The repair only requires re-leveling a small section rather than rebuilding a significant portion of the base.
Call a Professional When:
- Settlement is widespread or continues to worsen over time.
- The same area has already been repaired but continues to fail.
- Water runoff, erosion, or drainage problems are contributing to the settlement.
- The affected area is part of a driveway, raised patio, primary walkway, or other structurally important area.
- Movement is occurring near steps, retaining walls, foundations, or other structural elements.
- The aggregate base or underlying soil feels soft, unstable, or appears to have washed away.
- The repair involves steep slopes, underground utilities, shared property lines, or complex drainage issues.
- You cannot confidently determine the cause of the settlement.
When the problem is small, localized, and the underlying cause is understood, a careful DIY paver repair may be a practical solution using the proper tools, including a plate compactor, leveling material, and polymeric or jointing sand. However, if the settlement is recurring, affects structural features, or is related to drainage problems or unstable soils, a qualified landscape contractor can identify and correct the root cause before additional damage occurs.
Safety Tip: Before digging or excavating, contact 811 (or your local utility-location service) to have underground utilities marked. Repairs near buried utilities, retaining walls, steep slopes, or foundations often require specialized knowledge and should be evaluated by a professional. The goal isn’t simply to make the pavers level again—it’s to correct the condition that caused them to move in the first place.
How to Repair Sunken or Shifted Pavers
Once you’ve determined the problem is limited to a small, stable area, you may be able to repair it yourself.
The goal isn’t simply to raise the sunken pavers—it’s to restore the support beneath them. A successful repair corrects the underlying cause, whether it’s a disturbed bedding layer, a weakened aggregate base, localized soil settlement, or minor erosion, before the pavers are reset.
The steps below outline a general repair process for localized settlement. Because paver systems, site conditions, and manufacturer recommendations vary, always follow the installation guidance for your specific pavement system.
Gather the Appropriate Tools and Materials
Depending on the repair, you may need:
- Flat pry bar or paver puller
- Rubber mallet
- Hand tamper or plate compactor (when appropriate)
- Straightedge or screed board
- Level or string line
- Compatible aggregate base material
- Bedding sand or other bedding material is recommended for your pavement system
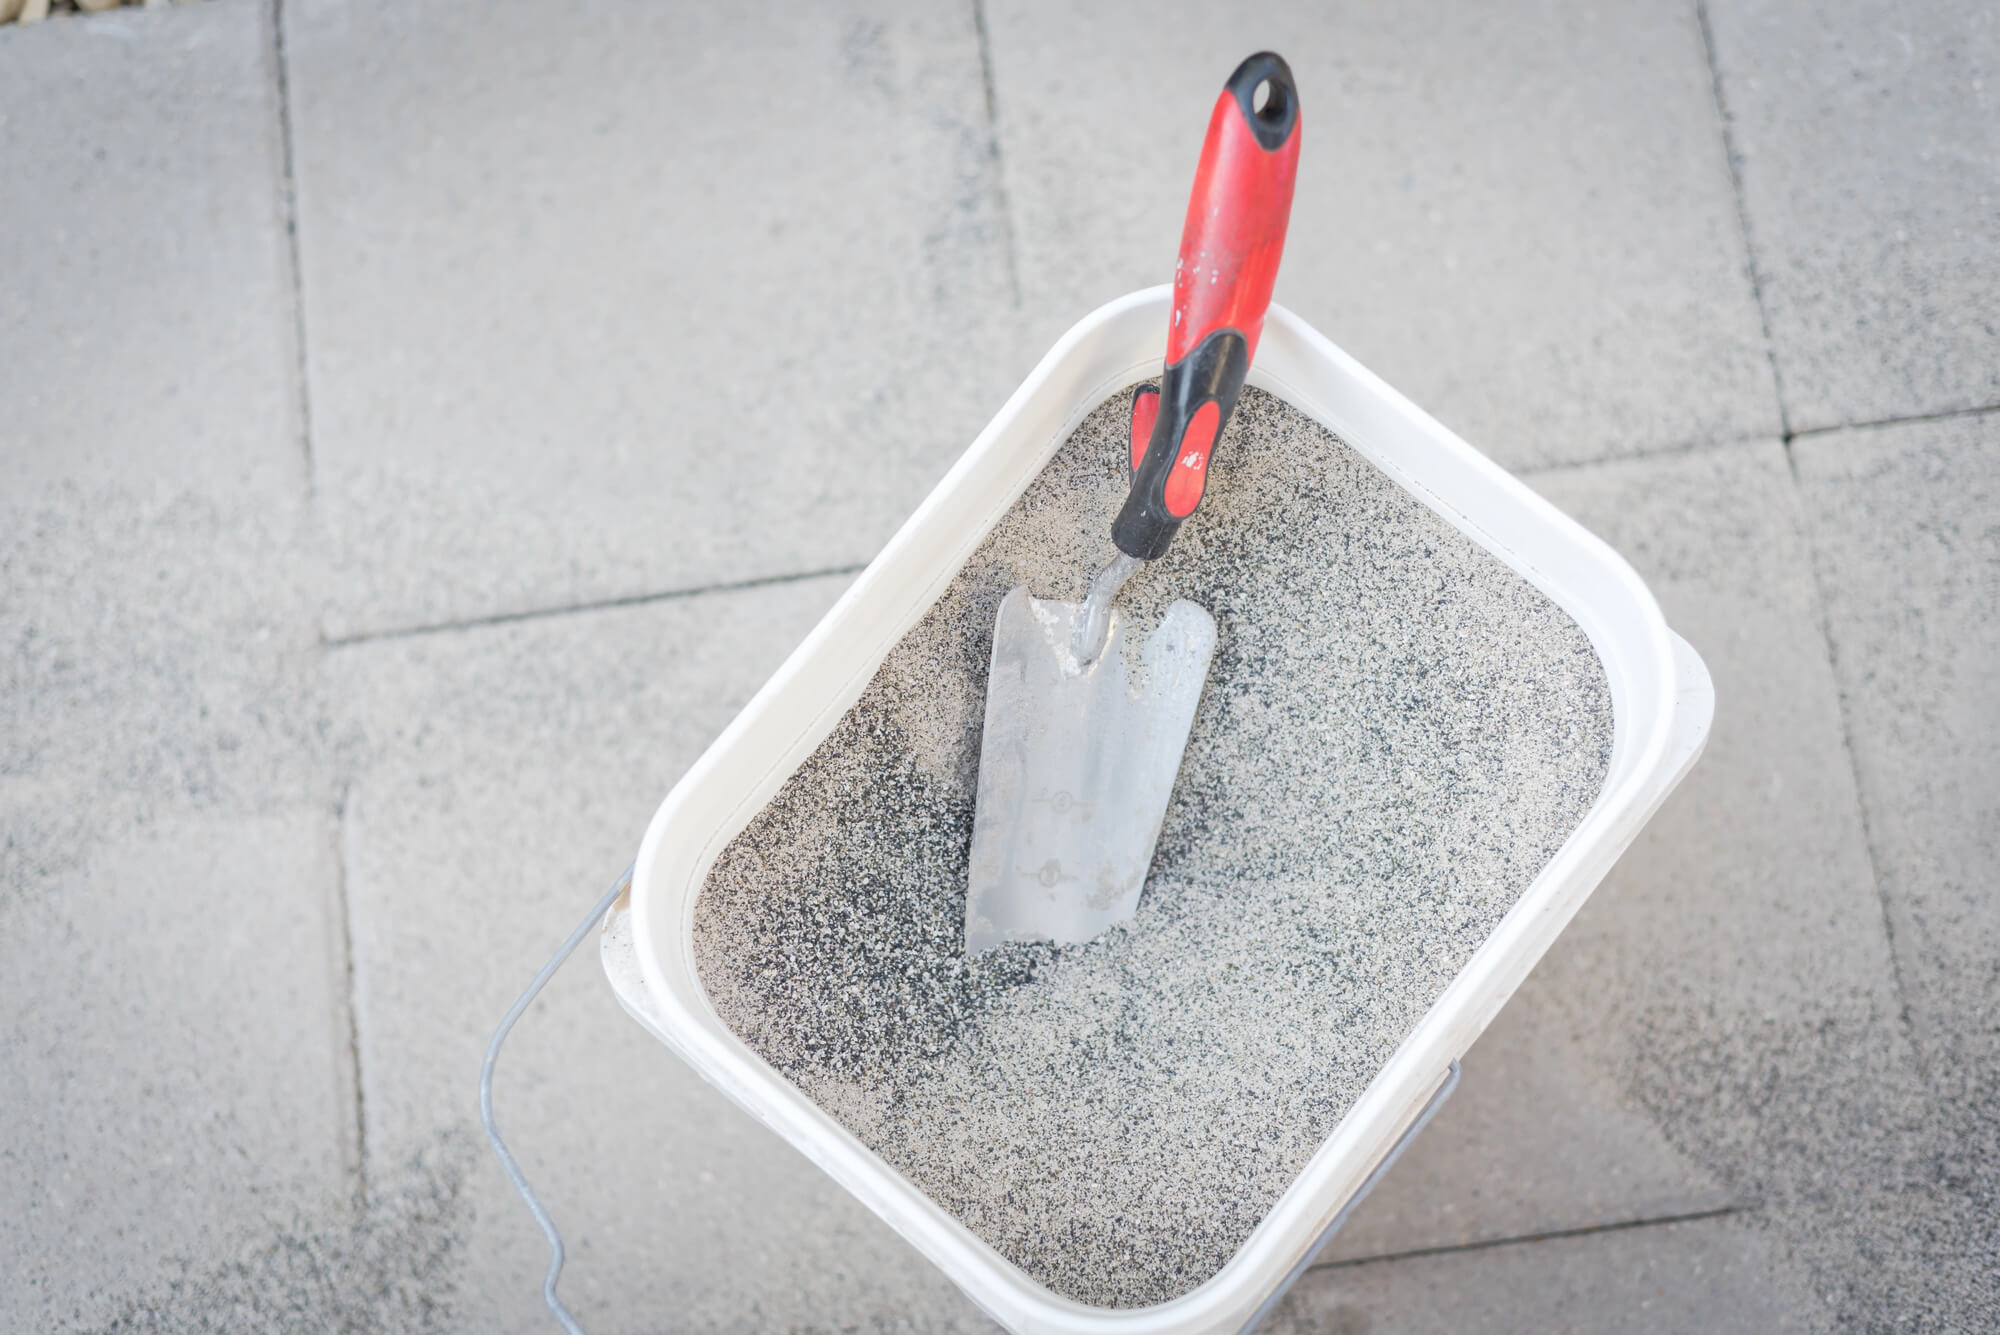
- Polymeric sand or jointing sand compatible with the pavers
- Work gloves, safety glasses, hearing protection, and knee pads
Note: Some pavers and large-format slabs can be compacted after installation, while others require different procedures. Always follow the manufacturer’s installation instructions before using a plate compactor.
Follow These Repair Steps
Step 1: Mark the Repair Area
Identify the low or uneven section and include at least one course of stable pavers beyond the visible settlement. Extending the repair slightly beyond the affected area makes it easier to blend the finished surface with the surrounding pavement.
Step 2: Remove and Organize the Pavers
Starting from an open edge or accessible joint, carefully lift the pavers and stack them in the order they were removed to simplify reinstallation.
Inspect each paver for cracks, chips, or other damage, replacing any units that are no longer suitable for reuse.
Step 3: Remove the Bedding Layer and Inspect the Base
Remove the bedding material and inspect the supporting layers below.
Look for:
- Soft or saturated soil
- Voids or signs of erosion
- Uneven or poorly compacted aggregate
- Insufficient base thickness
- Evidence of repeated water infiltration
- Movement or failure near the edge restraints
Step 4: Repair the Base
If the aggregate base is soft, unstable, or too shallow, remove the affected material and rebuild it using compatible aggregate compacted in uniform lifts.
Bring the base to the correct elevation before placing the bedding layer. Avoid using extra bedding sand to compensate for an improperly prepared base, as this often leads to future settlement. CMHA guidance for interlocking concrete pavement likewise specifies that bedding sand should not be used to correct depressions or deficiencies in the base surface.
Step 5: Restore the Bedding Layer
Place and screed a uniform bedding layer to the thickness recommended for your pavement system while maintaining the existing surface slope.
The repaired area should continue directing water away from buildings, retaining walls, and other structures.
Step 6: Reset the Pavers
Reinstall the pavers in their original pattern and check the surface frequently with a straightedge or level to ensure it matches the surrounding pavement.
Set the pavers according to the recommended installation method, making minor adjustments as needed to achieve the correct final elevation.
Step 7: Refill the Joints
Sweep compatible jointing material into the joints and complete the installation using the method recommended for your specific paver system.
When the repair is complete, confirm that:
- The surface is level with the surrounding pavement.
- The paver pattern remains properly aligned.
- Edge restraints are secure.
- Joints are completely filled.
- Water drains away from the repaired area as intended.
Common Paver Repair Mistakes to Avoid
Even a small repair can fail if the underlying cause isn’t corrected. Avoid these common mistakes:
- Adding excessive bedding sand beneath low pavers instead of repairing the base
- Re-leveling the surface without correcting drainage or settlement issues
- Ignoring loose, damaged, or missing edge restraints
- Mixing incompatible base, bedding, or jointing materials
- Using a plate compactor without confirming it’s appropriate for the specific paver or slab
- Repairing only the visibly sunken pavers when adjacent units have also shifted
- Allowing downspouts or runoff to continue saturating the repaired area
A lasting paver repair restores the strength of the pavement system—not just the appearance of the surface. By correcting the failed layer beneath the pavers, you can help prevent the same area from settling again.
How to Prevent Pavers From Sinking Again
A successful paver repair does more than restore a level surface—it addresses the conditions that caused the settlement in the first place. Routine inspection and maintenance can help extend the life of your paver patio, walkway, or driveway and reduce the likelihood of future repairs.
Control Water Around the Hardscape
Proper drainage is one of the most important factors in preventing sunken pavers. Make sure downspouts do not discharge directly along the edge of a patio, walkway, or driveway. Downspout extensions, splash blocks, grading improvements, or drainage systems can help move water away from the pavement structure.
For sites with persistent moisture or erosion problems, a qualified contractor may recommend drainage improvements such as underdrains, French drains, or open-graded aggregate systems, depending on the site conditions and pavement design.
Protect the Pavement from Concentrated Loads
Avoid concentrating heavy loads in one location for extended periods. Storing heavy materials, piling snow along pavement edges, or repeatedly parking vehicles in the same location can increase stress on the pavement system.
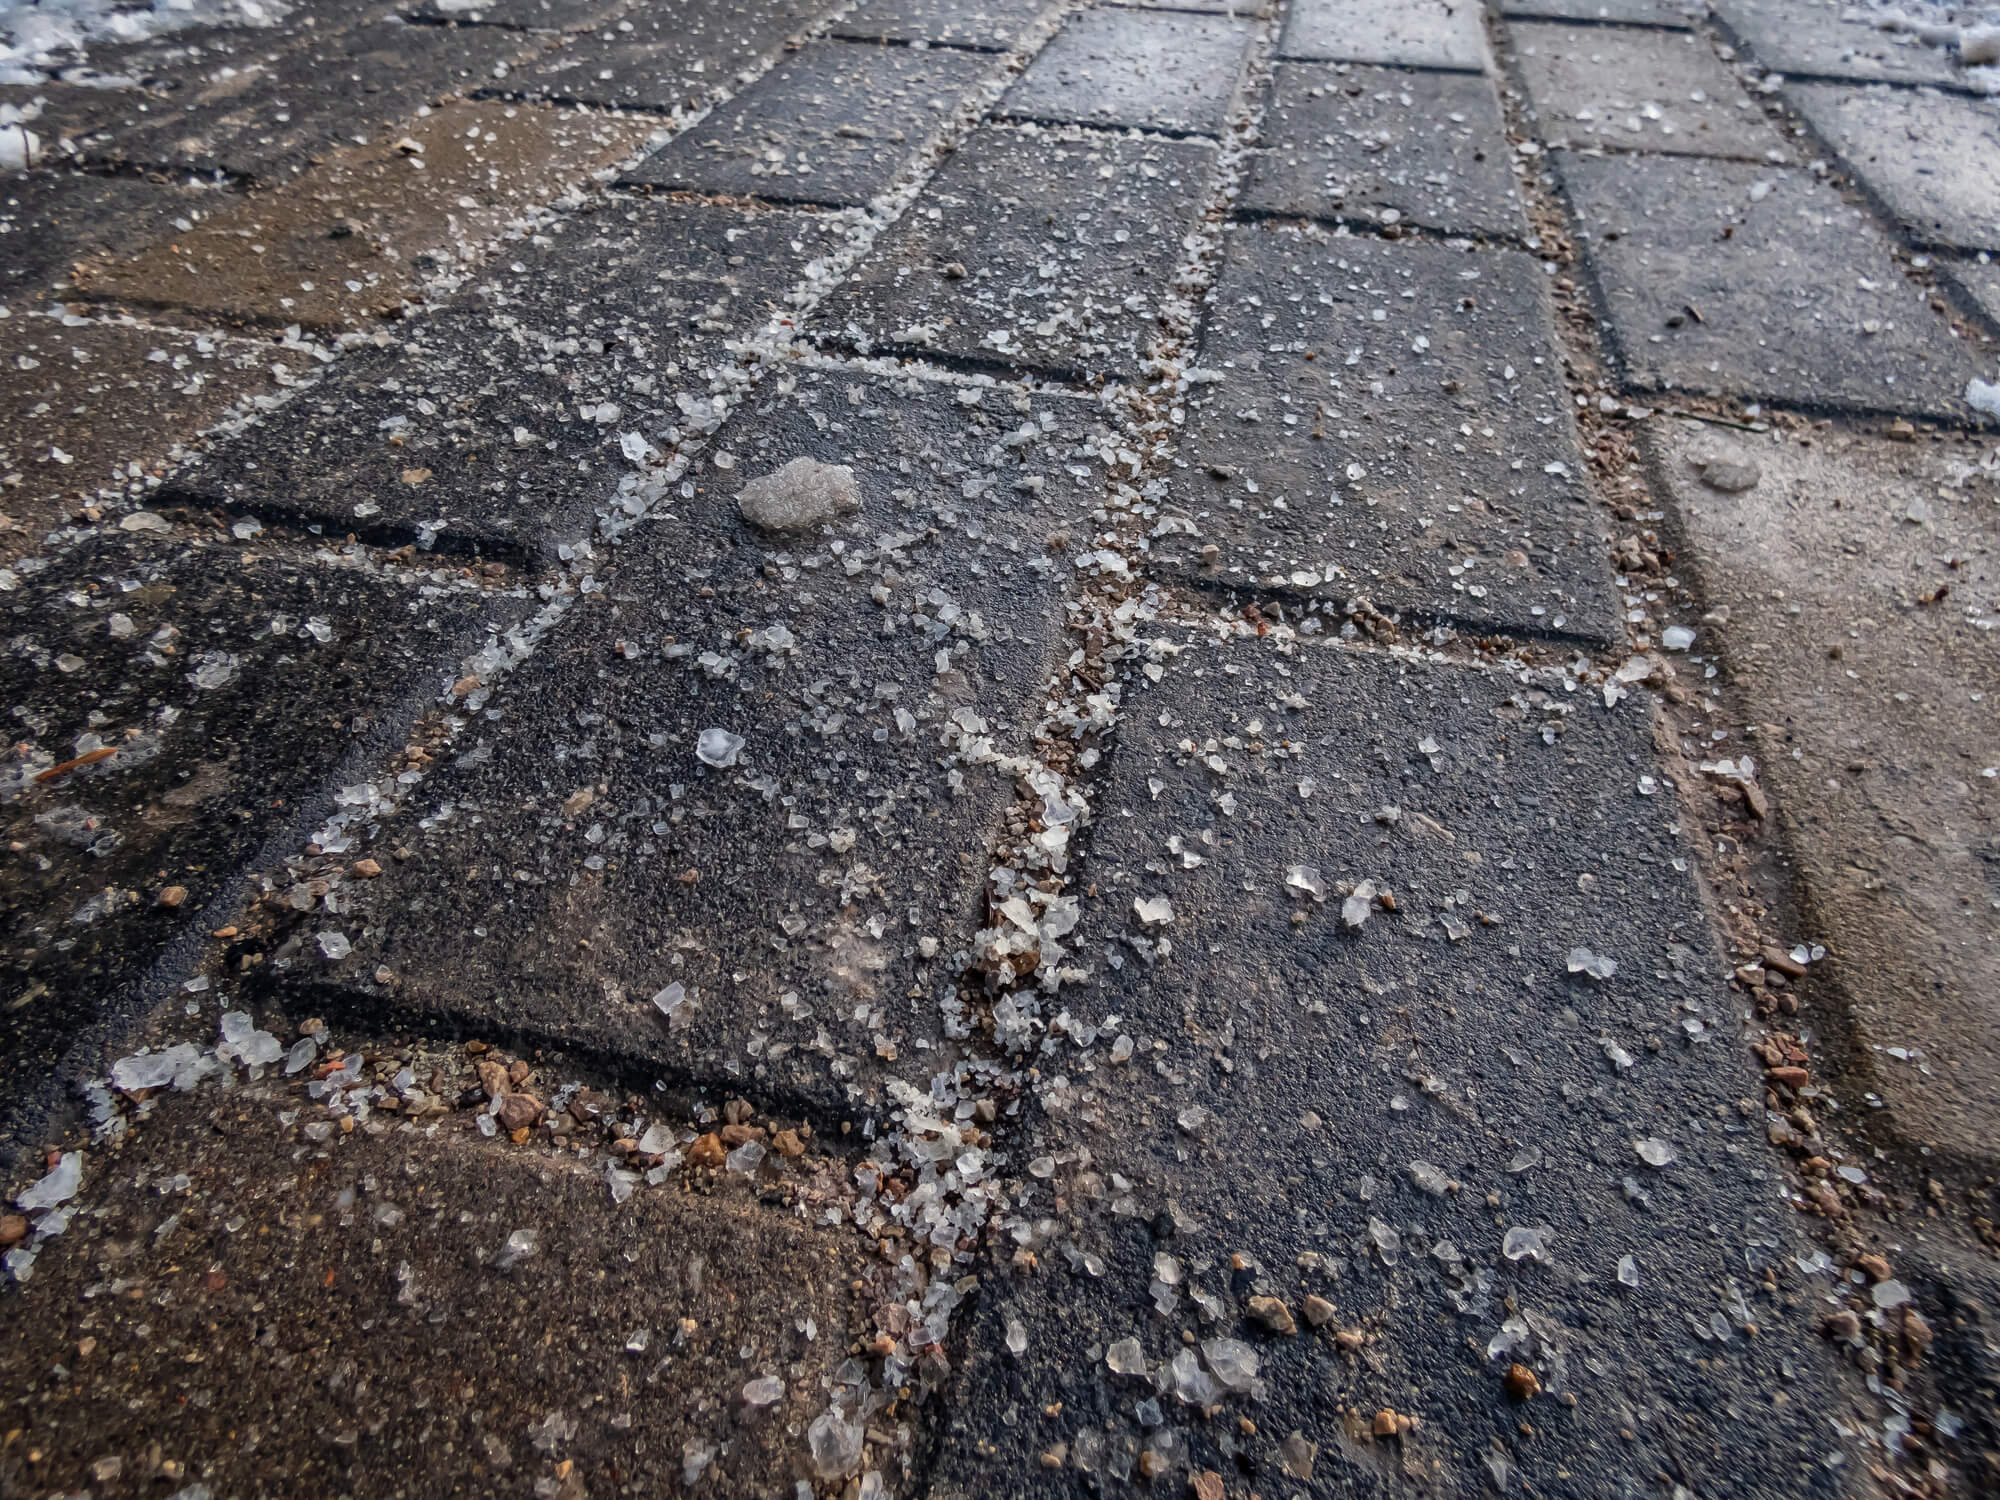
Also, use only cleaning products and deicers recommended for concrete pavers. Some chemicals may affect concrete surfaces, jointing materials, or nearby landscaping if used improperly.
Maintain the Joints and Edge Restraints
Inspect paver joints at least once each year and after major storms. Remove debris, weeds, and accumulated organic material, then replenish compatible jointing material wherever joints have become low or open.
At the same time, inspect edge restraints for movement or damage. Failed edge restraints can allow the pavement to spread, leading to widening joints, shifting pavers, and future settlement.
Plan for Future Landscape Changes
Landscapes evolve over time. Tree growth, new planting beds, irrigation changes, regrading, and drainage modifications can all influence the long-term performance of a pavement system.
Before making changes around an existing paver patio or driveway, consider how water flow, soil conditions, slopes, and tree roots may affect the pavement in the future.
If settlement continues despite correcting drainage, loading, and maintenance issues, the underlying problem may extend into the aggregate base or subgrade and should be professionally evaluated.
When Is a Sunken Paver Problem Bigger Than DIY?
Some repairs require more than simply re-leveling a few pavers. A professional evaluation is recommended when settlement is widespread, recurring, located near structures, or clearly related to drainage or unstable soil.
Signs You Should Call a Professional
- Deep or rapidly worsening depressions
- Broad waves or washboard-like surface irregularities
- Wheel-path rutting in driveways
- Movement near foundations, retaining walls, or steps
- Water draining toward buildings or other structures
- Repeated failure in the same repaired area
- Large sections of rocking, spreading, or separating pavers
- Evidence of erosion, voids, or unstable soils beneath the pavement
In many cases, the cost of a professional diagnosis is less than the cost of repeatedly repairing the same problem without addressing its underlying cause.
What to Expect From a Professional Paver Inspection
An experienced hardscape contractor or segmental pavement installer should evaluate the entire pavement system—not just the visible low spot.
How Professionals Diagnose Settlement
A comprehensive inspection may include:
- Age and installation history
- Soil and subgrade conditions
- Aggregate base thickness and condition
- Surface slope and drainage patterns
- Edge restraint condition
- Joint condition
- Pedestrian and vehicle loading
- Recent landscaping, excavation, or grading changes
In some cases, contractors may excavate small test pits to evaluate the supporting layers beneath the pavement. Observing the site during or immediately after a rainfall can also reveal drainage issues that may not be obvious during dry conditions.
How to Compare Repair Proposals
A quality repair proposal should clearly explain:
- The likely cause of the settlement
- Which pavement layers will be removed and rebuilt
- The anticipated excavation depth
- The proposed base, bedding, and jointing materials
- How the repaired area will be compacted
- Any planned drainage or edge-restraint improvements
- How unexpected site conditions will be handled
- Applicable manufacturer installation requirements
- Available workmanship or warranty coverage
Be cautious of proposals that focus only on leveling the visible pavers without explaining how the underlying cause will be corrected.
Why System-Built Paver Installations Last Longer
Long-lasting paver installations depend on more than quality pavers alone. The best-performing pavement systems combine properly prepared subgrades, well-compacted aggregate bases, consistent bedding layers, compatible jointing materials, effective edge restraints, sound drainage, and installation practices appropriate for the site’s soil conditions and expected loads.
At Rochester Concrete Products, we focus on concrete mix design, dimensional consistency, surface technologies, and installation guidance because every component of the pavement system contributes to long-term durability and appearance.
If you’re evaluating a newer installation or considering a product-related warranty claim, document the affected area and review the applicable installation instructions, warranty information, and contractor agreement. Settlement resulting from installation practices, drainage conditions, or site movement is generally not the result of a defective paver.
Build Lasting Paver Performance with Rochester Concrete Products
Sunken pavers rarely improve on their own. Identifying the underlying cause, repairing the affected layer, and using materials and methods compatible with the pavement system will produce longer-lasting results than simply raising the surface.
Small, localized areas can often be repaired successfully as a DIY project. However, recurring settlement, drainage problems, vehicle-loading issues, or movement near foundations, retaining walls, or other structures should be evaluated by a qualified hardscape professional.
For additional installation guidance, product information, or technical resources, explore Rochester Concrete Products’ installation resources, contact your local RCP representative, or connect with an authorized RCP dealer.