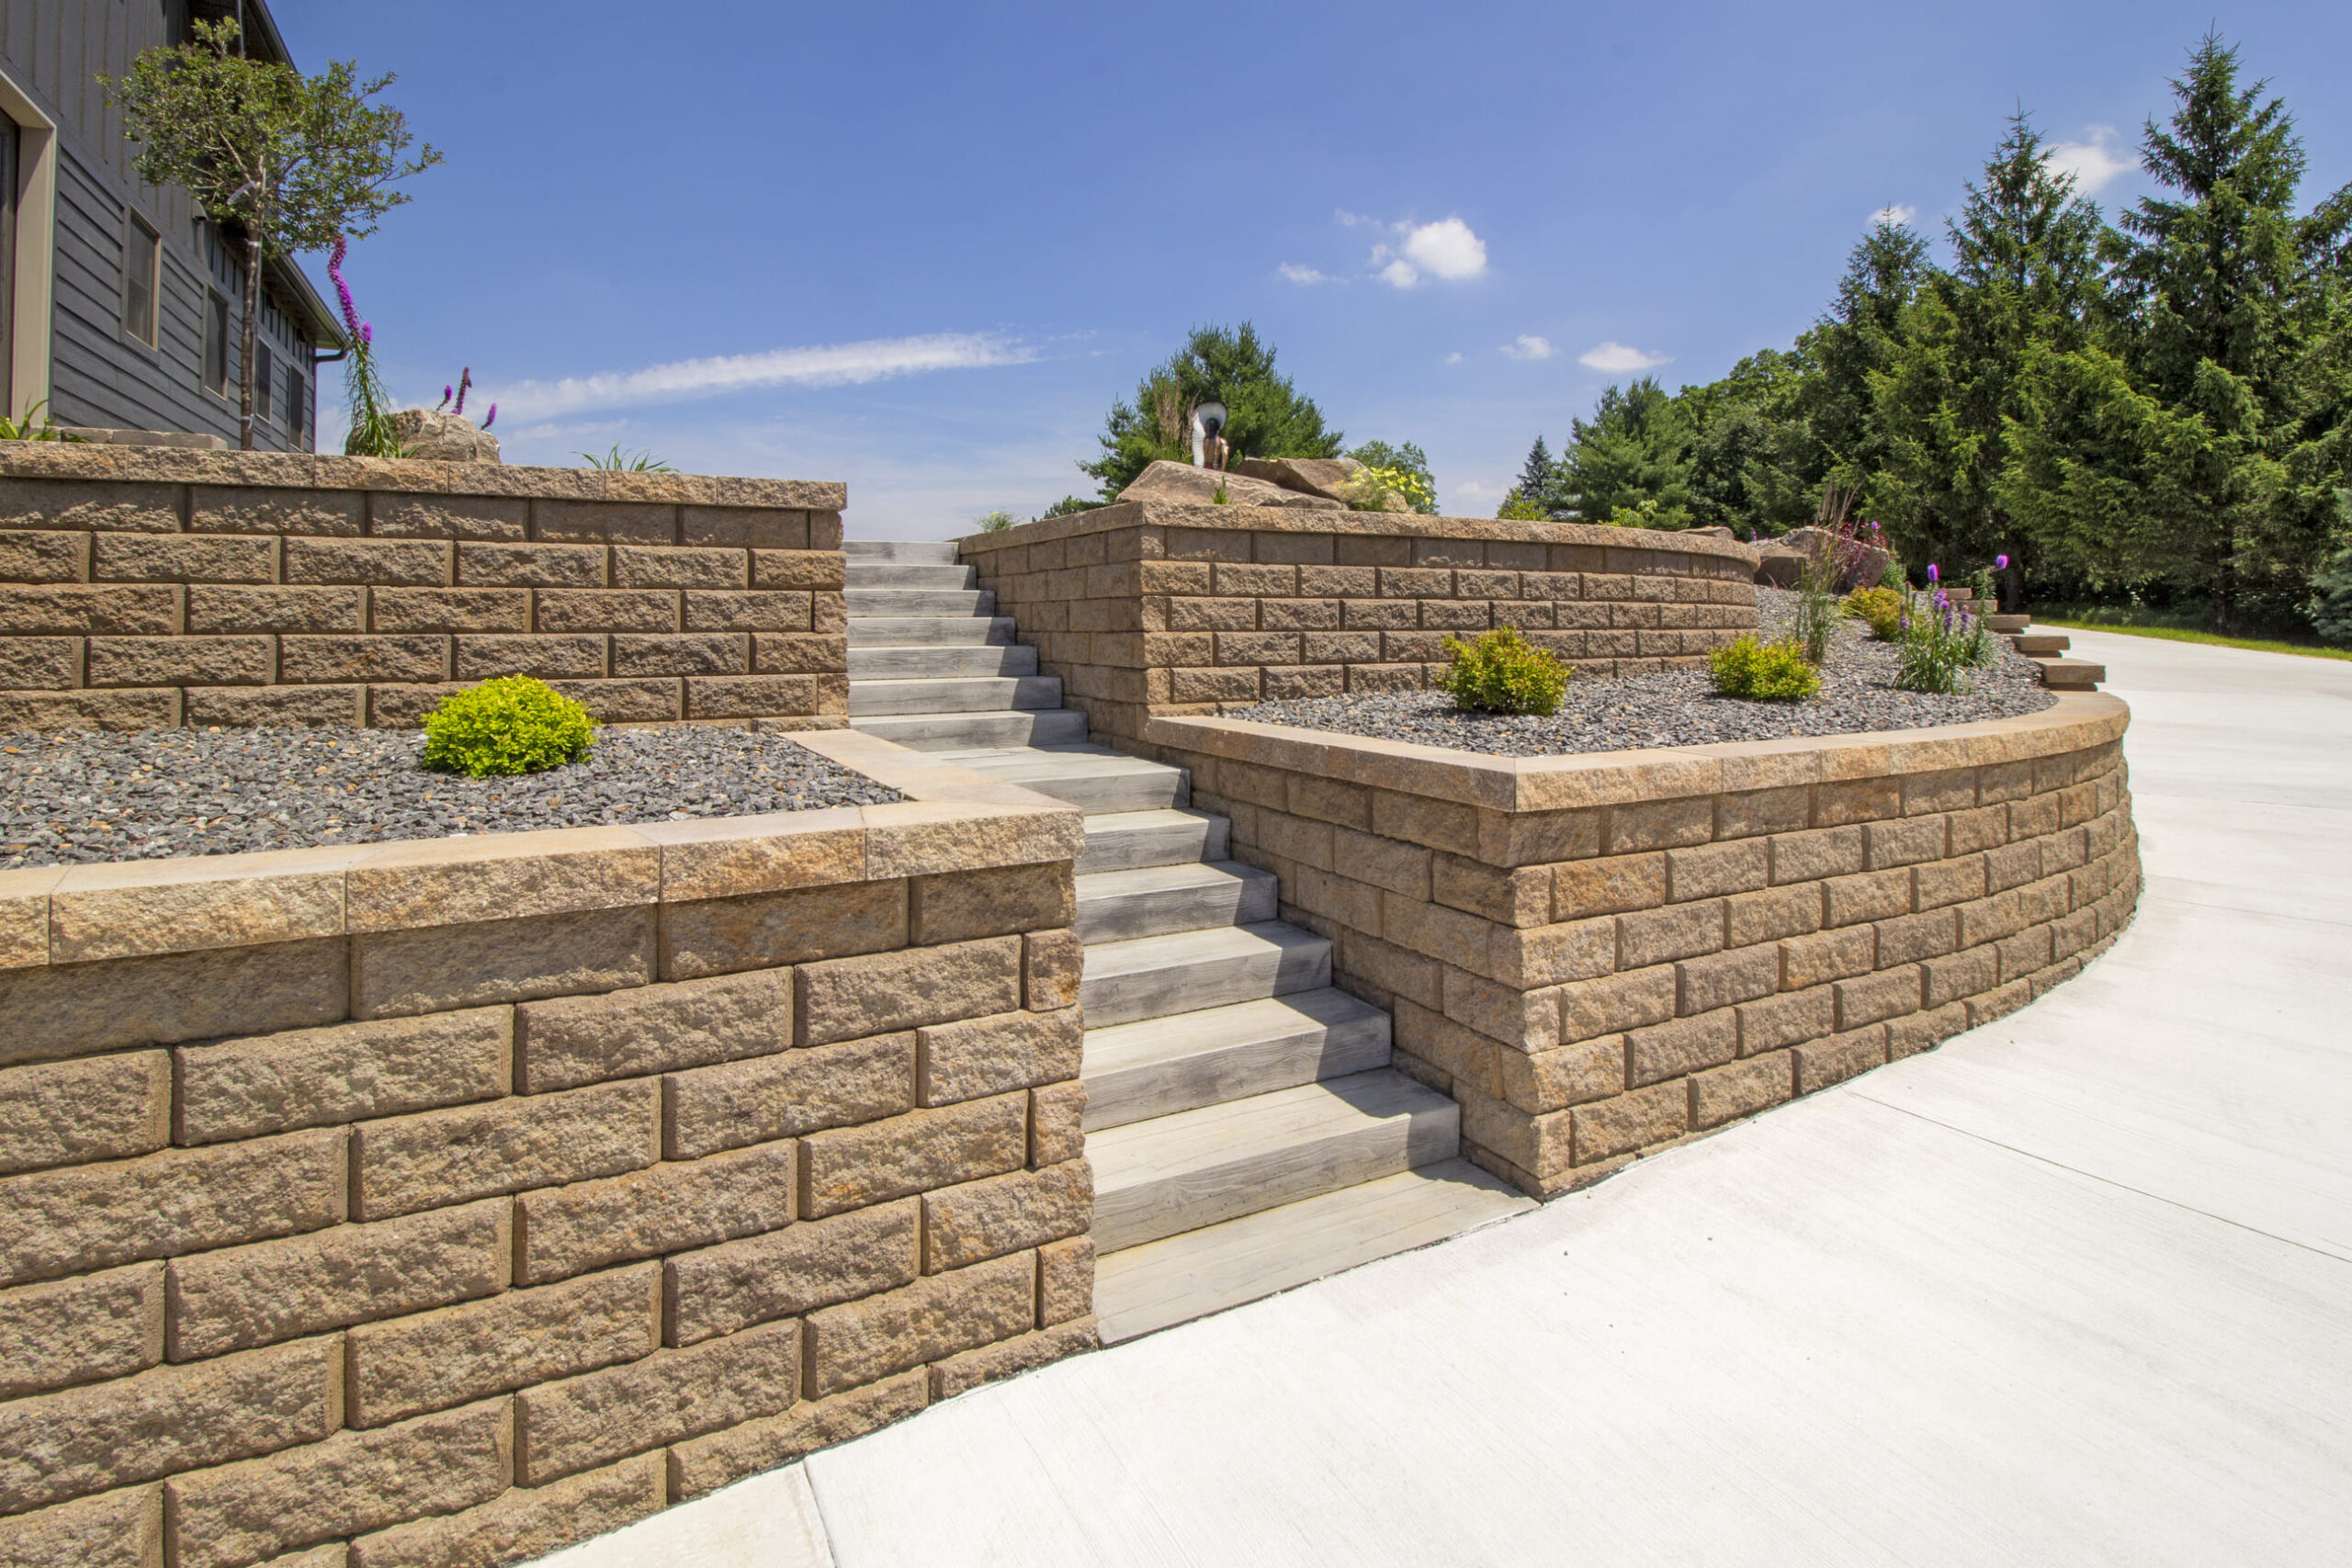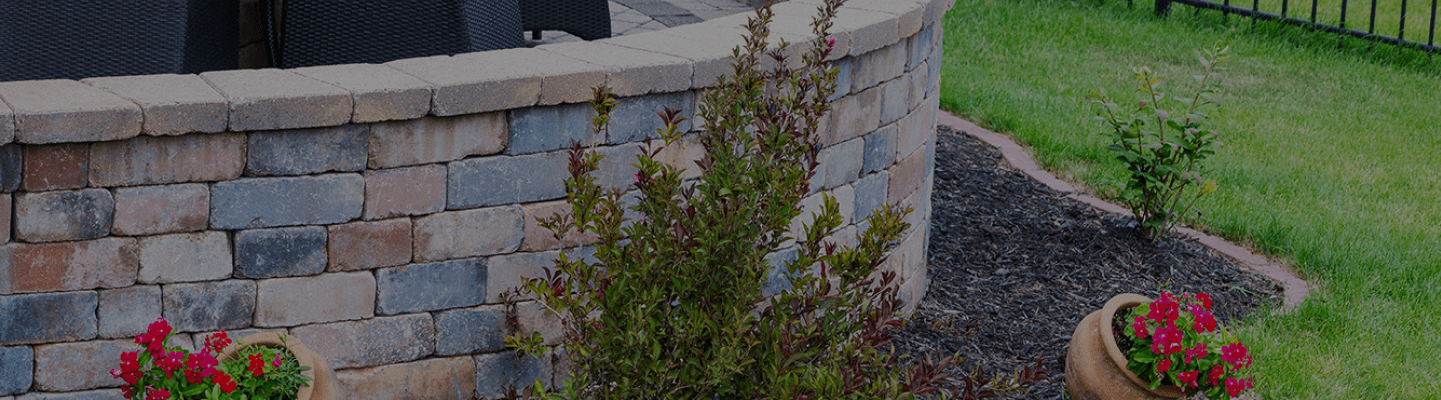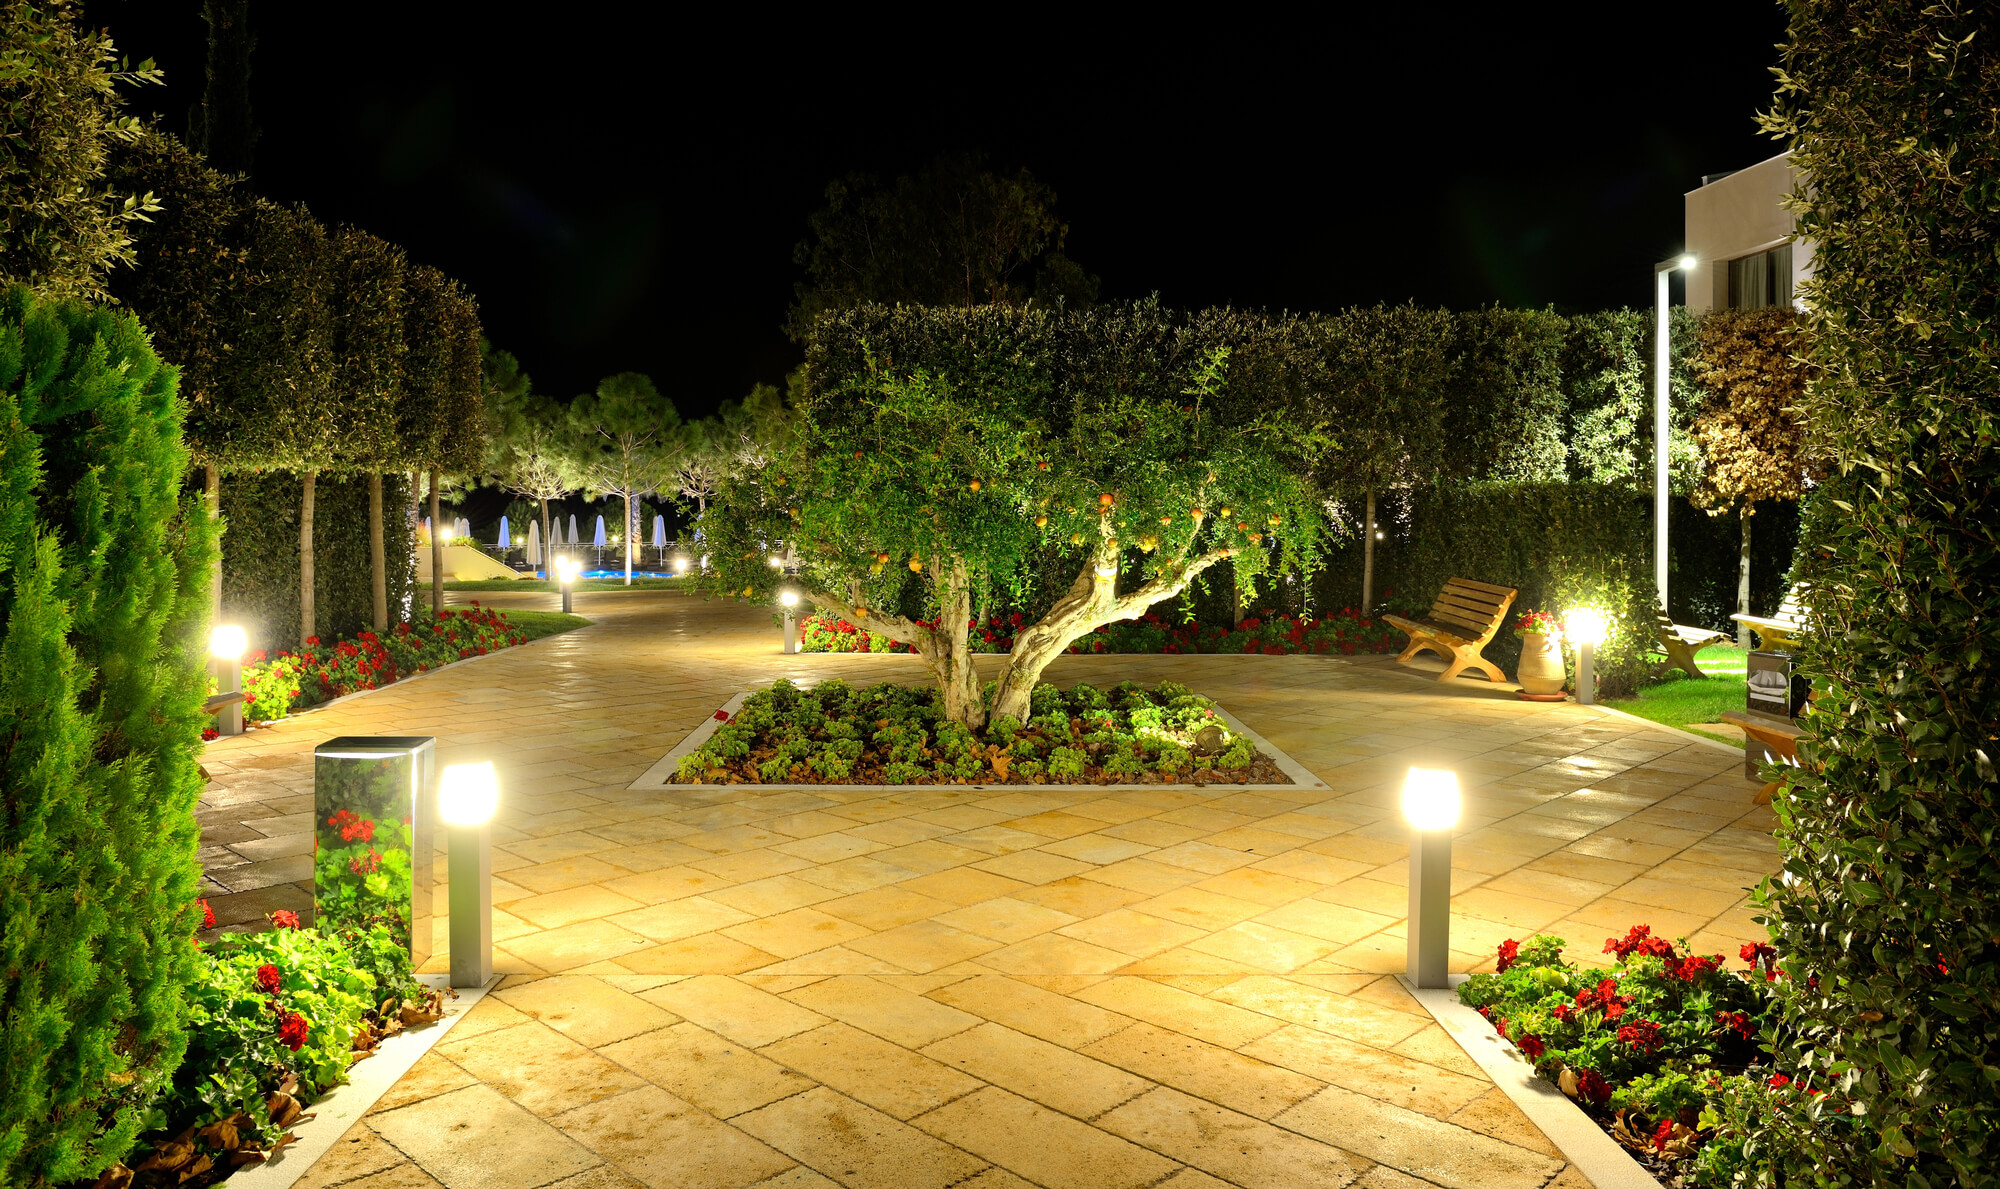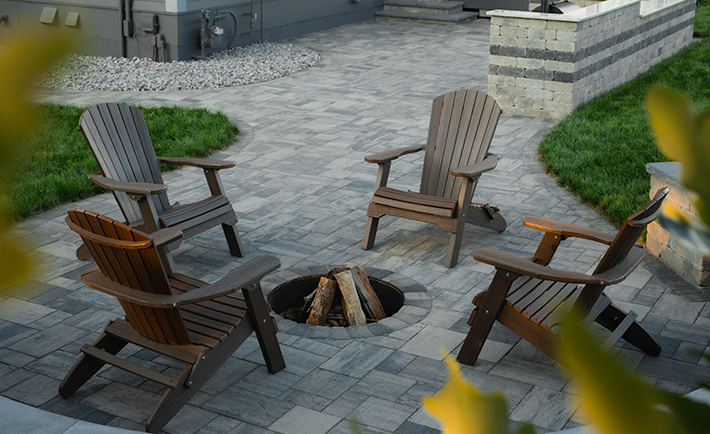
Concrete and stone caps and tops do more than finish a wall, pillar, step, or outdoor structure. They help cover exposed surfaces, create clean transitions, and connect hardscape elements through consistent color, texture, and edge detail.
Rochester Concrete Products manufactures caps and tops for retaining walls, pillars, seat walls, steps, outdoor living features, and other landscape applications. Choosing the right profile is only one part of the process. Accurate layout, correct installation, thoughtful material coordination, and routine maintenance all influence how the finished project looks and performs.
This guide explains where caps and tops can be used, why installation precision matters, and what to consider when planning design features, lighting, and long-term care.
What Are Concrete and Stone Caps and Tops?
Concrete caps and tops are finishing elements installed on walls, pillars, columns, steps, outdoor kitchens, fire features, and other hardscape structures. They cover exposed upper surfaces while giving the structure a more complete architectural appearance.
A cap usually refers to a horizontal piece installed on top of a wall. A top often describes the crowning surface of a pillar, post, column, or counter. In hardscape design, the terms are frequently used interchangeably because both products serve similar protective, decorative, and functional purposes.
Common materials include:
- Concrete
- Natural stone
- Brick
- Metal
- Wood
- Composite materials
Concrete is a practical choice for many residential and commercial projects because it combines durability, consistent dimensions, design flexibility, and long-term value. It can also reproduce natural-stone textures through chiseled, split-face, smooth, and contemporary finishes.
Compared with many natural materials, manufactured concrete provides more predictable dimensions. That consistency can simplify layout and help create cleaner joint lines across long walls, repeated columns, and other highly visible features.
Why Concrete Should Be Your Top Choice for Caps
Selecting the right material for your caps and tops is essential for achieving both long-lasting durability and a visually appealing finish. While stone and concrete are the most popular choices, concrete offers unmatched versatility—able to replicate the natural beauty of stone while also delivering sleek, modern design options.
By choosing concrete caps or concrete tops, you gain a material that not only withstands the elements but can also be customized to match your exact style and project needs.
Advantages of Concrete Caps and Tops:
- Enhanced Durability and Longevity: Concrete resists cracking, erosion, and decay, even in extreme weather conditions like heavy rain, snow, and temperature swings. It’s built to protect your outdoor structures for decades.
- Versatile Design Options: Concrete can be molded into nearly any shape or size and colored to mimic natural stone or create bold, contemporary looks. From rustic to modern, the design possibilities are virtually endless.
- Uniformity and Consistency: Achieve a cohesive appearance with consistent color, texture, and dimensions—ideal for large-scale projects or spaces that require a polished, unified look.
- Low Maintenance: Concrete requires minimal upkeep to maintain its beauty, making it a practical choice for busy homeowners and low-maintenance landscapes.
- Cost-Effective Solution: Often more affordable than natural stone, concrete also allows for a more efficient installation process, helping reduce overall labor costs.
Whether used for retaining walls, seating areas, pillars, or outdoor kitchen surfaces, concrete tops and caps deliver a stylish, durable, and budget-friendly solution for any hardscaping project.
Where Concrete and Stone Caps Are Used
Caps and tops can finish almost any hardscape structure with an exposed upper surface. Some applications are primarily decorative, while others require a product suited to seating, steps, frequent contact, or moisture exposure.
Common applications include:
- Retaining walls
- Garden walls
- Seat walls
- Pillars and columns
- Privacy fence piers
- Outdoor kitchens
- Fire pits and fireplaces
- Raised garden beds
- Pool surrounds
- Steps and staircases
- Water features
- Patio borders
- Entry monuments
The intended use should guide product selection. A heavily textured profile may suit a decorative pillar, while a smoother surface may work better on a seat wall or frequently touched feature.
Installing Concrete and Stone Caps
A successful installation begins before adhesive is applied. The installer should evaluate the supporting structure, confirm dimensions, calculate material needs, plan joints and cuts, and establish a consistent layout. Caps create strong horizontal lines, so small errors can become visible across a long wall or series of pillars. Careful preparation helps prevent awkward cuts, uneven overhangs, installation delays, and alignment problems.
1. Inspect the Supporting Structure
Before installing caps, confirm that the supporting wall, column, or pillar is stable, level, and ready for the finished units.
An uneven or unstable base may lead to rocking units, inconsistent joints, weak bonds, and changing overhangs.
Check for:
- Loose or shifting units
- Uneven surfaces
- High or low points
- Cracks or structural damage
- Dirt, dust, or loose debris
- Standing water or drainage problems
Resolve structural concerns before installation. A cap can finish a wall, but it cannot correct movement or instability beneath it. For taller walls (over four feet) or heavy load-bearing designs, soil reinforcement may be necessary. In such cases, consult an engineer or experienced hardscaping professional.
2. Clean the Installation Surface
Remove dust, dirt, efflorescence, loose particles, and construction debris before applying adhesive or setting material.
Prepare both the cap and the supporting surface according to the installation-product requirements. Moisture, temperature, contamination, and curing conditions can all affect bond performance.
3. Measure the Full Run
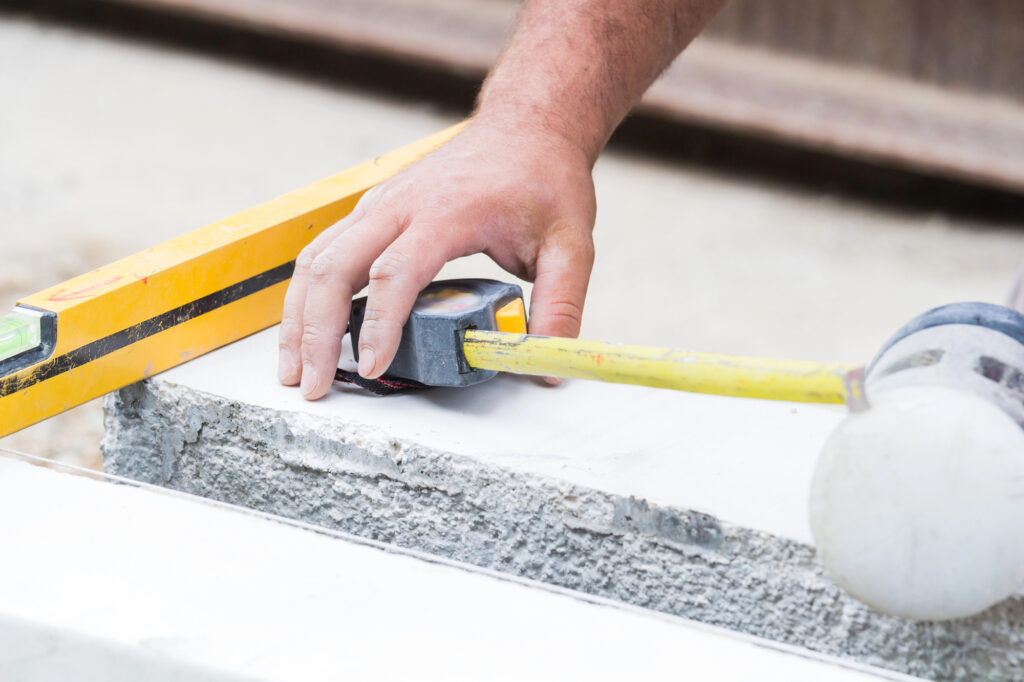
Measure the entire wall, pillar, or structure before installing the first cap. A complete measurement makes it easier to plan joint spacing, corners, end conditions, transitions, and cuts.
This is especially important on long or highly visible walls. A layout that looks acceptable at the starting point may produce a narrow cut at the opposite end. Account for:
- Cap length and width
- Overhang on each side
- Joint spacing
- Corners
- End pieces
- Pillar transitions
- Cuts
- Changes in wall direction
- Lighting or wiring requirements
Dry-laying several units before installation allows the layout to be adjusted while changes are still easy to make.
4. Calculate the Required Quantity
Once the full layout has been measured, calculate the number of caps or tops required for the project. Confirm that the selected product dimensions match the wall, pillar, or other structure before placing the order.
Most projects benefit from having a small amount of additional material available. Extra units can account for cuts, accidental damage, and adjustments around corners, curves, or changes in direction.
When estimating quantities:
- Include material for planned cuts and end pieces
- Allow for accidental breakage or installation damage
- Confirm quantities before installation begins
- Verify that the cap dimensions suit the intended application
- Purchase all required material at the same time when possible, and compare products before installation to help maintain a consistent appearance
A Rochester Concrete Products dealer or supplier can help confirm quantities based on the project dimensions and layout.
5. Gather the Necessary Materials and Tools
Assemble the tools, safety equipment, and installation materials before work begins. Having everything available before adhesive or mortar is applied helps reduce interruptions and keeps the installation moving efficiently.
Common tools may include:
- Tape measure
- Level
- Masonry trowel
- Rubber mallet
- Chalk line or straightedge
- Safety gloves
- Safety goggles
- Masonry or soft-bristle brush
- Concrete saw and appropriate blade
- Caulking gun for compatible adhesives
- Wheelbarrow and mixing paddle when using mortar
Installation materials may include:
- Adhesive or mortar compatible with the cap product, supporting structure, and installation method
Review the cap and installation-product specifications before purchasing materials. The adhesive or mortar manufacturer’s guidance should determine the correct product, quantity, application method, and curing requirements.
6. Establish a Consistent Overhang
Caps should extend beyond the face of the structure evenly unless the product design or project specification requires another condition.
Use a chalk line, straightedge, spacer, or measured reference points to maintain a consistent position. Even small variations can make a straight wall appear uneven.
7. Plan Cuts Before Applying Adhesive
Whenever possible, distribute cuts so the finished layout looks balanced. Avoid placing a very small cut at a visible end, corner, entry point, or pillar. Beginning with a partial unit may produce a more balanced result at both ends. Use the appropriate masonry saw, blade, and safety equipment for the material.
8. Dry-Fit Corners and Pillars
Corners, pillars, and changes in direction require more planning than a straight wall run. Dry-fitting these areas first makes it easier to confirm joint placement and visual balance.
Check:
- Joint alignment
- Cap orientation
- Overhang
- Corner relationships
- Visual symmetry
- Compatibility with adjoining walls or fence sections
Pillar caps often act as focal points, making misalignment especially noticeable.
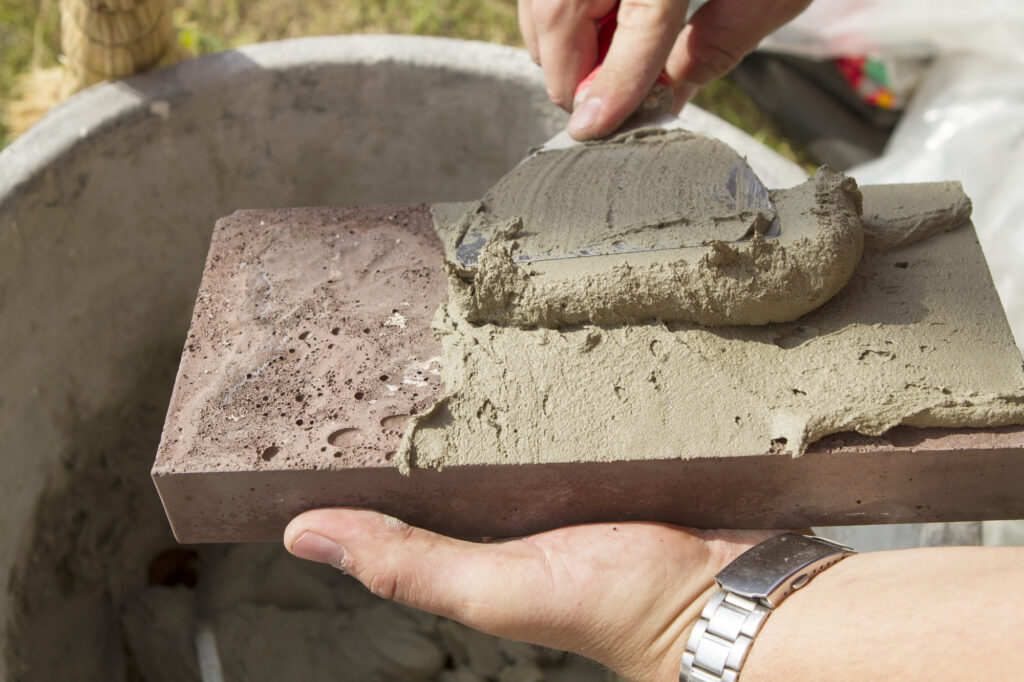
9. Apply the Correct Adhesive
Use an adhesive or setting material approved for the cap product, supporting structure, climate, and application. Apply it according to the manufacturer’s instructions. The bond should support the cap without creating excessive squeeze-out along visible edges.
10. Set and Align Each Cap Carefully
Once adhesive is applied, set each cap in relation to the surrounding units. Checking alignment as the work progresses prevents small variations from building across the full run.
Confirm:
- Front and rear overhang
- Side alignment
- Joint width
- Level
- Relationship to adjacent units
Make adjustments while the adhesive remains workable.
11. Allow the Installation to Cure
Protect the finished work while the adhesive or setting material cures. Avoid shifting the caps, placing weight on them, or installing accessories before the bond has developed. Follow the adhesive manufacturer’s curing requirements.
Why Precision Matters
Caps create some of the strongest visual lines in a hardscape project. Changes in spacing, overhang, slope, or alignment can stand out even when the variation is small.
Precision also affects water movement, stability, comfort, and lighting integration.
Appearance
Consistent joints, straight alignment, even overhangs, and balanced cuts create a professional finish.
Water Management
Correct placement can help direct water away from exposed wall surfaces. Reverse slope, low areas, or inconsistent overhangs may allow moisture to collect or flow toward the structure.
Stability
A fully supported and properly bonded cap is less likely to rock, shift, or loosen. Surface preparation, adhesive coverage, placement, and curing all contribute to long-term performance.
Comfort
Caps used for seating, steps, counters, or poolside features should have a texture and edge profile suited to frequent contact. Review the specific product rather than assuming every smooth, chiseled, or textured profile performs the same way.
Lighting Integration
Lighting is easier to install when fixture positions, wire routes, clearances, and cap dimensions are planned before the units are set. Adding wiring later may require visible conduit, additional cutting, or removal of completed work.
Design Ideas for Concrete and Stone Caps and Tops
Caps can serve as a subtle finishing detail or become a defining element within the landscape.
The best results come from choosing caps in relation to the entire project. Wall texture, paver color, home architecture, lighting, seating, and surrounding materials should all influence the final selection.
Retaining Walls
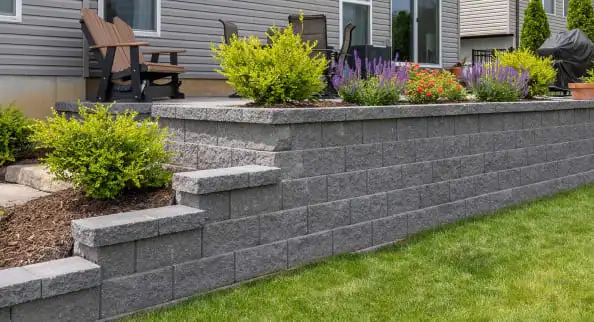
A cap gives a retaining wall a finished upper edge while covering the exposed wall surface. Choose a profile that coordinates with the wall texture, nearby pavers, home exterior, and intended style.
A smooth cap can create contrast against a textured wall. A chiseled or natural-stone-inspired profile can reinforce a rustic or traditional design.
Explore Retaining Wall Products
Built-In Seating
Wide caps can turn low walls into practical seating without adding separate furniture. This works especially well around patios, fire pits, gardens, and other gathering areas.
When planning a seat wall, consider the cap width, wall height, surface texture, and edge profile. Confirm that the wall and cap are suitable for the intended use before treating them as seating.
Outdoor Kitchens and Bar Areas
Concrete tops and caps can create serving, preparation, or bar surfaces within an outdoor kitchen. They also help connect cooking areas visually with nearby walls, seating, and patio materials.
Common applications include:
- Bar ledges
- Serving surfaces
- Grill-island accents
- Raised counters
- Transitions between cooking and seating zones
Confirm that the selected product is suitable for the intended exposure, maintenance requirements, appliances, plumbing, and other project conditions.
Fire Pits and Outdoor Fireplaces
Caps can define the upper edge of fire-pit walls and create a more finished appearance around outdoor fireplaces.
Depending on the design, they may also provide informal seating or temporary surface space. These uses must not interfere with required clearances, heat management, or safe operation.
Explore Fire Features and Outdoor Living Products
Pillars and Columns
Pillar caps protect exposed upper surfaces while giving columns, fence piers, and entry structures a stronger architectural finish. They can match adjoining wall caps or serve as a contrasting detail. Pillar caps may also support:
- Post-cap lighting
- Decorative fixtures
- House numbers
- Planters
- Sculptural elements
Any mounted item should be compatible with the pillar construction and installation method.
Raised Garden Beds
Concrete or stone caps can create durable borders around raised planting beds. A wider cap may also provide a convenient ledge for sitting or setting down gardening tools, provided the wall and cap are suitable for that use.
Steps and Staircases
Caps and tops can create a consistent transition between steps, walls, patios, and elevation changes. They may be used as:
- Step treads
- Wall-to-step transitions
- Landing accents
- Edges along raised patios
The selected surface should provide appropriate traction and meet the project’s structural and safety requirements.
Water Features
Caps can finish ponds, fountains, waterfalls, and other landscape water features. Because these areas receive frequent moisture exposure, product compatibility, slope, drainage, and installation requirements deserve careful attention.
Poolside Applications
Concrete and stone caps can finish raised walls, planters, water features, and other poolside structures. For seating, hand contact, or nearby walking surfaces, evaluate edge comfort, texture, heat retention, slip resistance, pool chemistry exposure, and applicable safety requirements.
Decorative Displays
Wall and pillar caps can provide a surface for decorative elements that add color, height, or personality to an outdoor space. Suitable options may include:
- Planters
- Decorative pots
- Bird baths
- Sculptures
- Lanterns
- Garden art
Avoid placing objects where they may fall, overload the cap, or interfere with runoff.
Creating a Custom Look
Concrete caps can coordinate with a broad range of landscape materials and architectural styles. The strongest combinations repeat colors, textures, or forms already present in the project.
Reproduce the Look of Natural Stone
Textured concrete can provide the character of limestone, sandstone, or other stone materials with more consistent dimensions and color control.
Match the Existing Architecture
Coordinate cap colors with:
- Siding
- Roofing
- Brick
- Stone veneer
- Pavers
- Retaining walls
- Outdoor furniture
The cap does not need to match the wall exactly. A complementary or contrasting color may create a stronger visual finish.
Mix Textures Intentionally
A smooth cap over a rugged wall can add contrast. A chiseled cap can reinforce the character of a traditional wall system. Repeat the selected texture elsewhere so the combination feels intentional.
Combine Concrete with Other Materials
Concrete caps can work alongside wood, metal, brick, pergolas, painted structures, planting beds, and natural stone. Use repetition and restraint to keep the design cohesive.
Integrating Lighting with Concrete and Stone Caps
Lighting can improve visibility, extend the use of outdoor spaces, and highlight caps, walls, pillars, and steps. Plan the system before caps are permanently installed. Fixture locations, wiring routes, transformer placement, controls, drainage, and maintenance access should all be considered early. Electrical work should follow manufacturer instructions and applicable codes.
Benefits of Hardscape Lighting
The most effective lighting plans balance safety, atmosphere, and visual restraint. Strategically placed lighting can provide:
- Safer navigation around steps and elevation changes
- Better visibility along pathways and seating areas
- Greater use of patios after sunset
- Accent lighting for walls, columns, and landscape features
- A more welcoming atmosphere
- Efficient illumination through LED or low-voltage systems
Too many bright fixtures can create glare and flatten the textures they are intended to highlight.
Plan the Lighting Layout
Start with areas where lighting will provide the greatest practical or visual benefit. Priority areas often include:
- Steps
- Pathways
- Seat walls
- Retaining-wall edges
- Pillars
- Outdoor kitchen counters
- Pool surrounds
- Entrances
- Fire-feature areas
The layout should guide movement and reveal the hardscape design without producing harsh contrasts or visual clutter.
Under-Cap Lighting
Under-cap lighting places the fixture beneath the cap overhang, creating a soft downward glow while keeping the light source relatively discreet. Common applications include:
- Seat walls
- Retaining walls
- Outdoor counters
- Steps
- Raised planters
The overhang must provide enough clearance for the fixture while allowing access for wiring, drainage, and maintenance. Solar fixtures may not perform well beneath overhangs if their panels cannot receive enough sunlight.
Step and Path Lighting
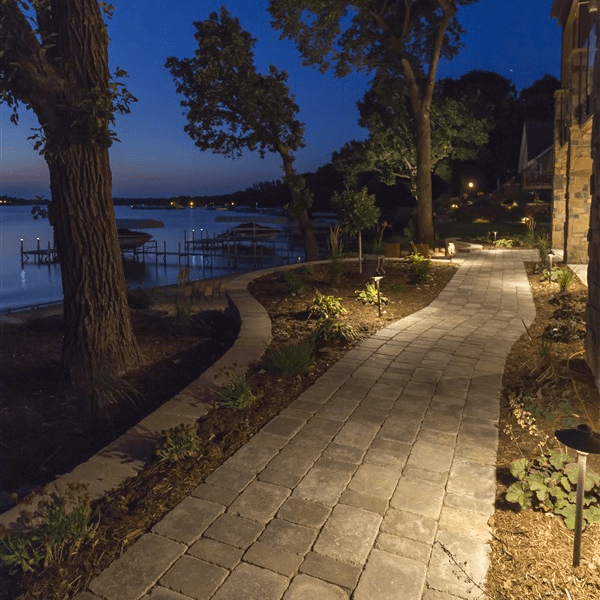
Lighting at steps and along paths improves visibility and helps define circulation routes.
Fixtures should illuminate walking surfaces without shining directly into people’s eyes. Their placement should also account for landscaping, drainage, snow removal, and maintenance.
Pillar and Post-Cap Lighting
Pillars can support post-cap fixtures, lanterns, downlights, or other decorative lighting.
Choose a fixture that suits the scale of the pillar and surrounding structure. Plan wiring before the pillar cap is set whenever possible.
Uplighting
Fixtures placed near the base of a wall or pillar can emphasize texture, height, and architectural detail. Adjust the distance, beam spread, and angle to avoid glare and uneven hot spots.
Pool-Deck Lighting
Recessed, under-cap, and pathway lighting can improve visibility around pools while highlighting raised walls and coping details. Use fixtures and installation methods designed for the location and compliant with applicable electrical and safety requirements.
Choosing Fixtures
Outdoor fixtures must withstand moisture, temperature changes, and other exterior conditions. They should also fit the available space and remain accessible for maintenance. Evaluate:
- Weather resistance
- Corrosion resistance
- Mounting method
- Fixture depth
- Light output
- Beam spread
- Color temperature
- Energy consumption
- Wiring access
- Replacement and maintenance
LED and low-voltage fixtures are common choices because they offer efficient operation and flexible placement. Warm light often suits patios and seating areas, while cooler light can complement contemporary designs when used carefully.
Timers and Smart Controls
Timers, photocells, and smart controls can automate the lighting system. They can be used to:
- Turn lights on at dusk
- Switch them off at a set time
- Create separate lighting zones
- Adjust brightness
- Reduce unnecessary energy use
Choose controls compatible with the fixtures, transformer, and installation environment.
Lighting Maintenance
Clean lenses, remove debris, inspect visible wiring, and trim vegetation that blocks the light.
Maintain access to transformers, junctions, controls, and replaceable components.
Maintaining Concrete and Stone Caps
Concrete and stone caps require limited maintenance, but periodic cleaning and inspection can preserve their appearance and reveal minor problems before they become more serious.
Clean Surfaces Regularly
Leaves, soil, spills, and organic debris can collect on horizontal cap surfaces.
Use water, a mild detergent, and a soft-bristle brush when appropriate. Avoid harsh cleaners, metal tools, or aggressive methods that may damage the finish.
Inspect for Movement or Damage
Settlement, impact, moisture, and seasonal changes can affect caps over time. Check for:
- Loose caps
- Failed joints
- Cracks
- Chips
- Shifting
- Adhesive separation
- Water collection
- Damaged lighting components
Pay particular attention after winter or severe weather.
Use Sealers Appropriately
Some projects may benefit from a compatible penetrating sealer that helps reduce water absorption or staining.
Sealer requirements vary by product and application. Follow Rochester Concrete Products guidance and the sealer manufacturer’s instructions for compatibility, preparation, application, and reapplication.
Protect Caps During Winter
Avoid metal shovels or tools that can scratch or chip exposed surfaces. Use caution with deicing products. Select snow-removal methods and deicers compatible with the cap and surrounding hardscape.
Choosing the Right Cap Style
The right cap should support both the appearance and function of the project. Evaluate:
- Wall or pillar width
- Desired overhang
- Edge profile
- Surface texture
- Color
- Length and joint layout
- Seating comfort
- Slip resistance
- Exposure to moisture or heat
- Compatibility with lighting
- Installation requirements
Select the cap early so the wall width, overhang, joint layout, and surrounding materials can be coordinated from the beginning.
Chiseled Caps and Tops
Chiseled caps and tops provide a natural-stone-inspired edge with the consistency of manufactured concrete. They can finish retaining walls, garden walls, pillars, seat walls, and other hardscape features.
Available dimensions, colors, textures, and recommended applications vary by product. Review current specifications and physical samples before selecting a cap for seating, steps, poolside use, or another frequently touched surface.
Explore Chiseled Caps and Tops
Split-Face and Textured Cap Options
Split-face and other textured profiles can complement traditional, rustic, or naturalistic walls and pillars. Because edge geometry and texture vary, review the specific product before using it for seating, steps, hand contact, or poolside applications.
Frequently Asked Questions
Can concrete caps look like natural stone?
Yes. Concrete caps can be manufactured with chiseled, split-face, and other natural-stone-inspired finishes while offering more consistent dimensions and color control.
Review physical samples before making a final selection.
Can caps be used as seating?
Yes, when the wall, cap dimensions, installation, texture, and edge profile are designed for that use. Do not assume every decorative cap is suitable for seating.
Can lighting be installed under wall caps?
Yes. Compact hardscape fixtures and some LED systems can be installed beneath cap overhangs when wiring, clearances, drainage, and maintenance access are planned in advance.
Are concrete caps low maintenance?
Concrete caps generally require limited maintenance. Routine cleaning, periodic inspection, appropriate winter care, and prompt repairs can help preserve their appearance and performance.
Can concrete caps be combined with wood, brick, or metal?
Yes. Concrete caps can complement brick, wood, metal, stone veneer, pavers, and other outdoor materials.
Repeating colors, shapes, or textures elsewhere in the project can help create a cohesive design.
Are concrete caps suitable for retaining walls?
Yes. Caps are commonly used to create a finished upper edge on retaining walls.
The selected product should match the wall system, width, intended overhang, application, and installation requirements.
Can stone veneer be installed beneath wall caps?
Yes. Stone veneer can be installed beneath wall caps to add texture and create a more complete architectural finish. Confirm that the supporting wall, veneer system, cap dimensions, and installation materials are compatible before beginning work. Follow the applicable manufacturer instructions and installation requirements.
Complete Your Project with the Right Caps and Tops
The right cap can help cover an exposed surface, create a cleaner architectural finish, and make a wall, pillar, step, or outdoor living feature more useful.
Before finalizing a selection, review current product dimensions and specifications, compare physical samples, and confirm installation requirements for the wall system and application. A Rochester Concrete Products dealer or landscape professional can help identify compatible products and estimate the materials required.
Working with experts, such as the team at Rochester Concrete Products, guarantees that your concrete or stone caps and tops are installed securely, look polished, and stand the test of time.
Installation note: Requirements vary by cap style, wall system, adhesive, climate, and application. Review the applicable Rochester Concrete Products specifications and installation resources before beginning work. Structural, electrical, fire-feature, poolside, and other specialized installations should follow manufacturer instructions and applicable codes.