If you’ve ever watched a sloped patio settle, separate, or send water back toward the house, you already know this isn’t the same as laying pavers on flat ground. On a hillside property, gravity, water, and freeze–thaw cycles are always working against your project. If the base, slope, and drainage are treated like an afterthought, that hill will win.
On a sloped surface, your job is to turn that grade into a complete pavement and drainage system that feels solid underfoot and behaves predictably in heavy rain and winter.
Choosing the right concrete pavers or outdoor porcelain pavers for a sloped lot starts with understanding how the slope, soil, base, edge restraint, and drainage plan will work together.
While this guide shows you how to read and measure your slope, learn the correct installation sequence, set realistic elevations, and highlight the importance of a base that won’t creep and proper drainage, our paver installation guide in our resource library can help you with further installation details.
By the end, you’ll know how to diagnose your site, choose safe slope ranges, engineer a stable base, and decide when it makes sense to bring in help.
Why Sloped Sites Break Most Paver Projects: And How To Think Differently
Most sloped paver projects fail because they copy flat-yard patio details and ignore drainage systems.
Frequently, you’ll see the following three main mistakes during the installation process:
- The base preparation is too thin
- Slope calculation is imprecise
- Water flow is left to find its own path.
On a hillside property or sloped outdoor living space, just one of those mistakes will almost always mean erosion, settling, and loose edges.
Treating a sloped patio, walkway, terrace, or outdoor kitchen as a full system that incorporates structure, soil stability, and drainage slopes puts you in the same mindset as experienced installers and manufacturers.
A successful paver slope installation relies on a cohesive approach that includes proper excavation, edge restraint, the correct joint material, and base layers using materials such as gravel base or geotextile fabric.
A few mindset shifts make a big difference in overall stability:
- See the sloped surface as a predictable force; water will always chase the easiest path downhill, potentially increasing hydrostatic pressure if not managed correctly.
- Separate a comfortable slope underfoot from the critical drainage slope that efficiently directs water away, potentially using methods like the French drain system.
- Expect landings, steps, and small terraces on steeper grades; they are standard practice in slope engineering to manage soil conditions and facilitate proper drainage.
Once you start thinking in terms of systems instead of surfaces, decisions about layout, base preparation, paver edging options, and drainage become much simpler to justify and defend, leading to a more stable and lasting installation.
Before You Begin: Codes, Product Guides, and Site Conditions
Before starting any paver slope installation, check local building codes, site-specific engineering requirements, and the installation instructions for the Rochester Concrete Products paver, wall, edging, or drainage system you choose.
Sloped sites may have stairs, retaining walls, concentrated runoff, frost movement, and structural loads.
You should follow product guidance and local code requirements instead of general rules of thumb.
Diagnosing Your Slope: The First Step
You can’t design a safe sloped paver installation until you know how steep the ground really is.
Measurement
Start by measuring rise and run between key points like door thresholds, planned patio edges, driveways, and obvious low spots.
A string line, tape, and level will tell you how many inches the ground falls over a known distance, allowing for accurate slope calculation.
This will help you decide whether you’re dealing with a gentle yard or a true hillside that needs steps or terraces, which will affect your slope stability.
Drainage Site Assessment
Next, let the site show you how it already handles water. After a good rain, walk the area and notice:
- Where water first starts to collect or cut small channels, affecting potential drainage systems.
- Where it speeds up and concentrates as it moves downhill, possibly necessitating a French drain system or other drainage solutions.
- Where it slows down and sits in soft, muddy patches, which might require improved soil conditions or a gravel base for stability.
- How different soils respond. For example, tight clay staying soggy versus sand or gravel draining quickly.
Risk Zones
Finally, mark “risk zones” around anything that doesn’t like movement or extra water:
- Foundations
- Retaining walls
- Property lines
- Existing leaning walls
- Cracked slabs
These areas may require additional edge restraint or other stabilization measures.
A simple sketch with slopes, wet spots, and sensitive structures gives you a realistic picture of what your paver system has to solve, factoring in the need for potential geotechnical analysis, before you ever touch a shovel.

Designing Layout, Elevations, Slope Ranges, and Drainage
On sloped ground, successful paver installation starts with deciding which surfaces must feel nearly level and which can follow the grade.
It’s crucial to assign each a safe slope range and establish a proper drainage path.
For optimal slope ranges, consider the following:
| Use | Typical Slope Range | Notes |
| Patio / outdoor room | about 1–2% | Feels close to level under chairs, requires well-designed drainage systems |
| Primary walkway | about 1–4% | Safe, comfortable daily circulation, with attention to soil stability and drainage |
| Secondary / utility path | about 2–5% | Steeper grades are possible if surface materials have good grip, such as permeable pavers |
| Driveway / parking | about 2–5% | Supports drainage without compromising traction, with a solid gravel base |
Translate these percentage values into specific spot elevations using tools like a total station or laser level. Then, mark finished heights at doors, landings, and key edges, then work backward with string lines or laser to set grades.
Around the house, maintain a stronger initial pitch away from the foundation, then ease into gentler patio slopes.
For longer expanses, consider one continuous slope versus options that incorporate a landing, switchback, or small terrace; often the segmented version enhances slope stability, improves drainage, and ensures user comfort over time.
Integrating materials like geotextile fabric and establishing adequate edge restraint options, such as plastic paver edging or poured concrete edge beams, further reinforces the pavers’ stability.
Remember: Proper excavation and base preparation, including compacting the gravel base, are crucial steps, especially in hillside properties with complex soil conditions and when dealing with potential hydrostatic pressure.
Choosing the Right Pavers for a Sloped Yard
Selecting the right pavers for a sloped yard involves more than just aesthetic considerations.
Key factors such as:
- Surface texture
- Paver thickness
- Laying pattern
- Edge restraints
- Bedding material
- Drainage compatibility
all matter more when the pavement is built on grade.
Pedestrian Concrete Paver Projects
For patios, outdoor kitchens, or a walkway of pavers, it is important to select pavers or slabs that:
- Are suited to the area’s intended use
- Offer adequate traction
- Can be installed with the appropriate base preparation for the project.
And in areas with steeper slopes, such as walkway transitions to steps or driveways exposed to snow and ice, emphasis should be placed on paver systems that coordinate well with strong edge restraints, compacted gravel bases, and interlocking patterns to ensure stability.
Consider using concrete pavers for their durability and ability to manage water flow effectively, thereby reducing puddles and maintaining proper drainage on sloped surfaces.
Rochester Concrete Products provides a wide array of paving options, including pavers, slabs, and permeable pavers that, when used with appropriate drainage systems and edge restraints, can address the challenges presented by varying slope and drainage conditions.
Among the top-rated concrete pavers with good traction, drainage, and stability are:
- Cobble Stone™: With a textured surface and irregular edges, Cobble Stone recreates the look of a centuries-old European boulevard. The open joint design makes it ideal for eco-friendly, permeable applications.
- Holland Eco™ Paver: Designed specifically as a high-flow-rate eco-friendly paver. Holland-Eco is ideal for commercial and heavy vehicular applications. Palletized for machine installation.
- Pacific-Eco™: Designed specifically as a high-flow-rate eco-permeable paver. Pacific-Eco is ideal for commercial and heavy vehicular applications. Palletized for machine installation.
- Mezzano™: Mezzano comes as a mid-sized three-piece system and features an embossed slate texture surface. Its versatile design makes it ideal for patios, pathways, pool decks, or driveways.
- Cheyenne™: A three-piece, larger format paver featuring an embossed slate texture surface. Cheyenne installs quickly and is ideal for patios and pool decks.
- Colonial™: These popular pavers look like the decades-worn cobbles of colonial streets. Colonial is a popular choice for patios, paths, pool decks, and driveway applications.
- Bullnose Paver: Bullnose pavers are ideal for complementing edging step treads, pool coping, seatwall caps, and accents.
- Antique Travertine™: Offering the timeless appeal of ancient natural stone, Antique Travertine Tiles are perfect for patios, walkways, and pool decks. They create a sophisticated, old-world charm that enhances the elegance of any outdoor space.
These solutions enhance the stability and longevity of your hardscape installations.
Engineering the Base on a Slope
A sloped paver surface is only as stable as the base under it. On a hill, you usually need a deeper, better-locked base than you would use on flat ground.
Determining How Deep to Go
For light-use patios and walks, many installers start with 4–6 inches of compacted dense-graded aggregate over firm subgrade; for driveways and vehicle areas, 8–12 inches or more is common, especially on weak soils or steeper grades.
The steeper the slope and the softer the soil, the more base you generally need to resist movement.
As a starting point, many pros think in these ranges:
- Patios and light-use walks – about 4–6 inches of compacted base.
- Heavier walks and small drives on good soil – about 6–8 inches.
- Driveways, vehicle pads, weak soils, or steeper grades – about 8–12+ inches.
- High-load or problem areas – extra depth and, in some cases, a reinforcing grid.
Use those as rules of thumb, then match your plan to the guidance for the specific paver and base system you choose. It’s crucial to always match the base assembly, compaction method, joint material, edging, and drainage approach to the specific product guide and site conditions.
How Much Geotextile to Use
On clay, fill, or wet ground, a layer of geotextile fabric between soil and base helps keep fine particles from pumping up into the stone and weakening it.
On steeper or heavily loaded sections, one or more layers of geogrid inside the base can add shear resistance, helping the stone lock together and resist sliding.
None of these tools replaces proper grading and compaction, but they give the system more margin when gravity and water are trying to pull it apart.
Grading, Excavation and Lift-by-Lift Compaction on Uneven Ground
Grading a slope for pavers is about creating a uniform, stable platform, not just shaving high spots. Instead of cutting one long plane out of the hill and ending up with a thin base at the low edge, it often works better to cut in shallow benches or steps, so your base thickness stays consistent from side to side.
For example, that may mean turning one long 3-foot rise into two shorter tiers separated by a small step or retaining wall.
In cases such as those, you can follow a basic sequence:
- Excavate to your target depth
- Compact the exposed subgrade before you add any base
- Place gravel bed or gravel base in thin lifts, often 3–6 inches at a time, and compact each layer thoroughly before adding the next.
- On steeper slopes, work the compactor up and across the grade in controlled passes and avoid operating on anything that feels unstable underfoot.
- Use string lines, stakes, or a laser set to finished elevations minus paver and bedding thickness.
As you build, check that the base follows the intended slope in both directions. Pay extra attention to the steepest runs, curves, and transitions, because that is where movement shows up first.
Pro tip: Keep stockpiles and equipment off finished areas and route machines around major tree roots or soft spots so you are not building surprises into the structure.
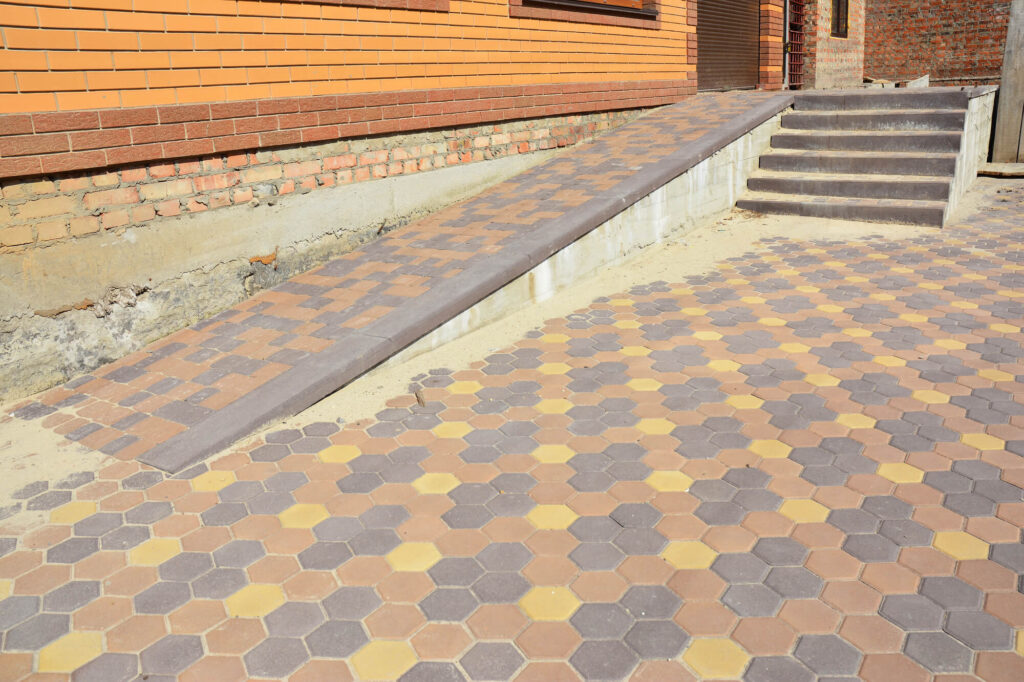
How to Build a Paver Patio on a Slope
Building a paver patio on a slope requires careful planning to prevent shifting due to gravity, ensure proper drainage, and create a safe, stable surface that holds its position through seasonal changes and regular foot traffic. A slight slope is actually beneficial — the recommended slope for a paver patio is one eighth to one quarter inch per foot, with a minimum slope of one percent necessary for drainage and a maximum slope of two percent before the surface becomes impractical for standard patio use. Good drainage is crucial for preventing water damage beneath the pavers, and incorrect drainage planning leads to standing water, erosion, and the kind of base failure that undermines even a well-installed patio surface over time.
Before breaking ground, use a tape measure and marking paint to lay out the full patio area perimeter, identify the high side and the natural slope direction, and plan how water will move across and away from the finished surface. A straight board and level help you confirm the slight slope direction across the full length of the patio area and ensure the grade is consistent from the high side to the perimeter before any digging begins. Professional consultation may be necessary for steep slopes or retaining walls — and if the natural slope exceeds the two percent maximum or requires significant grading to achieve a usable patio area, the scope of the project changes meaningfully in terms of excavation depth, edge restraint requirements, and project cost.
Tools and Materials You Will Need
Having the right tools assembled before you begin saves time and prevents the kind of mid-project stops that lead to rushed decisions and installation mistakes. For a paver patio on a slope you will need:
- Tape measure and marking paint for laying out the patio area perimeter and confirming dimensions across the full length and width of the space
- Excavation tools sized for the depth and soil conditions of the site — shallow excavation is a common mistake on sloped installations, so plan for the full depth needed to accommodate the crushed gravel base, sand layer, and paver thickness at the high side of the patio area
- Crushed gravel for the base layer — the depth depends on soil conditions, drainage conditions, and whether permeable pavers are being used, with permeable paver systems sometimes requiring deeper gravel beds to manage infiltration effectively
- Plate compactor for compacting the crushed gravel base — do not compact the sand layer before laying the pavers, as compacting the sand layer prematurely prevents the fine adjustments needed to achieve a consistent depth and smooth surface across the full patio area
- Straight board and level for checking grade across the surface and confirming the slight slope is consistent from the high side to the perimeter throughout the installation
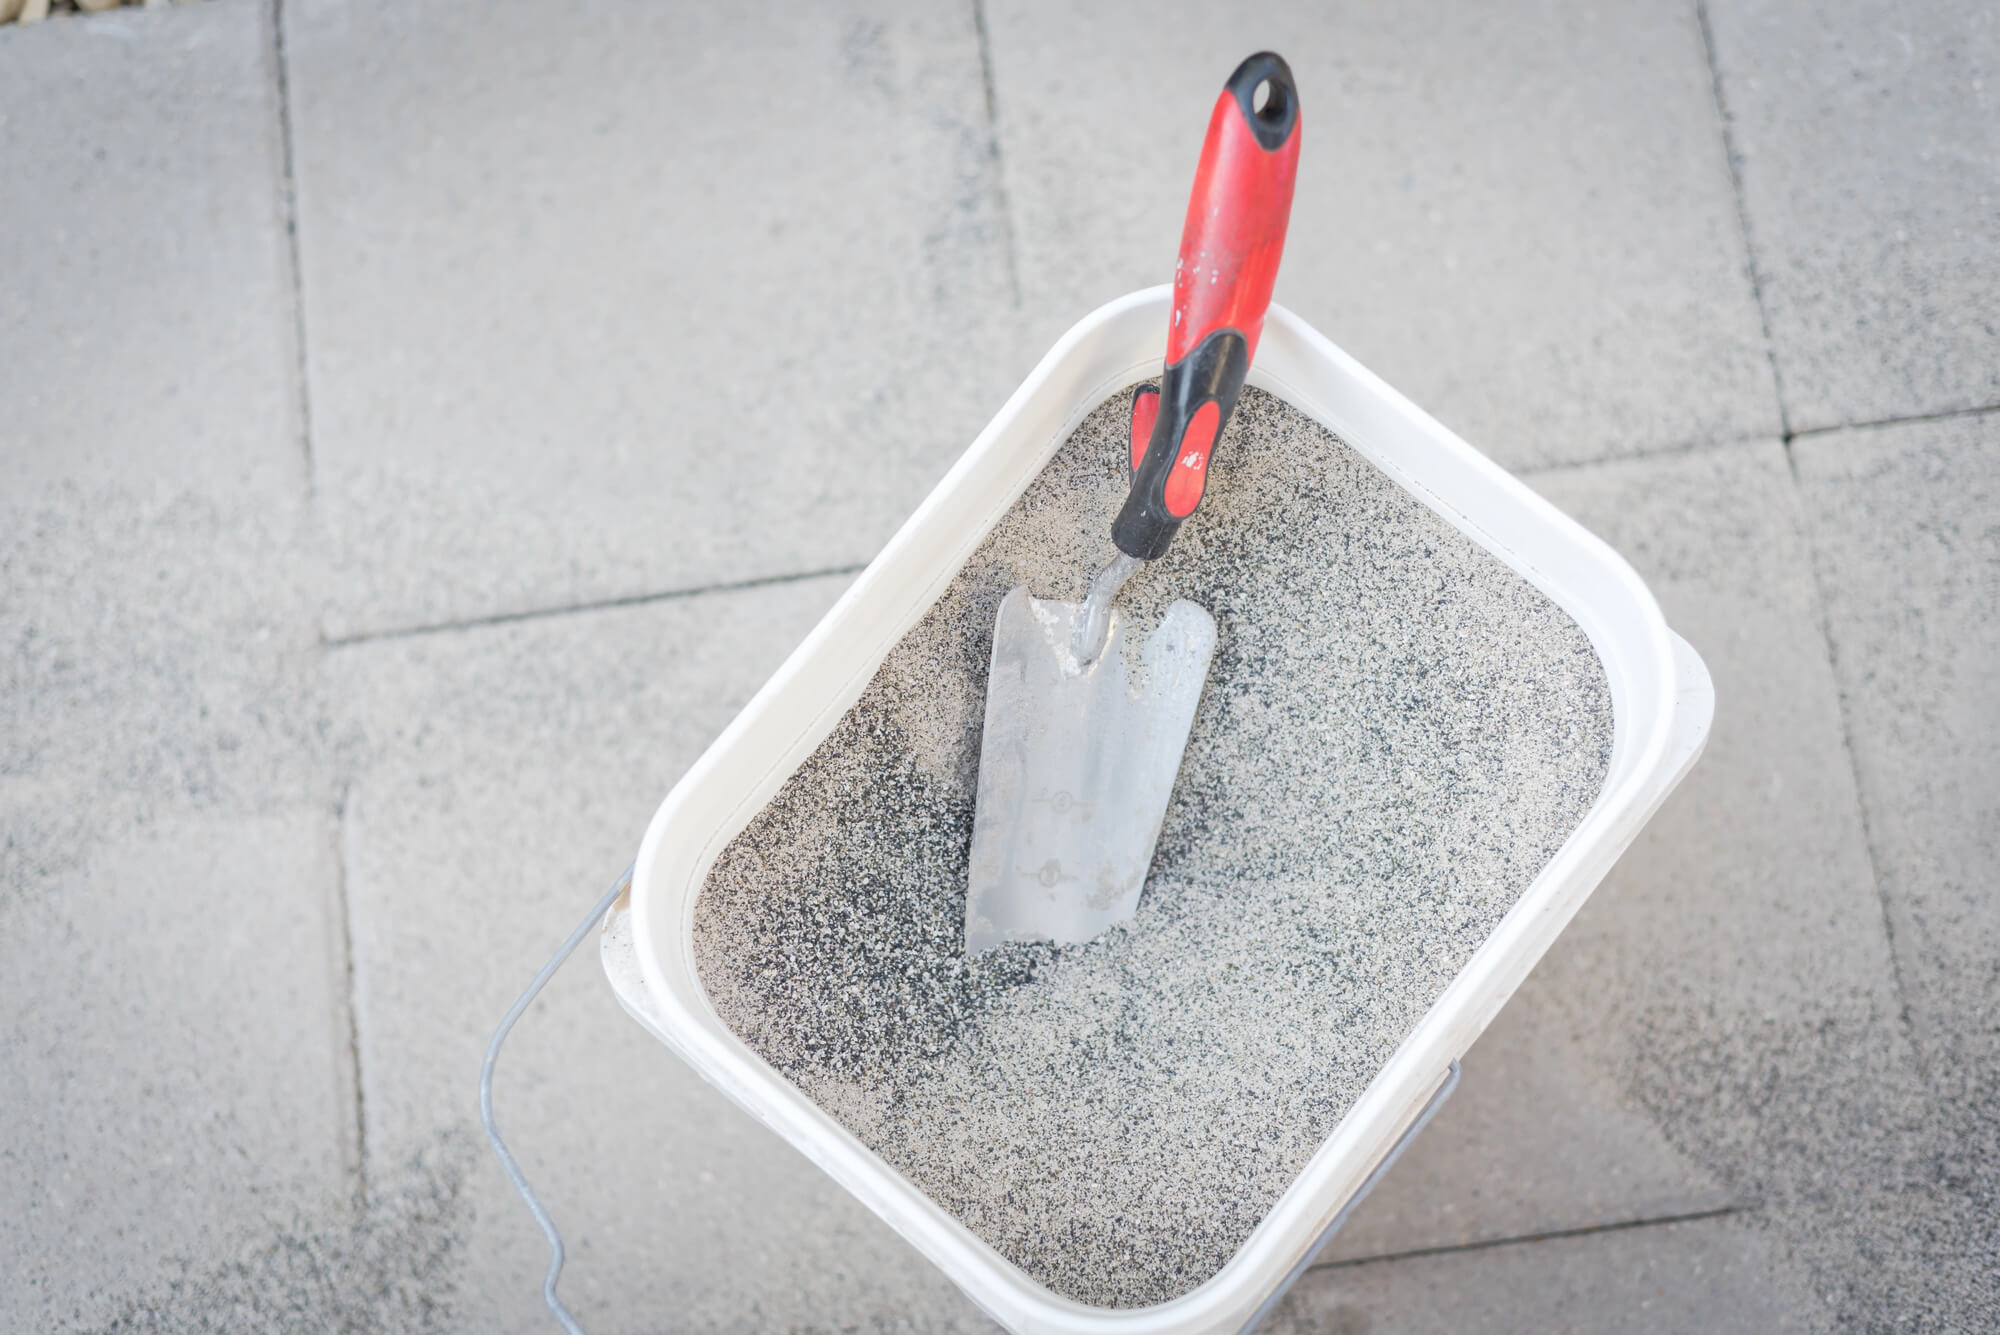
- Joint sand — polymeric sand is preferred for joint material on slopes because it hardens after activation and resists the washout and joint erosion that loose joint sand experiences on any patio on a slope where water movement across the surface is concentrated
- Edge restraints to install at the perimeter before laying pavers — install edge restraints on the downhill perimeter first, as they are the primary structural element preventing the gravity-driven lateral movement that causes pavers to shift and joints to open on sloped installations
- Safety equipment for handling heavy pavers — unsafe handling of heavy pavers can lead to injuries, and having the right tools including paver pullers, dollies, and appropriate footwear is important before moving material across a slope
Step-by-Step: Building Your Paver Patio on a Slope
Step 1 — Plan and Mark the Patio Area
Use marking paint and a tape measure to define the full patio area perimeter. Identify the high side and confirm the natural slope direction using a straight board and level. Determine where standing water currently collects after rain and ensure the finished patio surface will direct water away from that area and away from any structures including the house, sidewalk, or fence line. Mark the perimeter clearly so the excavation stays within the planned patio area throughout the digging process.
Step 2 — Excavate to Consistent Depth
Dig to the full consistent depth required for your base system — accounting for the crushed gravel layer, sand layer, and paver thickness at the high side of the slope where the total excavation depth will be greatest. Shallow excavation is a common mistake on sloped installations and one of the leading causes of patio failure on grades — the base needs full depth across the entire patio area to perform correctly. Remove all grass, roots, and debris from the excavated area and ensure the floor of the excavation is clean and free of organic material before the crushed gravel goes in.
Step 3 — Install and Compact the Crushed Gravel Base
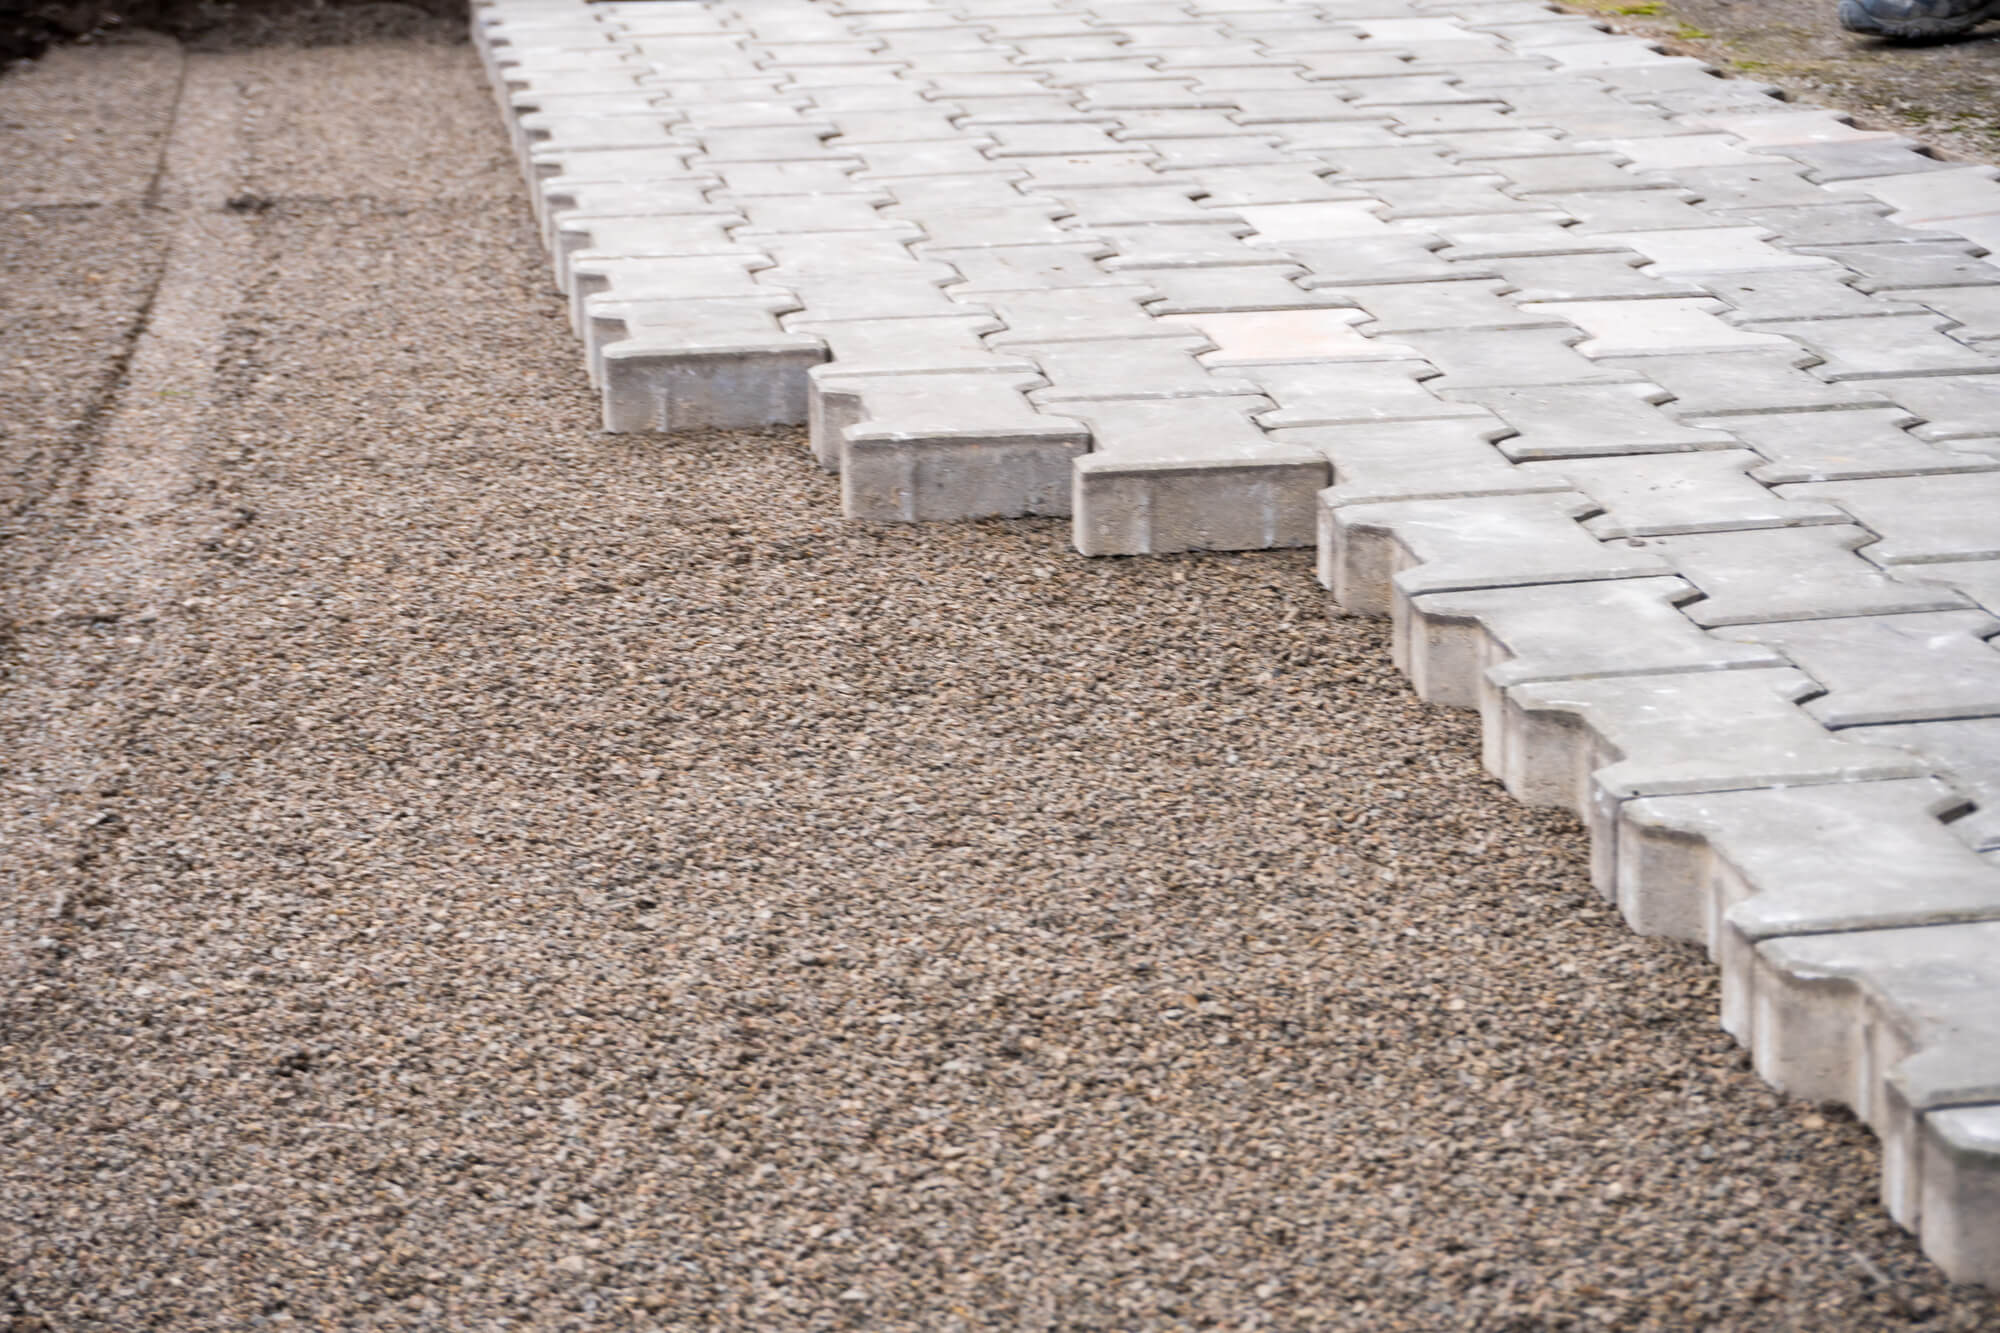
Spread crushed gravel across the full patio area to the required depth, maintaining the slight slope from the high side to the perimeter for drainage. Compact the crushed gravel thoroughly using a plate compactor — make multiple passes across the full length and width of the patio area to achieve a dense, stable base. Good drainage is crucial for preventing water damage beneath the pavers — the compacted crushed gravel layer is what moves water away from beneath the surface and prevents the saturation and freeze thaw damage that a poorly drained base creates over time. For permeable pavers, the crushed gravel base may need to be open-graded rather than densely compacted to allow water to infiltrate and reduce runoff effectively.
Step 4 — Add the Sand Layer
Spread the sand layer evenly across the compacted crushed gravel base to a consistent depth across the full patio area. Use a straight board to screed the sand layer smooth and level while maintaining the slight slope for drainage — a consistent depth of sand across the full area is what allows the pavers to sit evenly and the finished patio surface to look smooth and professional. Do not compact the sand layer before laying the pavers — compacting the sand layer at this stage prevents the minor adjustments needed to keep each paver level and the surface consistent as you work across the patio area.
Step 5 — Install Edge Restraints
Install edge restraints along the perimeter before laying any pavers — starting with the downhill perimeter where gravity and water movement place the most pressure on the system. Edge restraints on a patio on a slope are a critical structural element rather than a finishing detail, and installing them before the pavers go in ensures the entire system has a fixed boundary that resists the lateral movement that slopes create. Confirm the edge restraints follow the marking paint lines and are secured firmly enough to resist the load of the finished patio surface and the force of gravity acting on the pavers across the full length of the slope.
Step 6 — Lay the Pavers
Begin laying pavers from the high side of the patio area and work downhill — this approach keeps the work covered and stable as you move across the slope and reduces the risk of disturbing already-placed pavers. Installing pavers on a slope requires careful placement to prevent shifting due to gravity — work methodically across the full patio area, checking the surface with a straight board and level regularly to confirm the slight slope is consistent and no individual pavers are sitting high or low relative to their neighbors. Choose textured paver finishes where possible — safety on slopes can be enhanced by choosing textured paver finishes, and choosing textured pavers improves grip and reduces slipping on slopes for anyone using the finished patio surface in wet conditions.
Step 7 — Fill the Joints with Polymeric Sand
Once all the pavers are laid and the surface is confirmed smooth and consistent, sweep joint sand across the entire patio area and work it into all the joints. Polymeric sand is preferred for joint material on slopes because it hardens after activation and resists the washout and erosion that regular loose joint sand experiences when water moves across a sloped patio surface. Sweep excess joint sand off the paver faces before activating, apply water carefully at the low setting to activate the polymeric sand without washing it out of the joints, and allow the joint sand to fully cure before opening the surface to foot traffic.
Common Mistakes to Avoid on Sloped Paver Patios
Building a paver patio on a slope introduces specific failure points that flat installations do not face — and most of them come down to shortcuts taken during base preparation, drainage planning, or edge restraint installation:
- Shallow excavation at the high side where consistent depth matters most — skipping full depth at the high side creates an uneven base that shows up immediately in the finished patio surface
- Incorrect drainage planning that directs water toward the house, sidewalk, or a low point where standing water collects — incorrect drainage planning leads to standing water, erosion beneath the base, and long-term damage to the patio surface and anything near it
- Skipping or under-securing edge restraints on the downhill perimeter — the single most common cause of paver shifting on a sloped patio, and one that is expensive to correct after the patio is built
- Compacting the sand layer before laying the pavers — do not compact the sand layer before laying the pavers, as this prevents the fine adjustments needed for a smooth, consistent surface
- Using loose joint sand instead of polymeric sand — on any patio on a slope, loose joint sand washes out faster than on flat installations, and replacing joint sand repeatedly is a maintenance burden that polymeric sand eliminates
- Unsafe handling of heavy pavers on a slope — working on a grade adds physical challenge and fall risk, and unsafe handling of heavy pavers can lead to injuries that proper equipment and careful technique prevent
Maintenance Tips for a Sloped Paver Patio
A well-built paver patio on a slope requires less ongoing maintenance than most homeowners expect — but a few regular habits keep the surface looking clean and performing correctly through sun, rain, and seasonal changes:
Apply a paver sealer after the polymeric sand has fully cured — sealer protects the patio surface from staining, reduces moisture absorption, and extends the life of both the pavers and the joint sand through years of sun, rain, and seasonal temperature changes
Inspect joint sand annually and top up with polymeric sand in any areas where the joint has opened or washed out — catching this early prevents the joint erosion that leads to paver movement on slopes
Check the perimeter edge restraints for any signs of movement or lifting — the downhill edge restraint takes the most load over time and should be confirmed secure during each seasonal inspection
Keep the patio area clear of leaves, debris, and organic buildup that can trap moisture against the paver surface and promote weed growth and moss in the joints
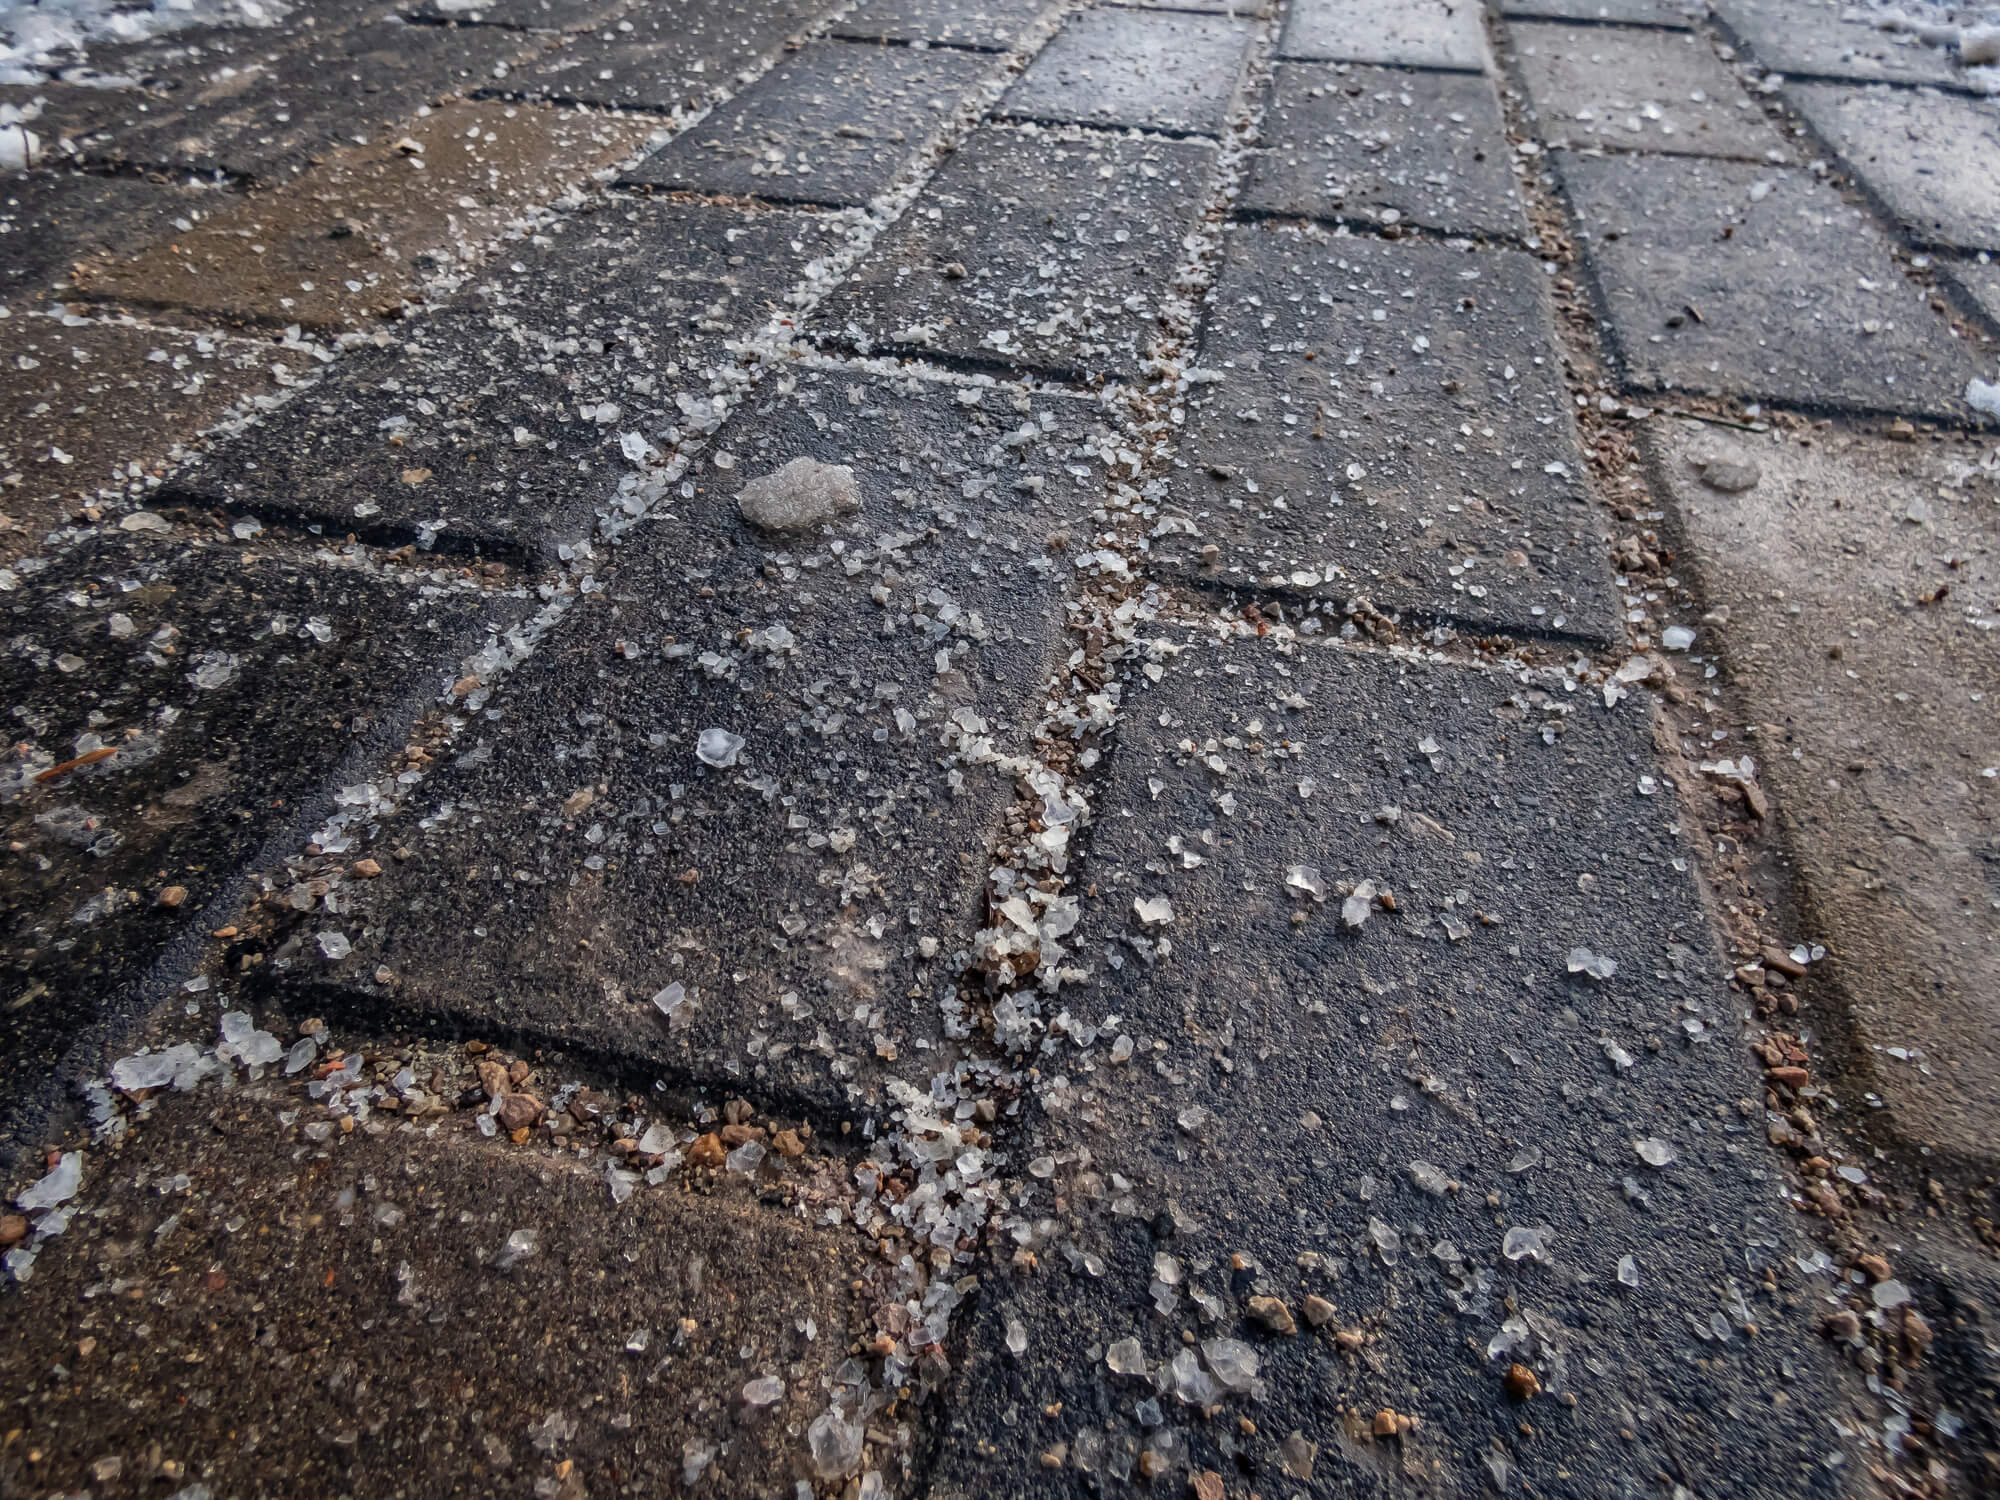
Avoid rock salt for snow and ice removal — rock salt accelerates surface deterioration and increases moisture absorption in the pavers, which worsens freeze thaw performance over time. Use sand or paver-safe ice melt products instead
To plan your paver slope installation, explore Rochester Concrete Products’ pavers, wall systems, steps, edgers, and our very own paver installation guide from our resource library, or connect with a local dealer or installer who understands sloped-site construction.