Building Beautiful Hardscapes That Last Through Harsh Midwest Conditions
Across Minnesota, Wisconsin, Iowa, Illinois, Nebraska, North Dakota, and South Dakota, homeowners and contractors face a unique set of environmental challenges when constructing outdoor living spaces. Extreme temperature swings, freeze-thaw cycles, heavy snow loads, spring moisture, deicing salts, and expansive soils can all take a toll on traditional hardscape surfaces.
Fortunately, interlocking concrete pavers have proven themselves to be one of the most durable and adaptable paving systems available for Upper Midwest climates. Unlike poured concrete, which is prone to cracking, or asphalt, which can rut and deteriorate over time, properly installed paver systems are designed to flex with seasonal ground movement while maintaining their appearance and structural integrity.
However, the long-term success of any paver installation for Midwest climates depends on more than just selecting a quality product. Proper installation practices, drainage planning, base preparation, and ongoing maintenance all play critical roles in ensuring decades of performance.
This guide outlines the best practices for installing, caring for, and maintaining concrete pavers in the Upper Midwest, helping homeowners, contractors, and designers maximize the life and beauty of their hardscape investment.
Understanding the Midwest Challenge
Before discussing installation techniques, it is important to understand why paver construction differs in northern climates.
The Upper Midwest regularly experiences:
- Winter temperatures below -20°F
- Summer temperatures exceeding 90°F
- Significant freeze-thaw cycling
- Frost depths ranging from 42” to over 60”
- Spring snowmelt and saturated soils
- Heavy use of deicing salts
- Expansive clay soils in many regions
These conditions create constant movement beneath hardscape surfaces.
When moisture freezes, it expands approximately 9 percent. If water becomes trapped beneath a pavement surface, frost heave can occur. During the spring thaw, saturated soils lose bearing capacity, creating settlement and instability.
Traditional poured concrete responds to this movement by cracking, as will natural stone pavers, brick pavers, and some porcelain pavers not rated for outdoor use, unless given special, constant maintenance.
Interlocking concrete pavers respond differently.
Because they consist of individual units installed over a flexible aggregate base, concrete interlocking pavers can accommodate minor ground movement and withstand frost damage without catastrophic failure. This flexibility is one of the primary reasons concrete interlocking pavers continue to outperform rigid pavement systems in northern climates.
Start with Proper Design
Many hardscape failures begin long before the actual paver installation.
A successful paver installation for Midwest climates starts with careful planning and design.
Key considerations include:
Drainage System
Water management is the most important factor affecting long-term performance.
Every project, whether they’re paver residential patio or a driveway, should direct water away from:
- Building foundations
- Retaining walls
- Pool structures
- Outdoor kitchens, outdoor furniture, and fire pits
- Adjacent hardscape features
As a general rule, paver surfaces should maintain a minimum slope of approximately 1 inch per 8 feet.
Standing water is never acceptable.
If water remains on a paver surface for more than a few hours after rainfall, drainage corrections should be made.
Traffic Loading
Different applications require different structural designs.
Consider whether the area will support:
- Pedestrian traffic
- Passenger vehicles
- Heavy trucks
- Emergency vehicles
- Commercial loading
Underbuilding a driveway is one of the most common mistakes contractors make.
A paver patio that performs beautifully may fail quickly if subjected to vehicle traffic without adequate base depth.
Excavation and Base Preparation
Experienced contractors often say:
“The pavers are only as good as the base beneath them.”
Nothing is more important to long-term success than proper base prep.
Excavate Correctly
For most residential pedestrian applications:
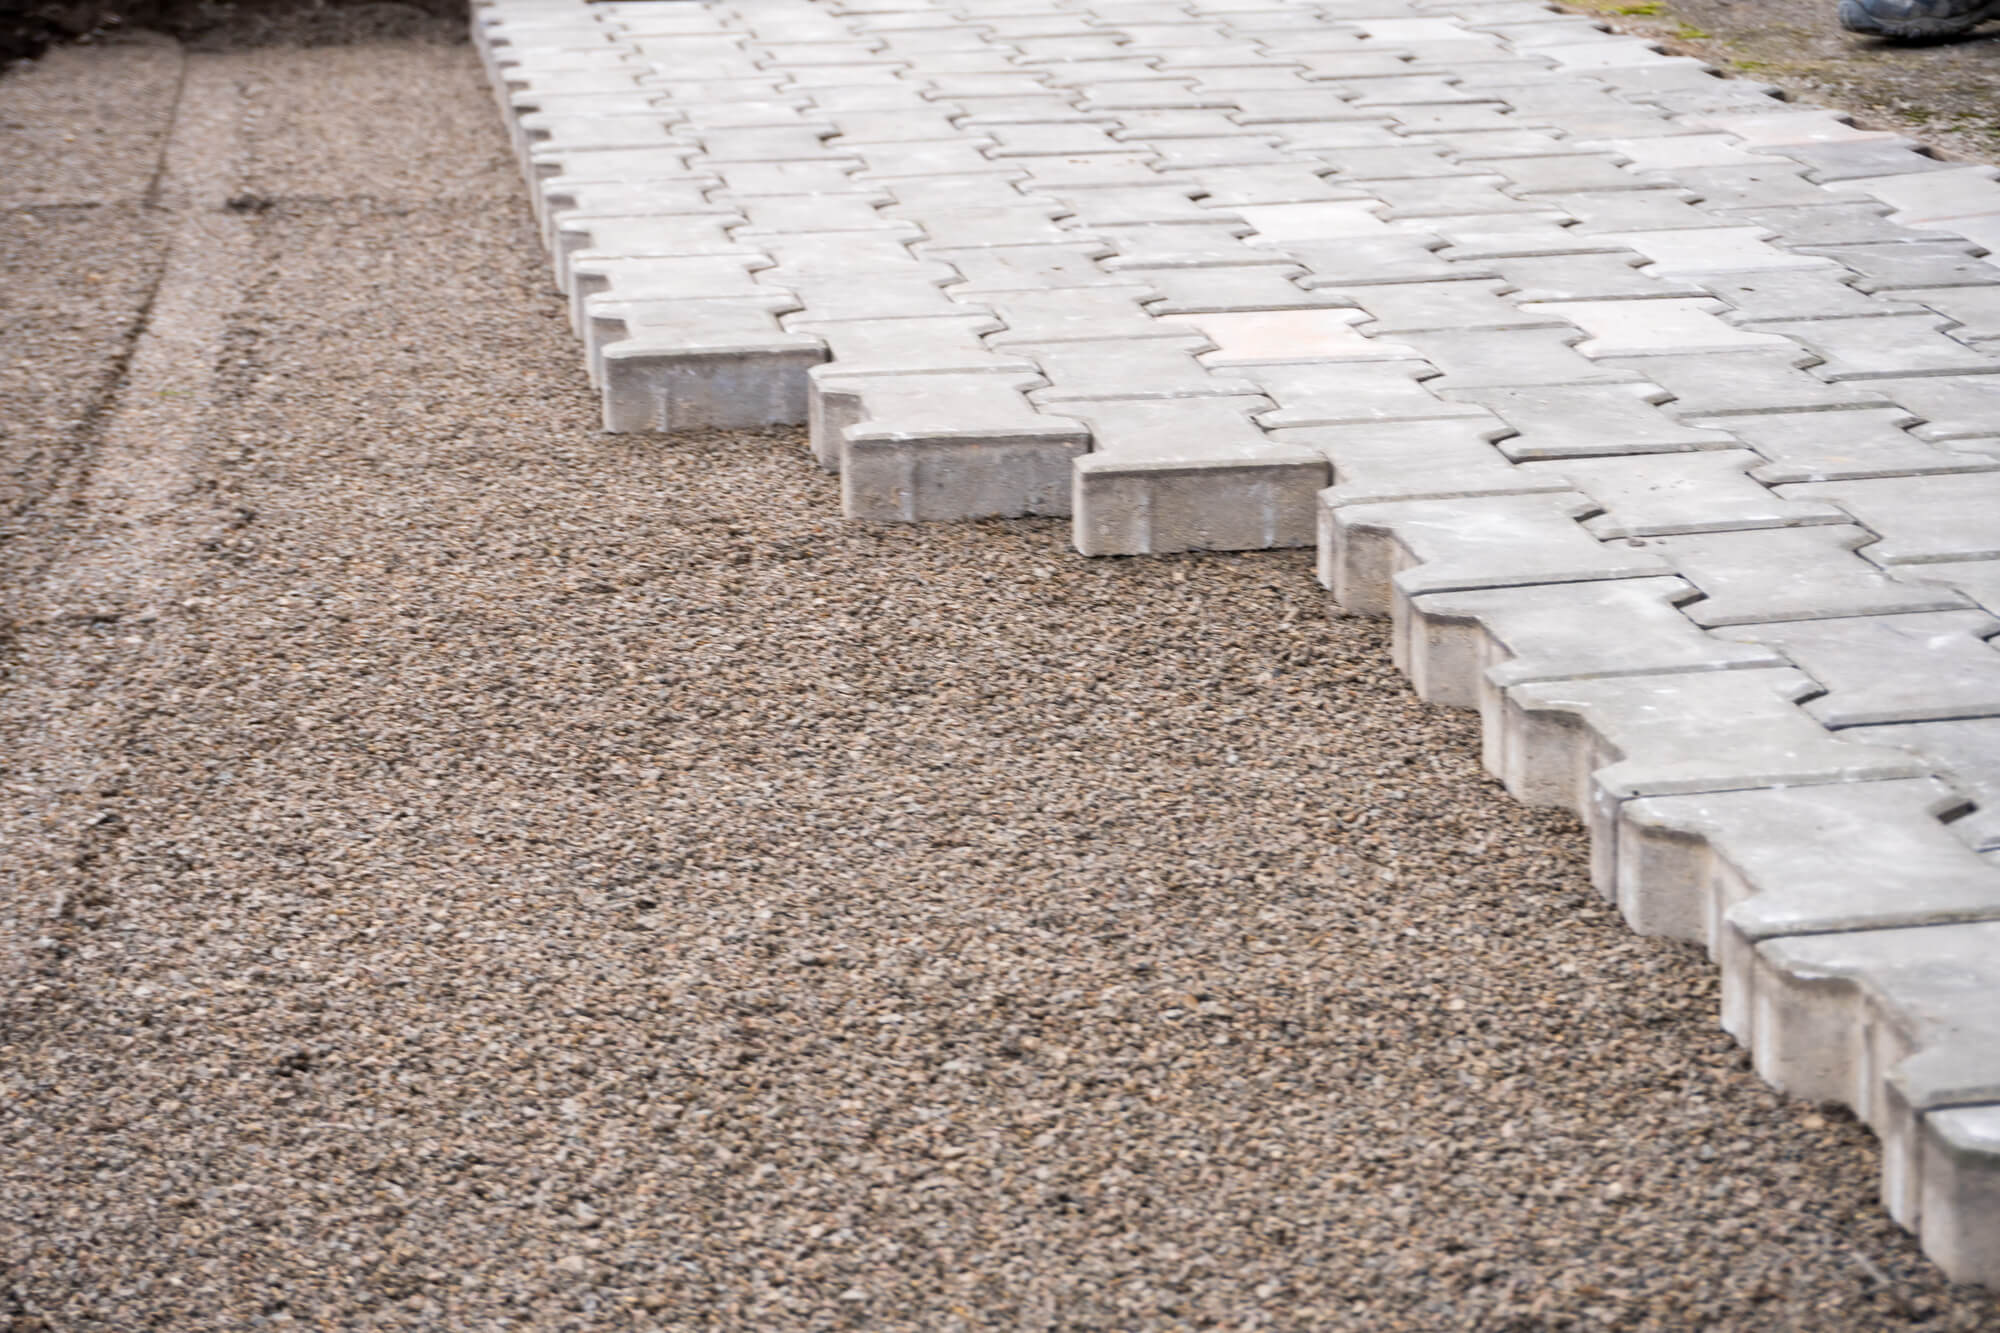
- 4”–6” compacted aggregate base layer
- 1” bedding layer
- 2-3/8” paver
For residential driveways:
- 8”–12” compacted aggregate base layer
- 1” bedding layer
- 2-3/8” paver minimum
In the Upper Midwest, many contractors routinely exceed minimum recommendations due to frost concerns and local soil conditions.
Additional base material often costs very little compared to the cost of future repairs.
Why Open-Graded Bases Are Becoming the Preferred Option
Many northern contractors or hardscape installation services have transitioned from traditional dense-graded bases to open-graded base aggregate.
Open-graded base systems use clean crushed gravel stone with minimal fines.
Benefits include:
- Superior drainage and longevity
- Reduced frost susceptibility
- Faster installation
- Improved performance in wet soils
- Less risk of water retention or entrapment
Because water moves freely through the system, this type of base installation leaves less opportunity for frost heave to develop.
Open-graded bases are particularly beneficial in Minnesota, Wisconsin, and the Dakotas, where freeze-thaw cycling is severe.
Compaction Is Critical During Base Installation
Even the best base aggregate will fail if not properly compacted.
Base material should be placed and compacted in lifts.
Best practices include:
- Compact lifts no thicker than 4”
- Use a quality plate compactor
- Compact each lift thoroughly before adding more material
- Verify elevations regularly
Insufficient compaction is one of the leading causes of settlement.
Many failures blamed on frost are actually the result of poor compaction.
Edge Restraints Matter More Than You Think
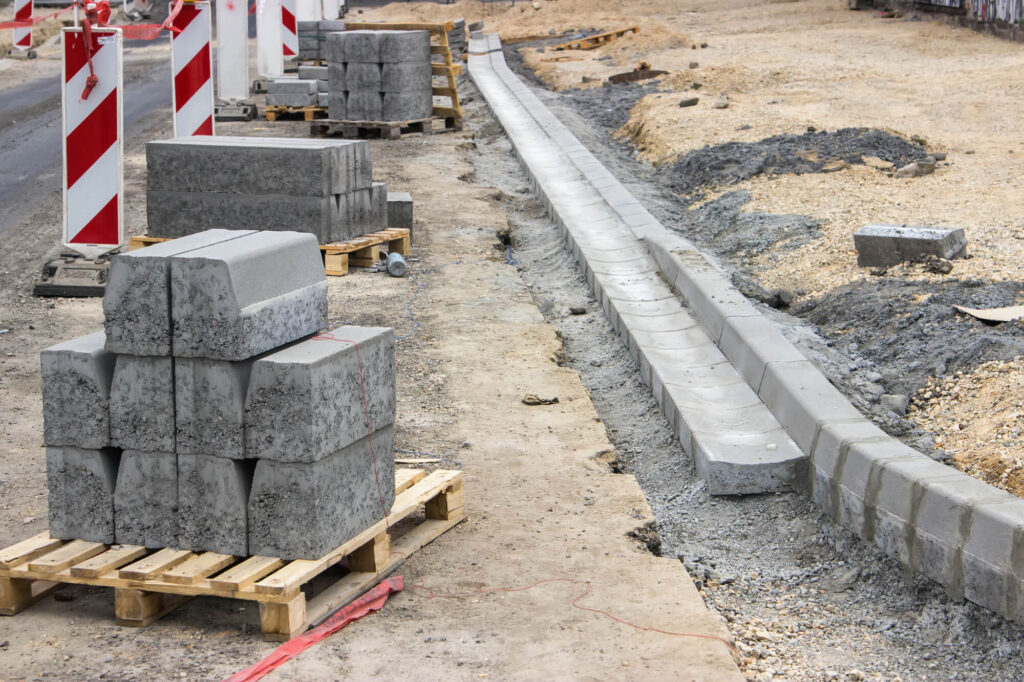
Concrete interlocking pavers provide a more stable, but flexible, system for a paver surface compared to other materials; that is true.
However, even an interlocking paver system cannot function properly without edge restraints.
Quality edge restraints prevent:
- Lateral movement
- Joint widening
- Pattern distortion
- Settlement along edges
Every exposed edge should be restrained using professional-grade products designed specifically for paver installations.
Cutting corners here almost always creates problems later.
Bedding Layer Best Practices
Once the base is complete, a bedding layer is installed.
The purpose of the bedding layer is not structural support.
Its purpose is to:
- Provide a smooth installation surface
- Allow final leveling adjustments
- Create uniform paver support
A common mistake is using the bedding layer to correct base irregularities.
If the base is uneven, fix the base.
Do not compensate with extra bedding sand or other materials.
Excessive bedding thickness can lead to settlement and uneven surfaces.
Proper Paver Placement
Pavers should be installed from a straight reference line whenever possible.
During installation:
Maintain consistent joint spacing
- Frequently check alignment
- Verify pattern accuracy
- Blend material from multiple pallets
Blending pavers from several pallets is especially important for projects using blended colors.
This prevents noticeable color concentration and creates a more natural appearance.
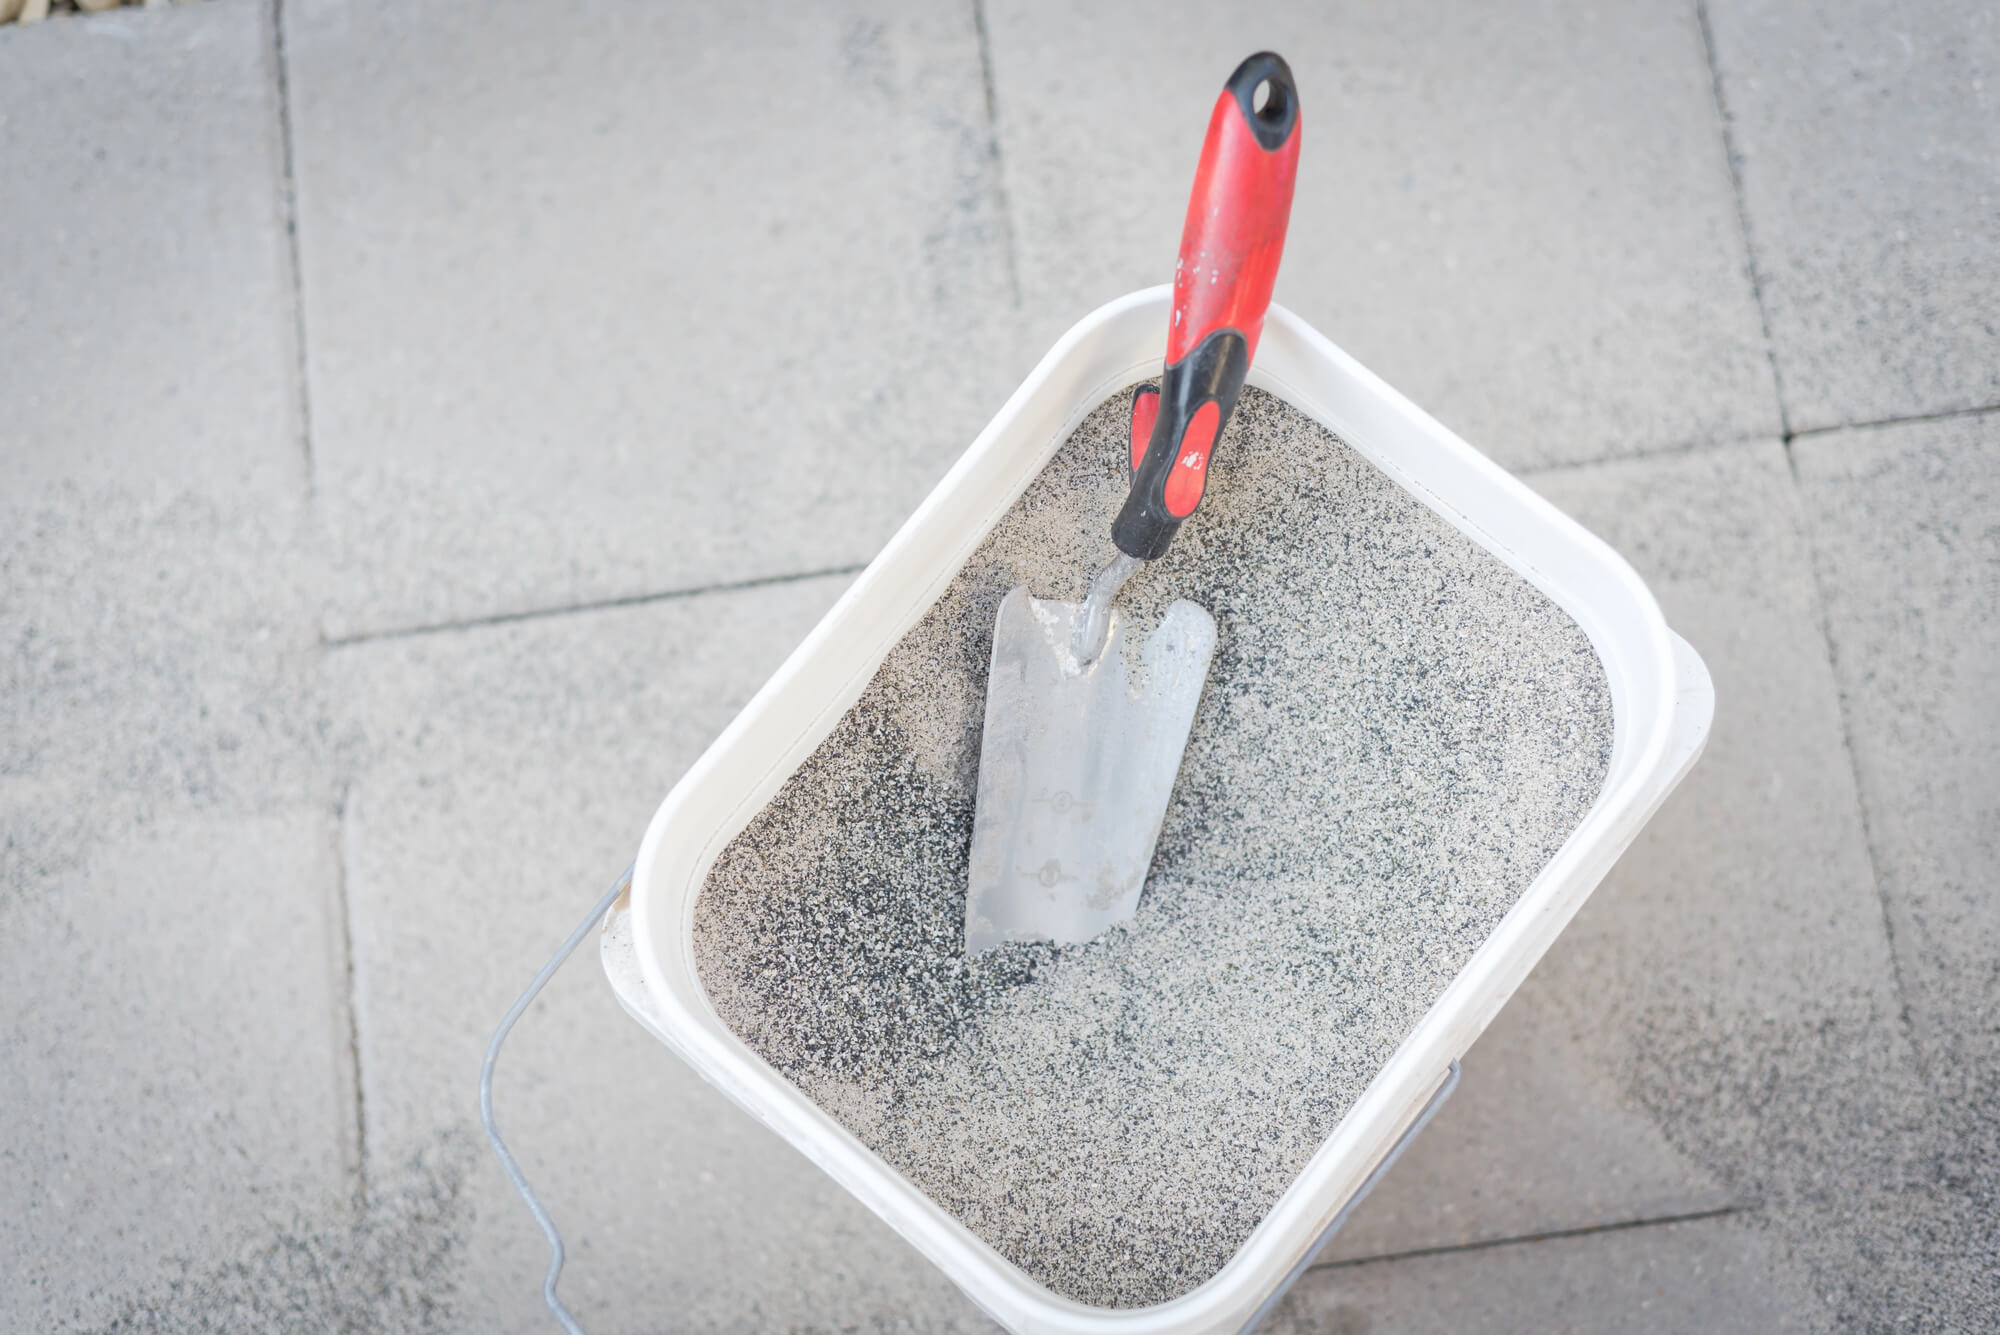
Polymeric Sand: A Midwest Essential
Joint stabilization is often overlooked.
Polymeric sand has become the standard for quality installations.
Benefits include:
Reduced Weed Growth
Polymeric sand helps prevent airborne seeds from taking root.
Improved Joint Stability
Properly installed polymeric sand locks the system together and reduces movement.
Better Resistance to Washout
Heavy spring rains can wash conventional sand from joints.
Polymeric sand significantly reduces this risk.
Insect Control
Polymeric sand discourages ants and other insects from tunneling through joints.
For Midwest projects exposed to snowmelt and heavy rainfall, polymeric sand is highly recommended.
Protecting Pavers from Freeze-Thaw Damage
One of the biggest misconceptions is that freeze-thaw cycles damage pavers. In reality, modern concrete pavers are engineered specifically for freeze thaw conditions — pavers should have high density to resist moisture absorption, and using materials with low water absorption rates is critical to avoiding the ice formation and cracking that affects lower-quality alternatives. Not all pavers are equal in this regard — high-fired clay pavers resist cold climates but vary in quality, so confirming density and absorption ratings before any new paver installation is an important step that home improvement stores and professional suppliers can help with.
The real enemy of concrete interlocking pavers is trapped water — and poor drainage beneath the patio surface is responsible for the vast majority of freeze thaw failures that get incorrectly attributed to the pavers themselves. Proper drainage requires a slope of one quarter inch per foot away from structures, patios should slope one quarter inch per foot to direct water away from the house, and surface drains should be incorporated into patio installation designs where natural drainage patterns do not provide adequate water movement on their own. Clay soils require deeper excavation and deeper bases to manage drainage effectively — open-graded base systems may require up to 18 inches of material in challenging drainage conditions, which increases project costs but protects the investment over the long term.
To minimize freeze-thaw issues:
- Ensure Proper Drainage — water should never remain beneath the pavement structure. A stone base with proper depth and open-graded aggregates allows water to drain freely rather than pooling beneath the sand underneath and expanding during ice formation. Proper base preparation including the right depth of excavation and compacted stone base is the most critical factor in any paver patio installation or new paver installation
- Use Quality Aggregates — open-graded stone helps move water away quickly and supports the stormwater management function that permeable paver systems and permeable pavers are specifically designed to deliver. Permeable pavers reduce surface pooling by allowing water to filter through the base rather than pooling on the patio surface, and permeable pavers reduce ice formation in winter by preventing the standing water that freezes and expands beneath the surface
- Maintain Joint Integrity — well-maintained joints filled with polymeric sand help stabilize the system and reduce water infiltration. Polymeric sand hardens when wet, locking pavers in place and preventing the joint erosion that allows water to penetrate beneath the surface and create drainage issues during freeze thaw cycles. Install edge restraints correctly during patio installation to prevent lateral movement that opens joints and disrupts drainage patterns across the entire patio surface
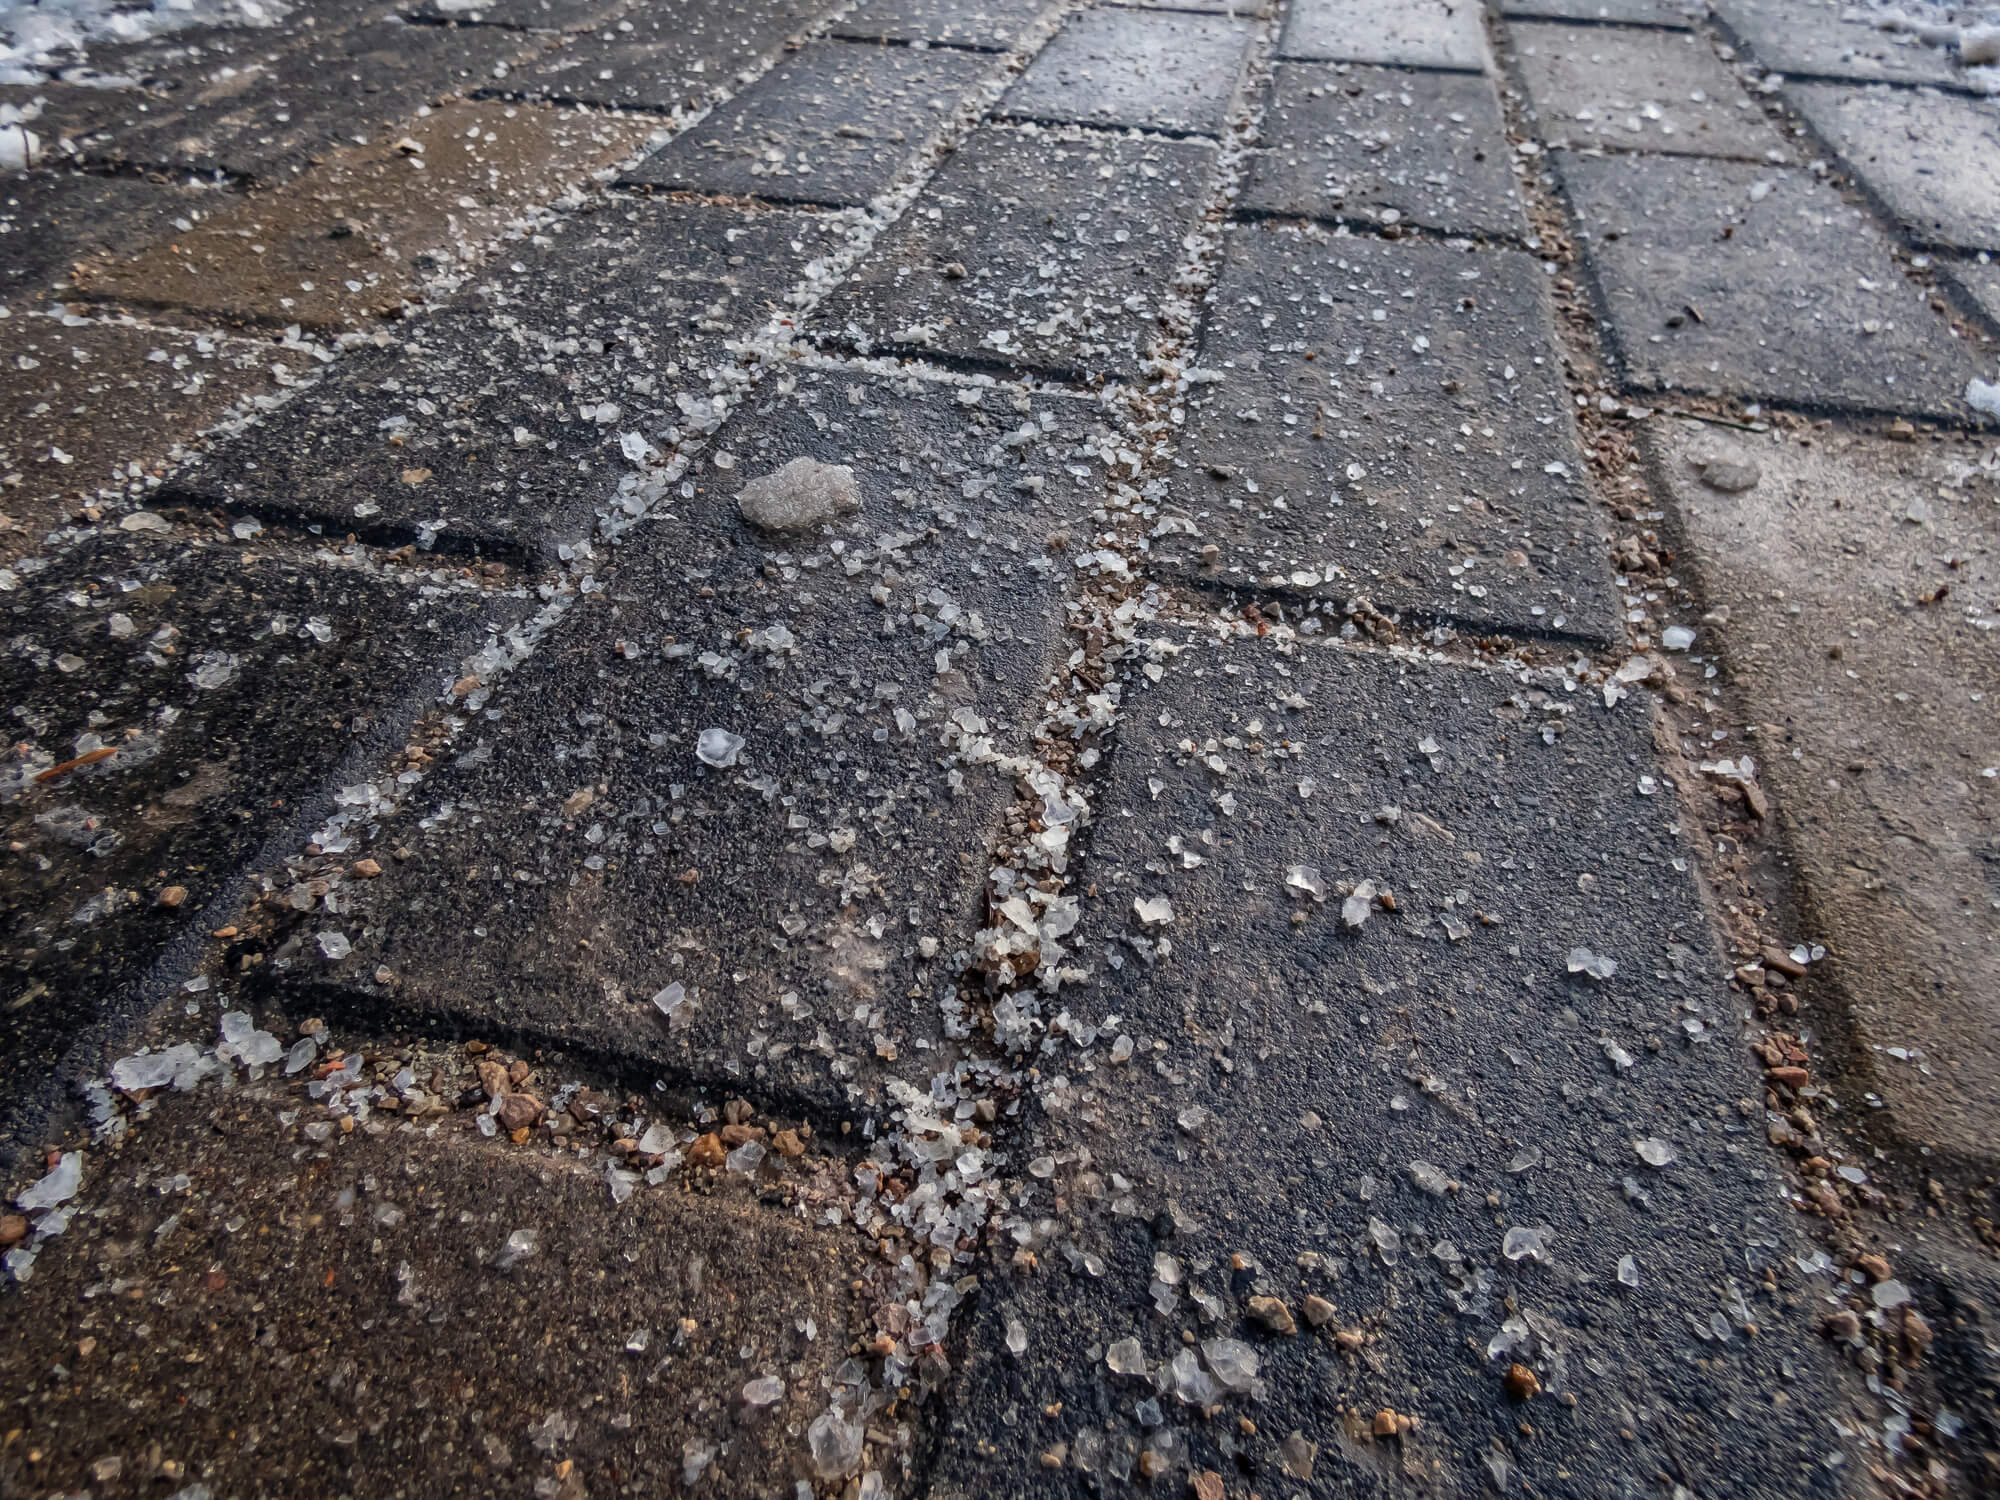
- Replace Damaged Units Promptly — while pavers are highly durable, damaged units should be replaced before adjacent areas are affected. Avoid using rock salt for snow removal as it accelerates moisture absorption and surface deterioration — use alternative materials instead
Unlike concrete slabs or existing concrete surfaces, individual pavers laid in a running bond or other pattern can be removed and replaced without visible patching — making professional installation and proper base preparation a genuinely long-term investment that laying pavers over an inadequate base or existing concrete surface without proper depth and drainage solutions simply cannot deliver.
Snow and Ice Management
Winter maintenance is especially important throughout the Upper Midwest.
Snow Removal
Plastic-blade snow shovels are preferred.
Snow plow operators should use:
- Rubber cutting edges
- Polyurethane cutting edges
- Raised steel blades
Improper plowing equipment can scratch surfaces and dislodge pavers.
Deicing Materials
Quality concrete pavers generally tolerate deicing products better than poured concrete.
However, moderation is still recommended.
Acceptable products include:
- Calcium chloride
- Magnesium chloride
- Sand for traction
Avoid excessive use of harsh chemicals whenever possible.
Always follow manufacturer recommendations.
Cleaning and Routine Maintenance
Routine maintenance dramatically extends paver life, and that includes regular washing, sweeping, pruning of nearby vegetation, and more.
Regular Sweeping
Remove:
- Leaves
- Dirt
- Grass clippings
- Organic debris
Accumulated debris can stain surfaces and encourage weed growth.
Seasonal Washing
An annual cleaning helps restore appearance.
Use:
- Garden hose
- Low-pressure washer
- Mild detergent
Avoid aggressive pressure washing that may remove joint material.
Dealing with Common Stains
Even the best installations encounter occasional staining.
Oil and Grease
Immediately absorb fresh spills with:
- Cat litter
- Oil absorbent
- Sawdust
Follow with a paver-safe degreaser.
Rust
Rust stains typically originate from:
- Fertilizer
- Metal furniture
- Irrigation systems
Use cleaners specifically designed for pavers.
Organic Stains
Leaves, berries, and mulch can cause discoloration.
Prompt removal usually prevents permanent staining.
Weed Prevention
Most weed issues originate from debris accumulation rather than soil below the pavers.
Best practices include:
- Keeping surfaces clean
- Maintaining polymeric sand
- Removing weeds early
- Replenishing joint material as needed
A properly maintained paver system should experience very little weed growth.
When Should Pavers Be Sealed?
Concrete pavers from Rochester Concrete Products are specifically manufactured for durability in outdoor areas, which is why sealing is considered optional.
However, it can be beneficial in certain cases.
Benefits include:
- Enhanced color
- Reduced staining
- Easier cleaning
- Improved resistance to weathering
Most contractors recommend waiting at least several months after installation before applying a sealer.
This allows natural curing and efflorescence to dissipate.
In northern climates, resealing every three to five years is generally sufficient.
Understanding Efflorescence
Efflorescence is a naturally occurring white haze that occasionally appears on concrete products.
It is caused by:
- Water migration
- Naturally occurring salts
- Normal cement hydration
Efflorescence is cosmetic only.
It does not indicate a defective product.
Most efflorescence disappears naturally over time through weather exposure.
Avoid aggressive acid cleaning unless recommended by the manufacturer.
Spring Inspection Checklist
Every spring, property owners should inspect:
✓ Joint sand condition
✓ Edge restraint stability
✓ Surface settlement
✓ Drainage performance
✓ Staining
✓ Weed growth
✓ Cracked or damaged pavers
Addressing minor issues early prevents larger repairs later.
Why Pavers Continue to Outperform Concrete in the Midwest
The Upper Midwest presents one of the most demanding environments in North America for outdoor surfaces.
Concrete slabs crack.
Asphalt deteriorates.
Freeze-thaw cycles challenge every hardscape material, from natural stone pavers to brick pavers, and installing pavers in the Midwest requires attention to freeze-thaw cycles from the very first step of the installation process. Water trapped beneath pavers is a leading cause of frost heave, which is why drainage considerations, proper grading, and a proper slope away from structures matter just as much as the paver material itself.
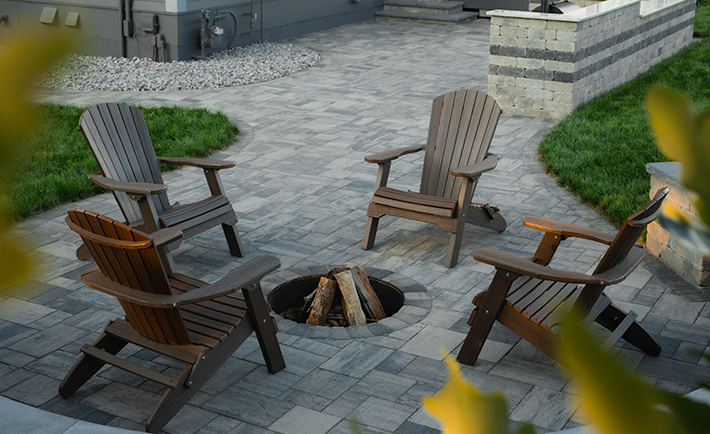
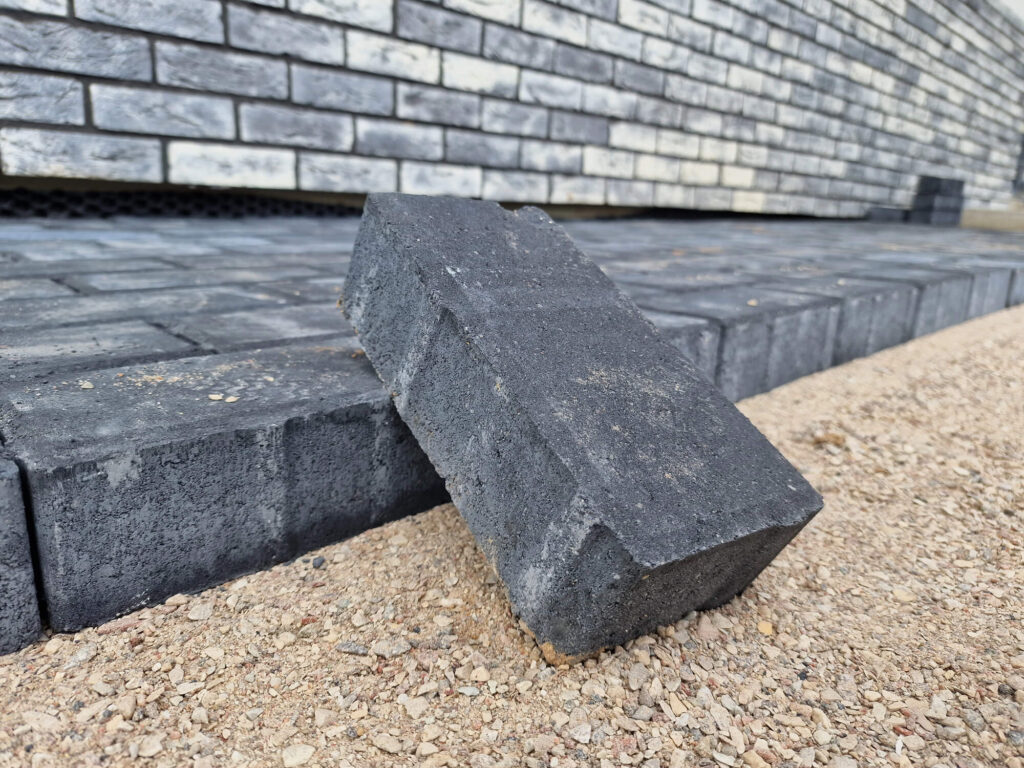
Yet properly installed interlocking concrete pavers from Rochester Concrete Products continue to deliver exceptional long-term performance, whether the paver project is a driveway, walkway, patio, or pool deck. Their flexible design, repairability, durability, and ability to accommodate seasonal movement make them uniquely suited for cold climates, where extreme heat in summer and frozen ground in winter both put stress on any outdoor space.
Paver Installation for Midwest Climate: Getting the Base Right
Use concrete sand for the bedding layer when installing pavers, and install rigid edge restraints to prevent lateral movement of pavers so shifting pavers don’t become a problem down the road. An open-graded base system improves drainage and reduces frost heaving, and a flexible base promotes rapid drainage in paver installations rather than trapping moisture against the concrete base below. Do not use sand or stone dust layers for the base as they can trap moisture, and be sure to compact the aggregate base thoroughly, since proper compaction is one of the most important steps for long term durability in any hardscape projects built to bear heavy loads, whether that’s driveway pavers or a pool area surround.
Working with Clay Soil in Cold Climates
Clay soil expands when wet and shrinks when dry, requiring special considerations, and it’s important to excavate clay-heavy soils deeper than in sandy soils due to moisture retention. Excavate deeper for driveways than for walkways in cold climates, since driveways need to support heavy loads and repeated freeze-thaw cycling. Using a geotextile fabric improves stability in paver installations on clay soil, helping crushed stone and the ground beneath stay properly separated so the whole system performs as designed.
Drainage and Joint Stabilization
Establish a positive slope away from buildings to prevent water pooling, and remember that joint stabilization helps resist paver movement, weeds, and erosion over the life of the installation. Proper compaction and drainage are critical to the longevity of paver installations, and these fundamentals matter regardless of paver style or the intricate designs a homeowner may choose.
Understanding Freeze Thaw Cycles and Frost Heave
When combined with proper excavation, drainage, compaction, edge restraints, quality joint stabilization, and routine maintenance, a paver installation can provide decades of beauty and performance. Optional sealing pavers can also help prevent water absorption and freeze-thaw damage, since pavers should be sealed to prevent moisture penetration in climates where water freezes and expands, causing cracks and structural damage over time. Avoid using de-icing salts on concrete pavers to prevent surface scaling, and install pavers in temperatures above freezing to prevent material freezing during the installation process itself.
Best Timing for Installing Pavers
Timing matters too. Late spring and early fall tend to be ideal windows for installation, and fall installations should start by mid-September to avoid cold weather setting in before the project duration is complete. Planning around these weather conditions helps many homeowners save money by avoiding rework caused by rushed installations in poor conditions.
For homeowners seeking a long-term investment and contractors looking to deliver projects that stand the test of time, Rochester Concrete Products has the pavers and the installation and maintenance best practices that will ensure pavers remain one of the most reliable hardscape solutions available throughout Minnesota, Wisconsin, Iowa, Illinois, Nebraska, North Dakota, and South Dakota. High-density non-porous materials perform better in freeze-thaw climates, and this attention to material selection, proper compaction, and drainage is exactly what helps homeowners and contractors alike make informed decisions, control labor costs, and enjoy long-lasting aesthetic appeal even through heavy snowfall and harsh Midwest winters.