Creating a warm, welcoming outdoor living space doesn’t require hiring a stonemason, chasing down permits, or pouring weeks into construction. With a DIY fireplace kit from Rochester Concrete Products’ Necessories® collection, building your own outdoor fireplace becomes an achievable weekend project.
Maybe you’re planning an elegant stacked stone design for cozy gatherings, a full modular outdoor kitchen with grill islands, or just a quiet nook for evening fires. Whatever the inspiration, this guide walks you through 10 essential installation steps, plus preparation tips, maintenance pointers, and safety best practices.
From the firebox to the chimney, every detail matters when it comes to building a long-lasting, code-compliant outdoor fireplace.
Ready to elevate your backyard into a year-round outdoor living room? Let’s fire it up, safely, beautifully, and confidently.
Why Choose a DIY Outdoor Fireplace Kit?
Many homeowners today crave more than just patios and want complete outdoor living spaces that blend beauty, comfort, and function. But building a traditional fireplace or fire pit from scratch often involves high installation costs, long timelines, and complex compliance with zoning laws, fire safety codes, and masonry practices.
That’s where Necessories® fireplace kits from Rochester Concrete Products step in.
These kits are engineered with simplicity and precision in mind. Each one arrives with pre-cut concrete block units, fire bricks, a pre-sized firebox, lintel, flue pipe, smoke chamber, and even chimney extension kits; everything needed for code-safe assembly without traditional mortars or specialized tools.
Whether you’re dreaming of a dramatic Victorian fireplace, a space-saving Compact Fireplace, or a sleek Contemporary design, these kits deliver exceptional craftsmanship at a fraction of custom masonry installation prices.
Wood-Burning, Gas, or Hybrid? The Choice Is Yours
Necessories kits come in various fuel configurations:
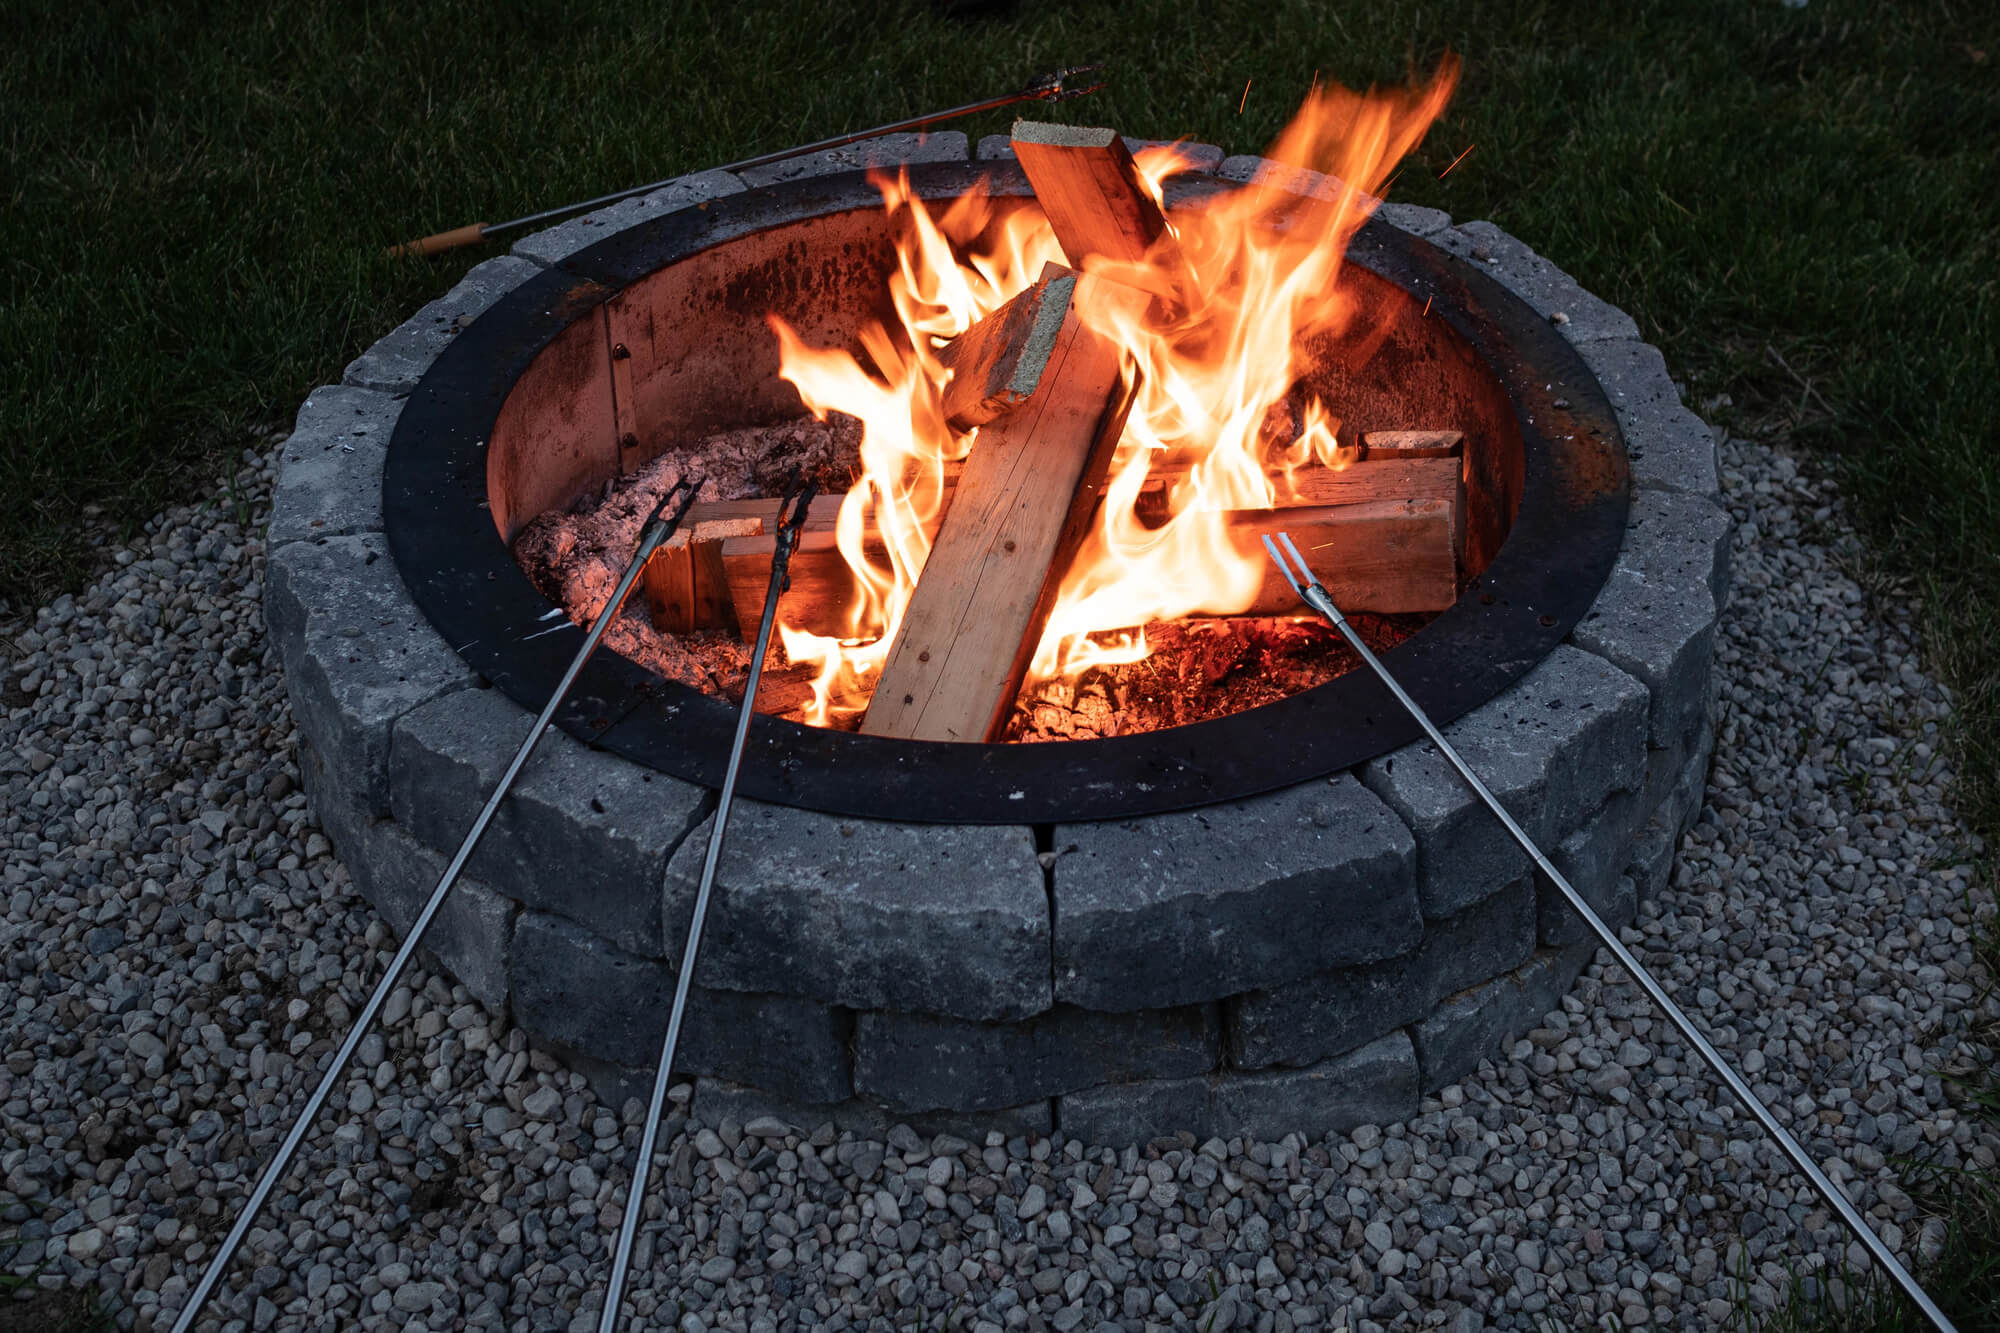
- Wood-burning fire pits and fireplaces for that authentic crackle and aroma
- Propane fire pits and natural gas fire pits with convenient ignition systems
- Hybrid options with gas line conversion kits for increased versatility
Each model supports the necessary fire safety features: spark arrestors, proper clearances, fire pit accessories like spark guards, and adherence to most zoning laws, helping you meet local permit processes with ease.
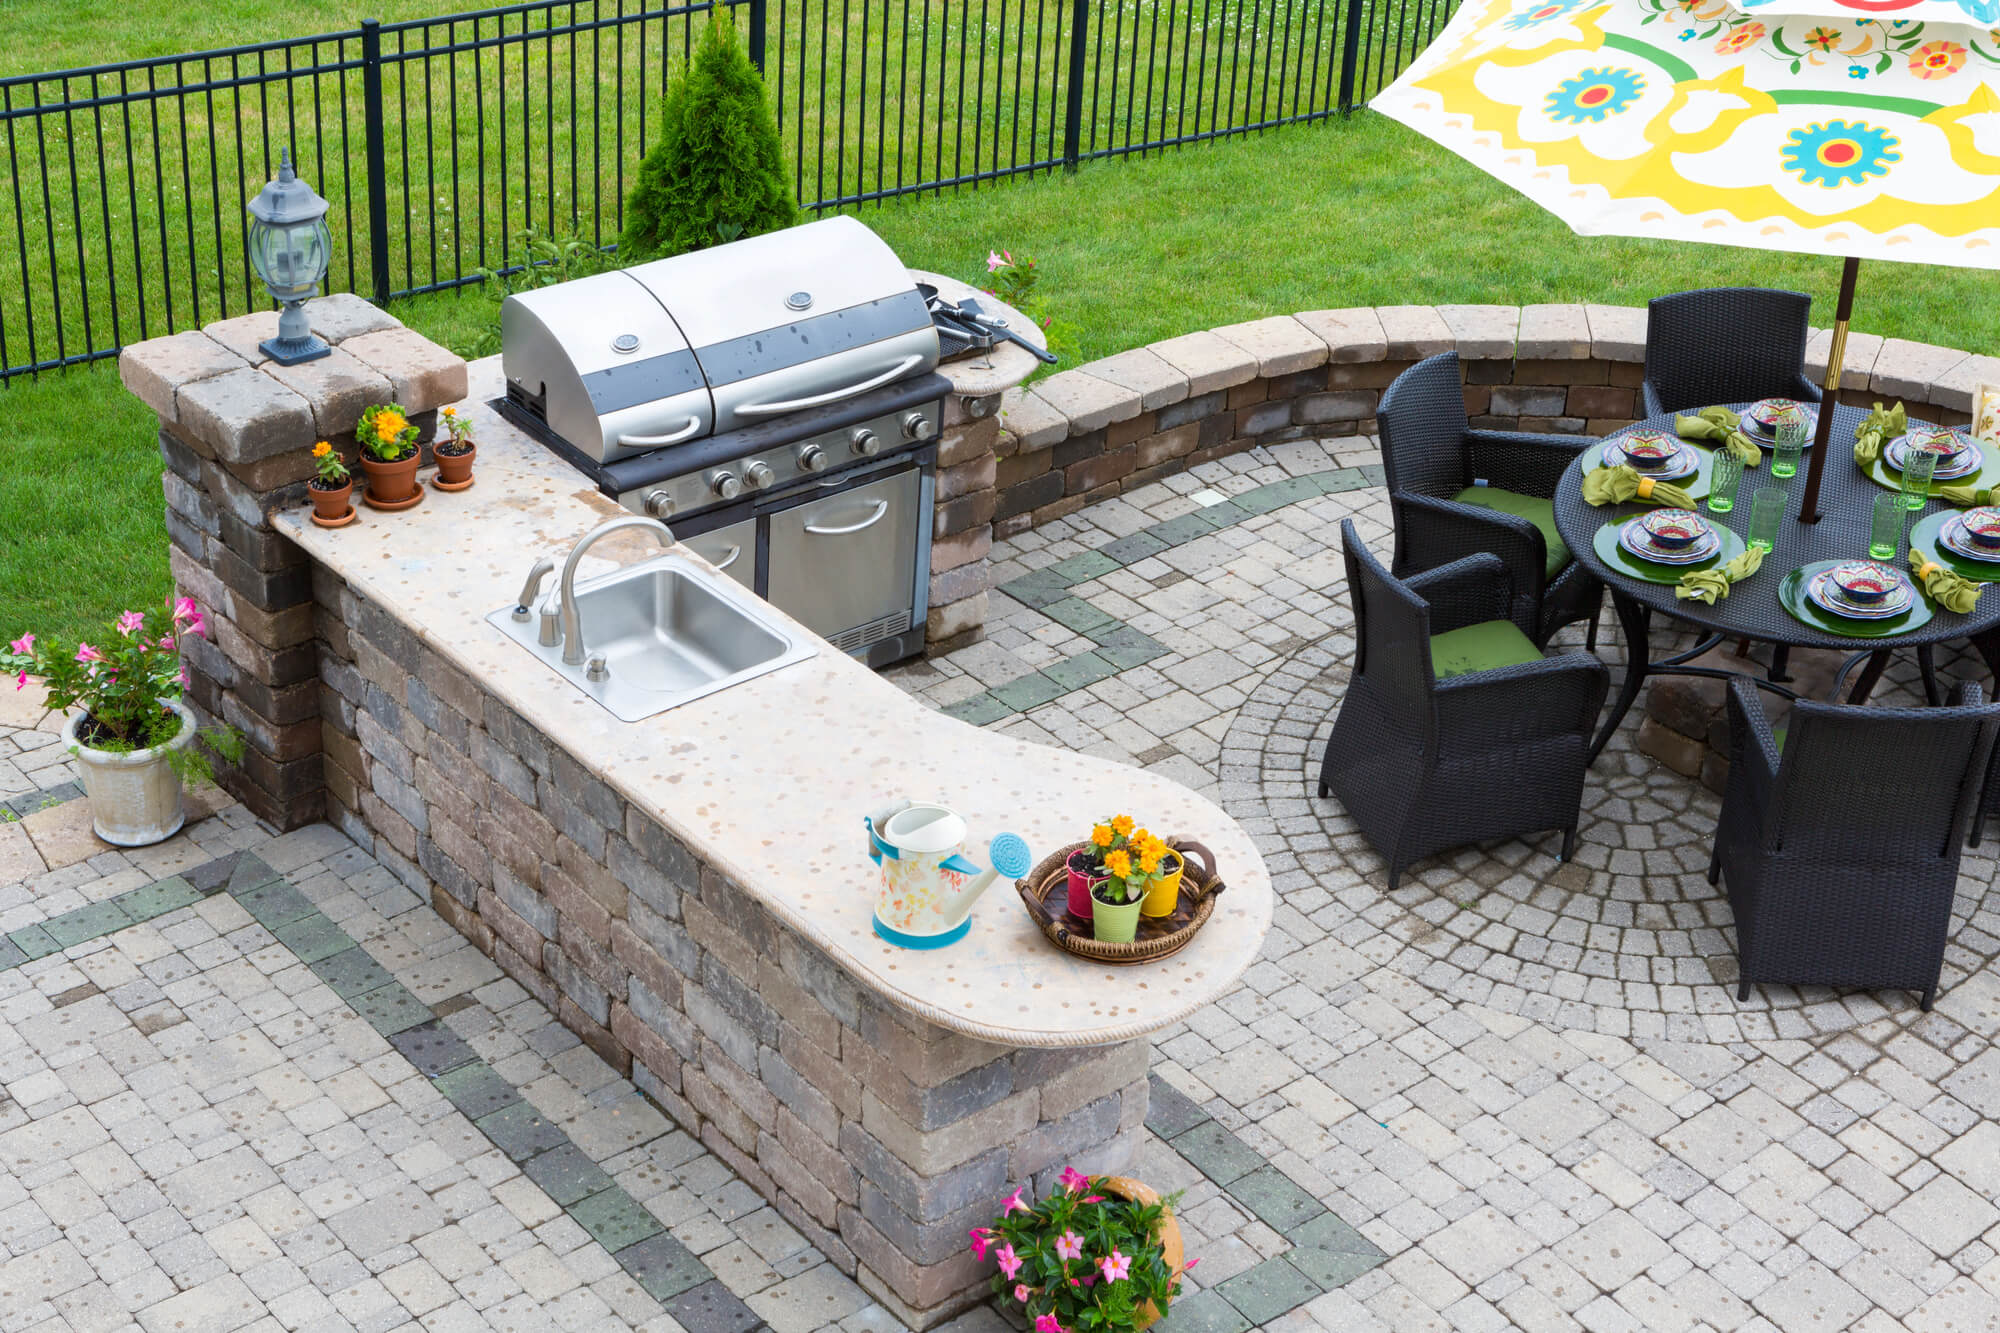
Designed to Expand Over Time
Start with a fireplace kit today, add firewood boxes or a grill island tomorrow. Rochester’s modular outdoor kitchens and outdoor kitchen design elements connect seamlessly, creating a scalable, style-matched system built around your lifestyle and your family’s future gatherings.
Built-In Safety and Compliance
Every outdoor fireplace installation kit includes:
- Guidance on fire pit safety tips
- Building instructions with compliant expansion joints
- Firebrick linings and heat-rated components
- Compatibility with smoke chamber specs and chimney extensions
These kits are designed to meet or exceed national standards, giving you peace of mind and long-term fire safety.
Step-by-Step Outdoor Fireplace Installation Guide
Installing an outdoor fireplace might sound daunting, but Necessories® fireplace kits from Rochester Concrete Products simplify the process with pre-cut materials, detailed instructions, and modular design principles. Be it a wood-burning fireplace, installing a natural gas line, or integrating it into a full outdoor kitchen, this section outlines the core construction process in ten essential steps.
Each step is designed to ensure code-compliant, long-lasting installation, covering everything from firebrick placement to chimney alignment and expansion joint spacing.
Step 1: Choose the Right Fireplace Kit for Your Space
Before you pour a foundation or unbox a kit, it’s critical to select the fireplace model that best fits your outdoor living space. Rochester offers several options, each tailored to different design needs, site conditions, and usage goals:
- Compact Fireplace Kit: Ideal for small patios or tight urban backyards.
- Colonial and Victorian Kits: Great for traditional outdoor living room setups, offering deeper fireboxes and classic architectural lines.
- Contemporary Kit: Clean, rectangular lines and lower chimney profiles for modern designs, and compatible with the rest of the contemporary line, including the grill and fire pit kits.
- Grand Fireplace Kit: A large-format anchor for covered structures and full modular outdoor kitchens.
To maintain visual balance, the fireplace face should not exceed one-third the width of the nearest patio wall or seating wall. Also consider future additions, such as firewood boxes, chimney extension kits, or grill islands, and allow adequate clearance for utilities like gas lines or electrical access.
Step 2: Prepare the Foundation
Every outdoor fireplace installation must begin with a stable, level base to prevent settling, cracking, or structural misalignment over time. Rochester Concrete Products recommends either a poured concrete slab or a compacted crushed gravel foundation.
Key requirements include:
- Minimum slab thickness: 4 to 6 inches
- Use high-strength concrete mix (e.g., Quickrete)
- Install expansion joints if connecting to existing patios
- Ensure proper drainage and slope to avoid water pooling
A flat and level surface ensures that the smoke chamber, firebox, and chimney stack remain aligned during construction, an essential factor in effective ventilation and fire safety.
Step 3: Inventory All Kit Components
Before beginning assembly, lay out all components and cross-check them with the manufacturer’s checklist. Each Necessories fireplace kit includes:
- Precut concrete block units for the main structure
- Firebrick for the firebox interior
- Chimney block segments and flue liners
- Lintel supports
- Smoke chamber assembly
- Chimney cap and optional spark arrestor
- Construction adhesive
- Printed building instructions
Verifying every part upfront minimizes interruptions, prevents assembly errors, and gives you a clearer understanding of how each element, from the firebrick to the chimney cap, fits into the full system.
Step 4: Dry Fit the Layout
Before applying any adhesive, complete a dry run of the first few courses of block. Position the components as outlined in the instructions, ensuring proper orientation and spacing. Use a straightedge or level to double-check alignment.
This step allows you to:
- Visualize the structure in your backyard space
- Confirm correct part placement (especially firebrick and lintel blocks)
- Make any necessary adjustments without compromising adhesion later
Dry fitting also helps identify any site constraints early—such as proximity to property lines, vegetation, or combustible structures—ensuring full compliance with zoning laws and fire safety codes.
Step 5: Apply Adhesive and Begin Block Assembly
With the dry fit complete, you’re ready to begin full assembly. All Necessories® kits are designed to be mortarless, relying instead on a high-strength, weather-resistant construction adhesive that is included with each kit.
Follow these adhesive guidelines:
- Apply adhesive in continuous beads, staying 1–2 inches from the block edges to prevent squeeze-out
- Use a caulking gun with a smooth, controlled motion
- Allow adhesive to set for 5–10 minutes before placing the next layer
Begin at the base and work upward, layer by layer, ensuring that each course is aligned and level. This method not only saves time but also reduces the mess and drying complexities typically associated with mortar.
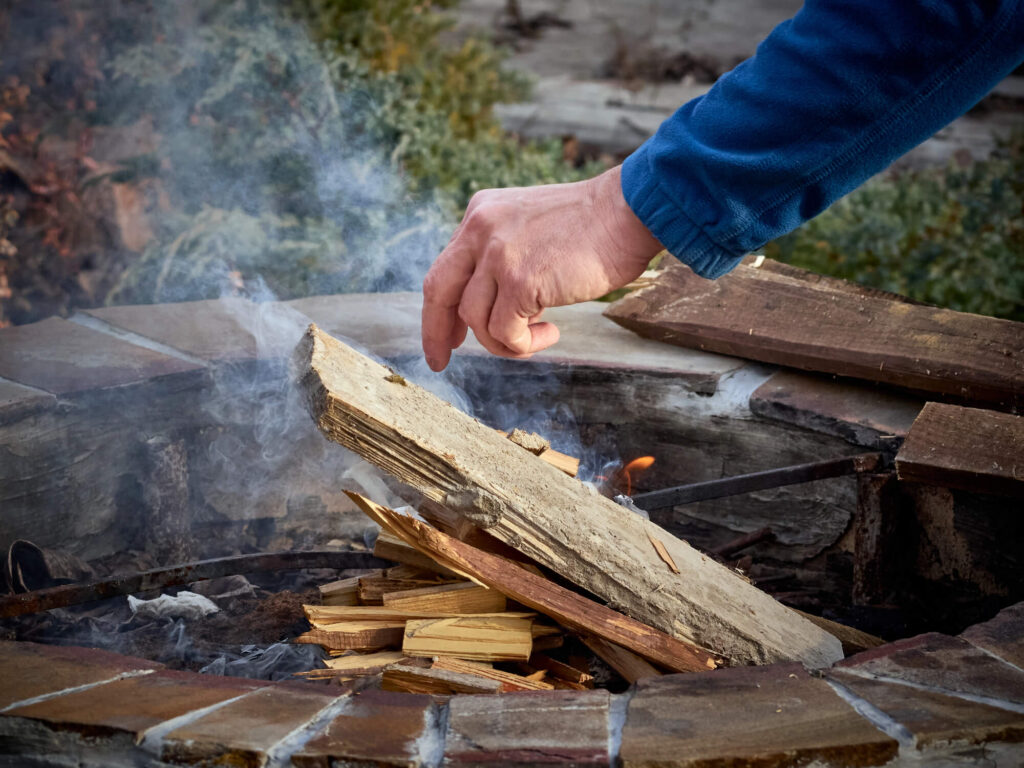
Step 6: Assemble the Firebox with Firebrick
The firebox is the heart of your outdoor fireplace. Properly installing the included firebrick is essential for heat resistance, safety, and long-term performance. Each kit comes with refractory firebrick precut to fit the internal dimensions of your fireplace.
Installation tips:
- Use adhesive only if directed; some kits may require a dry-stack firebrick system
- Maintain uniform gaps between bricks to allow for thermal expansion
- Confirm that the firebrick forms a complete lining across the back and side walls of the firebox
A well-installed firebox ensures proper combustion, radiant heat dispersion, and longevity, whether you’re burning seasoned hardwood or using a gas log insert.
Step 7: Install the Lintel Support
Next, install the lintel, a horizontal block or steel component that spans the top of the firebox opening. It supports the weight of the structure above the firebox, including the chimney.
Key considerations:
- Ensure the lintel is centered and seated flat
- Apply adhesive to both bearing surfaces (top of side walls and bottom of lintel)
- Allow sufficient curing time before loading additional blocks above
Lintels are a structural necessity in masonry design and must be positioned correctly to prevent sagging or cracking over time.
Step 8: Stack the Smoke Chamber and Chimney
Now that the firebox is complete, it’s time to build the vertical components: the smoke chamber and chimney. These parts control airflow and direct smoke up and away from the living area.
Assembly steps:
- Place the smoke chamber directly above the firebox
- Install chimney flue liners as directed, ensuring each piece is aligned and sealed
- Add chimney blocks in courses around the flue pipe
- Cap with the included chimney top, spark guard, or extension kit as needed
For covered structures, a chimney extension may be necessary to meet clearance requirements. Be sure to consult local fire safety codes regarding vertical clearance from roofs, pergolas, or trees.
Step 9: Add Optional Features and Modules
One of the greatest strengths of the Necessories® line is expandability. After the core structure is complete, consider adding complementary modules to enhance functionality and aesthetics.
Popular add-ons include:
- Firewood boxes (left or right side)
- Chimney extension kits for improved draft and visual scale
- Hearth extensions
- Grill islands or outdoor kitchen tie-ins
- Seat walls, fire pits, or fire tables
All modules are designed to integrate seamlessly with the fireplace footprint, providing you with the flexibility to build a cohesive outdoor living space over time.
Step 10: Cure and Final Safety Check
Before your first fire, allow the adhesive to fully cure, which typically takes 24 to 72 hours, depending on weather conditions. During this time, avoid placing weight or stress on the structure.
Once cured:
- Inspect for adhesive gaps, loose blocks, or misaligned chimney components
- Verify that all flue components are securely seated
- Confirm that the required clearances to combustibles are maintained
- Test spark arrestors, chimney caps, or gas connections if applicable
This final inspection ensures your outdoor fireplace is safe, efficient, and ready for years of enjoyment. Whether you’re lighting a cozy wood-burning fire or igniting a gas log with the flip of a switch, the integrity of your installation is what makes it all possible.
Preparation Tips Before You Begin
A successful outdoor fireplace installation starts well before the first block is laid. Proper planning not only ensures code compliance but also avoids costly mistakes and delays. Here are the key considerations to address before unboxing your Necessories fireplace kit.
Check Local Zoning Laws and Fire Safety Codes
Every municipality has regulations governing outdoor fireplaces, especially those involving open flames, smoke ventilation, or gas utilities.
To stay compliant:
- Contact your local building department about outdoor fireplace or fire pit safety regulations
- Review permit process timelines for outdoor fireplaces
- Confirm required chimney clearances and venting distances
- Determine setbacks from property lines, overhangs, and fences
Obtaining the necessary permits and inspections up front avoids fines, forced removal, or insurance conflicts down the road.
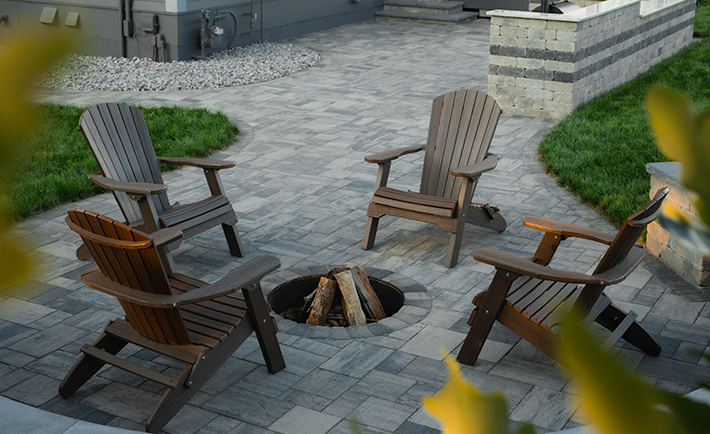
Choose the Right Site for Safety and Aesthetics
Where you place your fireplace can determine how enjoyable and safe your outdoor living space becomes.
Prioritize:
- Level terrain with good drainage
- Minimum 10 feet of clearance from structures or overhangs
- Wind patterns that carry smoke away from seating areas
- Visibility from primary gathering areas, especially if integrating with an outdoor kitchen or grill station
Consider the full layout of your outdoor living room, including future expansion zones for fire pits, firewood storage, or modular outdoor kitchens.
Gather Tools and Supplies
Most fireplace kits from Rochester Concrete Products require only basic tools, but organizing them ahead of time makes the process smoother.
Recommended tools:
- Caulking gun for construction adhesive
- Rubber mallet or dead-blow hammer
- Level, square, and tape measure
- Safety gloves and glasses
- Broom or shop vac to clean the work area
- Wheelbarrow or dolly for moving blocks
If pouring a concrete pad, you’ll also need framing materials, a concrete mix, and a float for leveling.
Coordinate Utilities and Fuel Sources
If you plan to use a natural gas or propane conversion kit, it’s essential to route those gas lines before final placement of the fireplace.
Steps to follow:
- Hire a licensed gas installer for all gas line work
- Confirm shut-off access and regulator placement
- Include future tie-ins for grill islands or outdoor kitchen systems
If you’re staying with a wood-burning fire pit, ensure space for a firewood box and easy access for restocking.
Fireplace Maintenance & Seasonal Tips
An outdoor fireplace adds warmth and ambiance, but like any structure exposed to the elements, it needs routine care to stay beautiful and functional. These tips will help you maximize the lifespan of your firebox, chimney, and finish materials.
Inspect the Firebox and Chimney Seasonally
Before and after each burn season, inspect key components:
- Look for cracked or damaged firebrick inside the firebox
- Check that the chimney cap and spark guard are intact and clear of debris
- Confirm the flue pipe and smoke chamber are unobstructed
- Verify all blocks remain securely bonded with adhesive
Regular inspection reduces fire risk and preserves structural integrity—especially important if you use the fireplace frequently in winter.
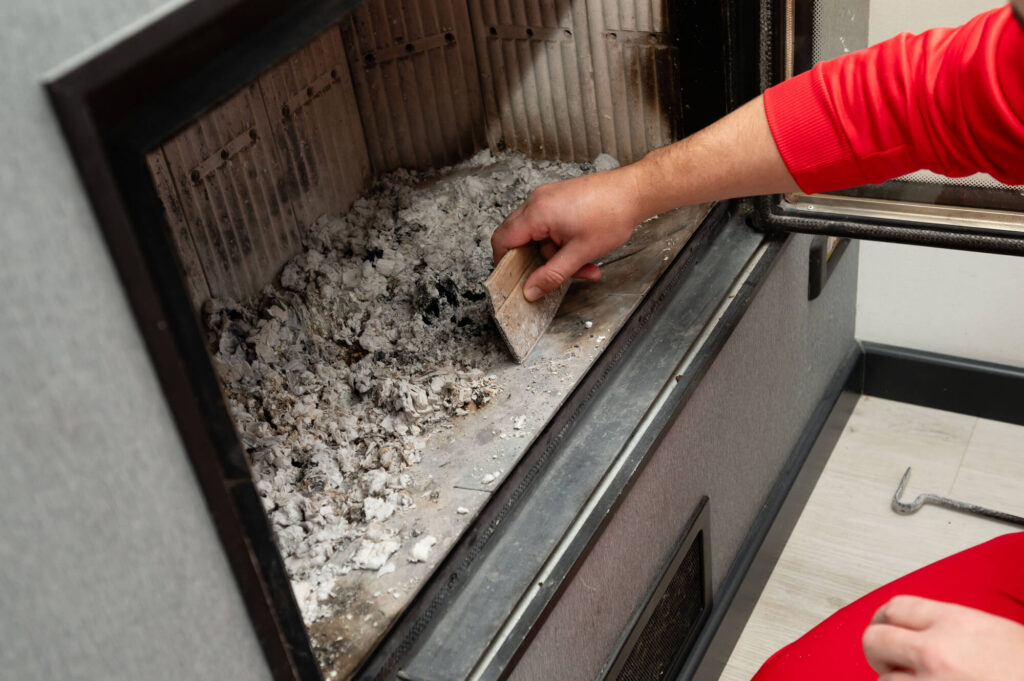
Clean Soot, Ash, and Debris
Soot buildup can diminish your fireplace’s appearance and performance. Keep your firebox and surrounding areas clean with these practices:
- Scoop out ash after every few burns (leave a 1-inch bed for insulation)
- Use a vacuum or soft brush for loose soot
- Avoid harsh chemicals on concrete block or firebrick
- Consider sealing exterior concrete block with a breathable masonry sealer (as recommended)
For gas fireplaces, periodically check and clean burner ports and gas log components.
Cover and Protect in Harsh Weather
While Necessories® kits are made from high-durability concrete and fire-rated materials, additional protection helps extend their life:
- Use breathable covers during long stretches of disuse (especially in wet climates)
- Avoid placing heavy items or planters on top of chimney caps or hearths
- Shield nearby landscaping from radiant heat or ash drift
- For extreme cold, allow time for materials to warm up before lighting a fire to prevent thermal stress cracking
Refresh or Expand Over Time
Modular systems make it easy to update your fireplace area seasonally or as your outdoor space evolves. Consider:
- Adding a new fire pit or fire table for supplemental gathering zones
- Integrating a grill cabinet or outdoor bar for entertaining
- Installing low-voltage lighting near firewood boxes or seat walls
- Replacing fire pit accessories or upgrading to a gas log system for ease
With minimal upkeep and smart upgrades, your fireplace becomes the centerpiece of your backyard year after year.
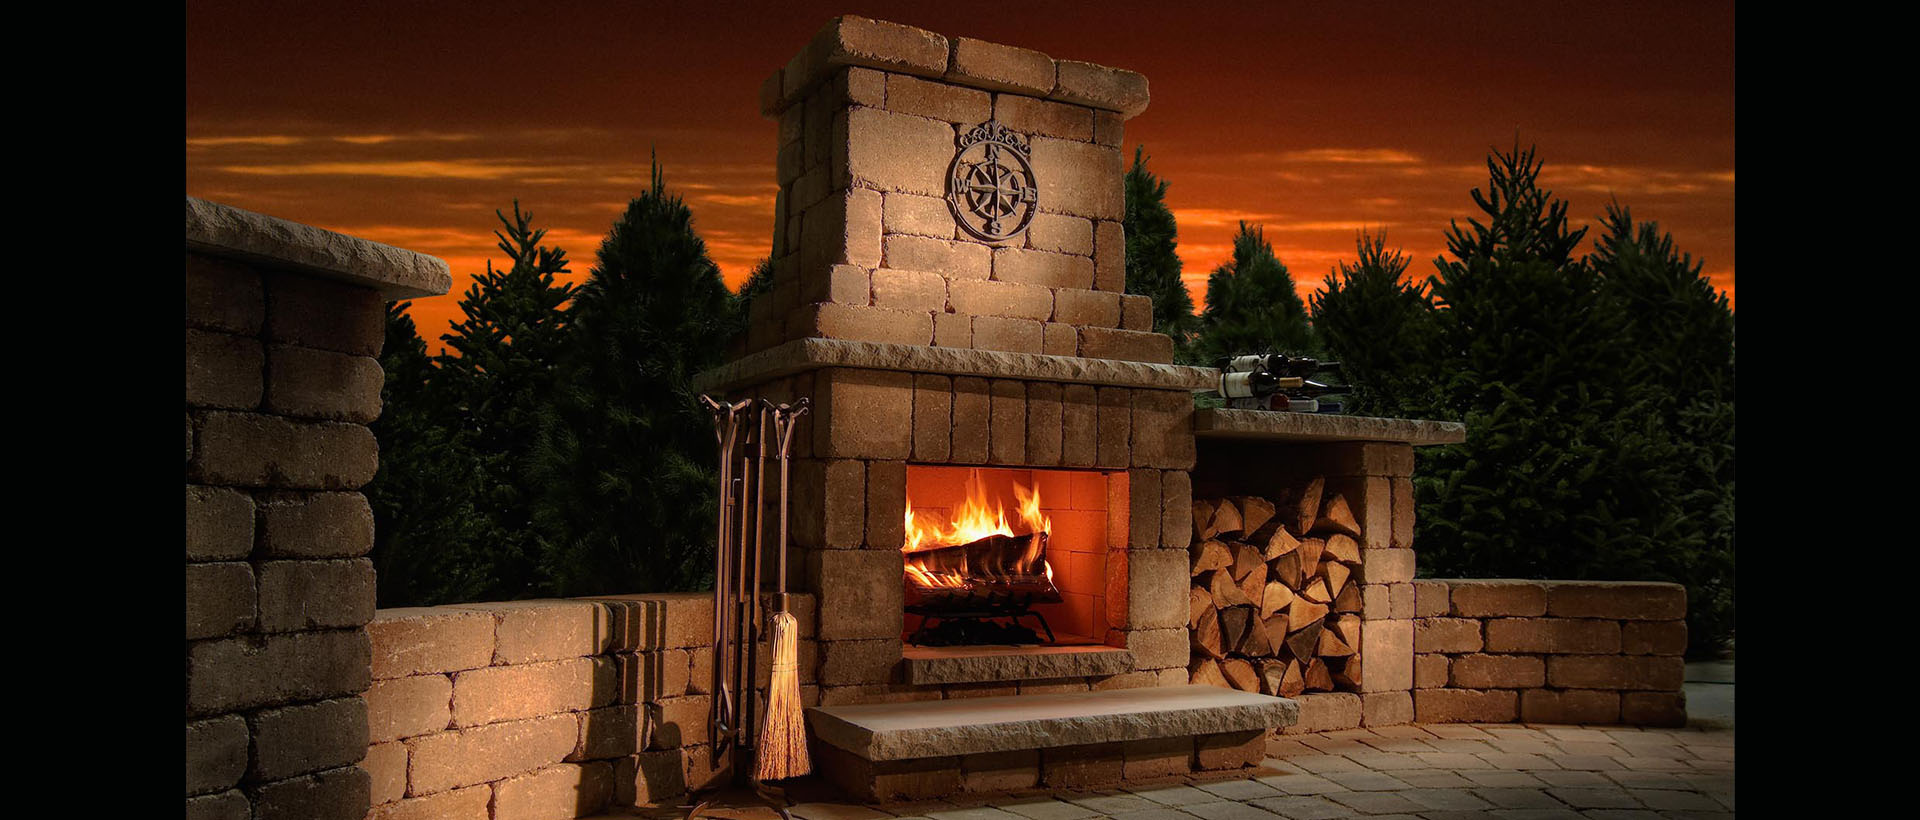
Benefits of a Necessories® Outdoor Fireplace
Choosing a Necessories® fireplace kit means more than just adding heat. It will transform your backyard into a four-season destination, as a well-designed fireplace becomes the emotional and functional centerpiece of your outdoor living space.
Warmth and Year-Round Use
A properly installed outdoor fireplace radiates heat, making patios, pergolas, and open-air kitchens more usable in colder months. Unlike portable fire pits or in-ground fire pits, the vertical chimney structure draws smoke upward and away, creating a cleaner, more comfortable seating environment.
Pairing your fireplace with seating walls or windbreaks further enhances this effect, making your backyard an extension of your home’s interior during every season.
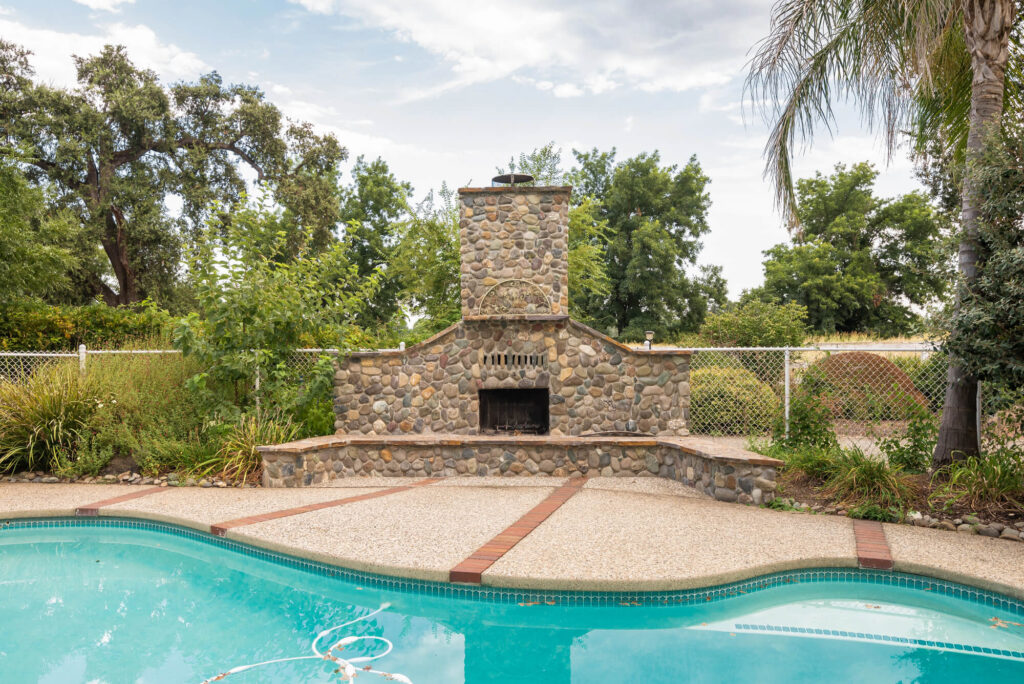
Enhanced Design and Visual Impact
Unlike simpler fire pits, Necessories® fireplace kits add architectural scale and sophistication. The textured concrete block, clean lines, and elevated chimney structure act as a visual anchor, balancing flat surfaces like patios or decks and creating a defined focal point, something a single fire pit can’t do.
From rustic to modern, each style integrates seamlessly with pavers, garden walls, and grill islands, giving your entire outdoor living room a cohesive, intentional design.
Return on Investment
Outdoor fireplaces are one of the top outdoor features buyers seek. When professionally installed or assembled from a building-code-compliant kit, they deliver a strong ROI, both in home value and personal enjoyment.
Necessories® kits meet or exceed national building codes and require no special sourcing or engineering, removing friction from the appraisal and permitting process.
H3: Built-In Durability
Each kit uses precast concrete blocks, integrated firebrick, and proprietary Chroma Shield technology to resist:
- UV fading
- Freeze-thaw cycles
- Salt and chemical exposure
- Cracking from thermal expansion
This makes them far more durable than most portable fire pits or custom masonry structures, which are prone to cracking, settling, or weather damage over time.
Expand Later with Modular Outdoor Kits
The beauty of a Necessories® fireplace isn’t just in its standalone impact but in how it can grow with your backyard vision. Each kit is part of a larger modular system, allowing you to build a cohesive outdoor living space over time without having to start over.
Seamless Add-Ons
Many homeowners start with a fireplace and expand their space gradually. Thanks to compatible dimensions, finishes, and assembly methods, you can add:
- Wood-burning or gas fire pits
- Outdoor kitchen cabinets with built-in grills
- Bar islands with prep space and storage
- Firewood boxes for clean storage solutions
- Seat walls and lighting pillars
This modularity makes it easy to match existing textures, maintain color continuity, and simplify future installation.
Unified Aesthetics
All Necessories® elements, from fireplaces to grill cabinets, are designed to share design DNA: block size, finish texture, color palette, and structural logic. This ensures each new addition looks intentional, not like an afterthought.
If you’re building out a full entertainment patio or integrating with an in-progress hardscaping project, Rochester’s collection supports a phased rollout that still looks polished from day one.
Planning Tools for Long-Term Projects
Rochester Concrete Products offers tools to help plan your space:
- Product estimator tool for accurate material costs
- PDF downloads for spec sheets, installation guides, and planning templates
These tools help homeowners and contractors alike make smart, forward-thinking decisions when building a backyard that’s meant to evolve.
Ready to Build the Heart of Your Outdoor Space?
An outdoor fireplace can be the anchor for connection, conversation, and year-round comfort. Your fireplace will set the tone in any outdoor layout.
Necessories® fireplace kits from Rochester Concrete Products offer unmatched ease, quality, and flexibility. You get premium materials, intuitive building instructions, and long-term design value without the complexity or cost of custom masonry work.
Visit our page for Outdoor Living Kits to view our full fireplace collection, or scroll to the bottom of the page to explore grill cabinets, fire pit kits, and full modular outdoor kitchen systems.
Your outdoor living room starts here.