You can spend an entire weekend building a beautiful paver patio, only to watch weeds, ant activity, and joint washout make it look worn and uneven a few seasons later.
When that happens, many homeowners assume the pavers or the jointing sand failed. In reality, the problem is often tied to installation—how the joints were filled, how the surface was drained, and whether the sand was properly protected during curing.
Polymeric sand is an engineered jointing material that firms up when activated with water, helping create a stable, erosion-resistant joint between pavers.
When installed correctly, it helps lock paving stones together, reduce washout, and keep joints cleaner over time.
When installed incorrectly—or used on the wrong surface, base, or joint width—it can lead to haze, cracking, washout, or moisture-related problems.
In this guide, you’ll learn what polymeric sand is, how to apply polymeric sand correctly, which installation mistakes cause the most problems, and how to choose the best polymeric sand for your paver project.
What Exactly Is Polymeric Sand in a Paver System?
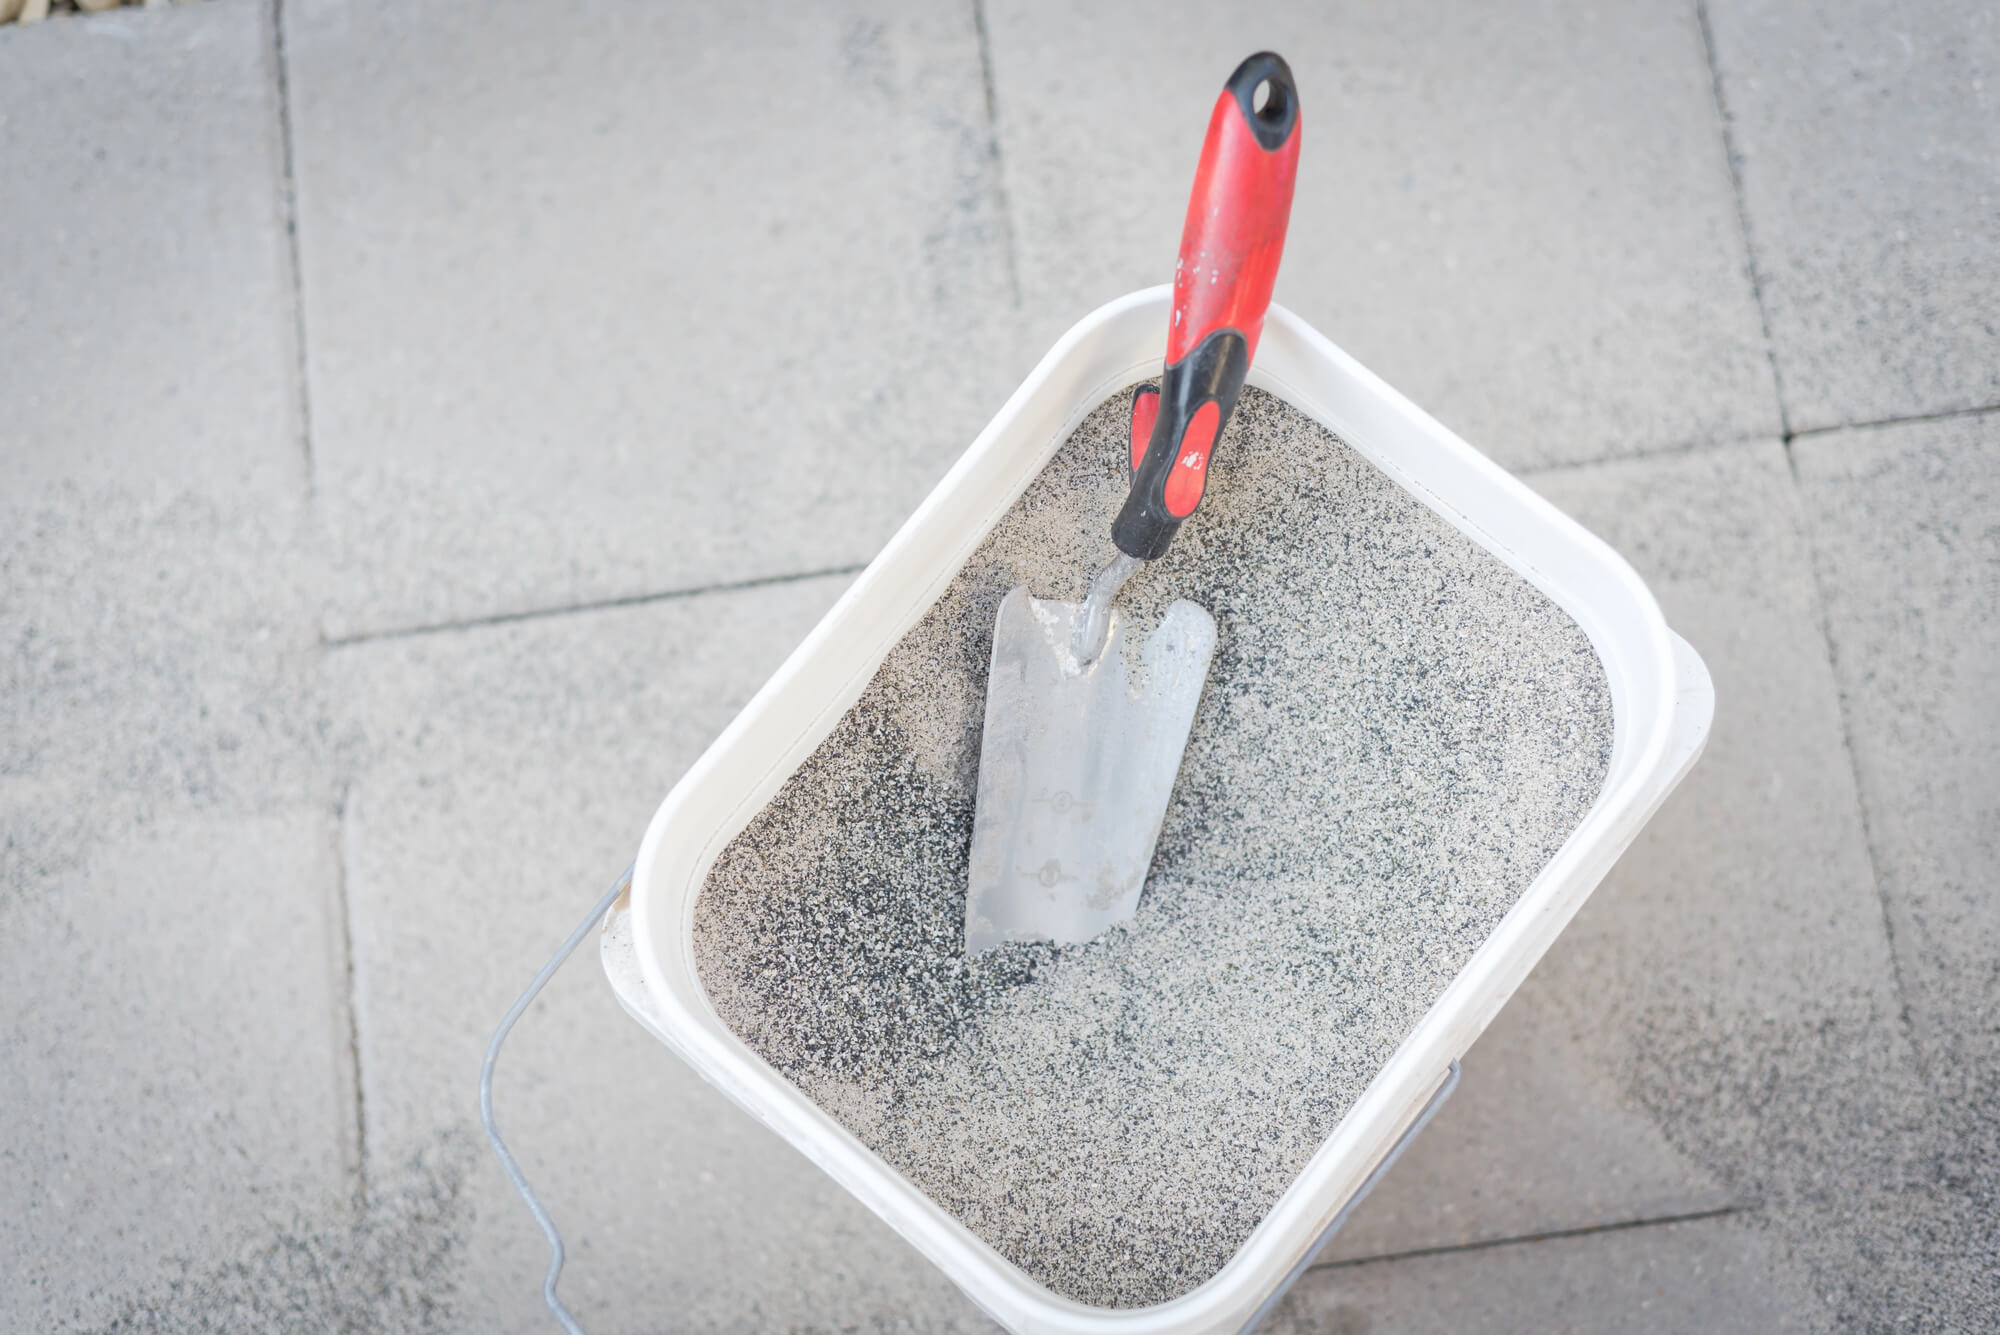
Polymeric sand is an engineered paver joint sand made from carefully graded sand blended with water-activated polymer binders.
Once swept into clean, dry joints and activated according to the manufacturer’s instructions, it cures into a firm but slightly flexible joint material.
Unlike traditional joint sand, polymeric sand creates a cohesive joint that resists erosion while still allowing a degree of flexibility. It can help discourage weed establishment and ant activity, but it still depends on a properly constructed paver system with adequate base preparation, drainage, and edge restraint.
In today’s segmental pavement systems, engineered joint sands have become the preferred choice for many patios, walkways, and pool decks because they offer a balance of stability, flexibility, and durability.
At its core, polymeric sand consists of:
- Clean, controlled sand particles selected to pack tightly within the joint.
- Polymer binders that activate with water and cure inside the joint.
- A firm but flexible structure that can accommodate minor movement caused by traffic and freeze-thaw cycles.
At Rochester Concrete Products, we view jointing materials as part of the overall hardscape system. Choosing the right jointing product is just as important as selecting the right paver, base materials, and edge restraint.
Always select a product that matches the paver type, joint width, surface texture, traffic level, and manufacturer’s recommendations.
Polymeric Sand vs. Regular Paver Joint Sand
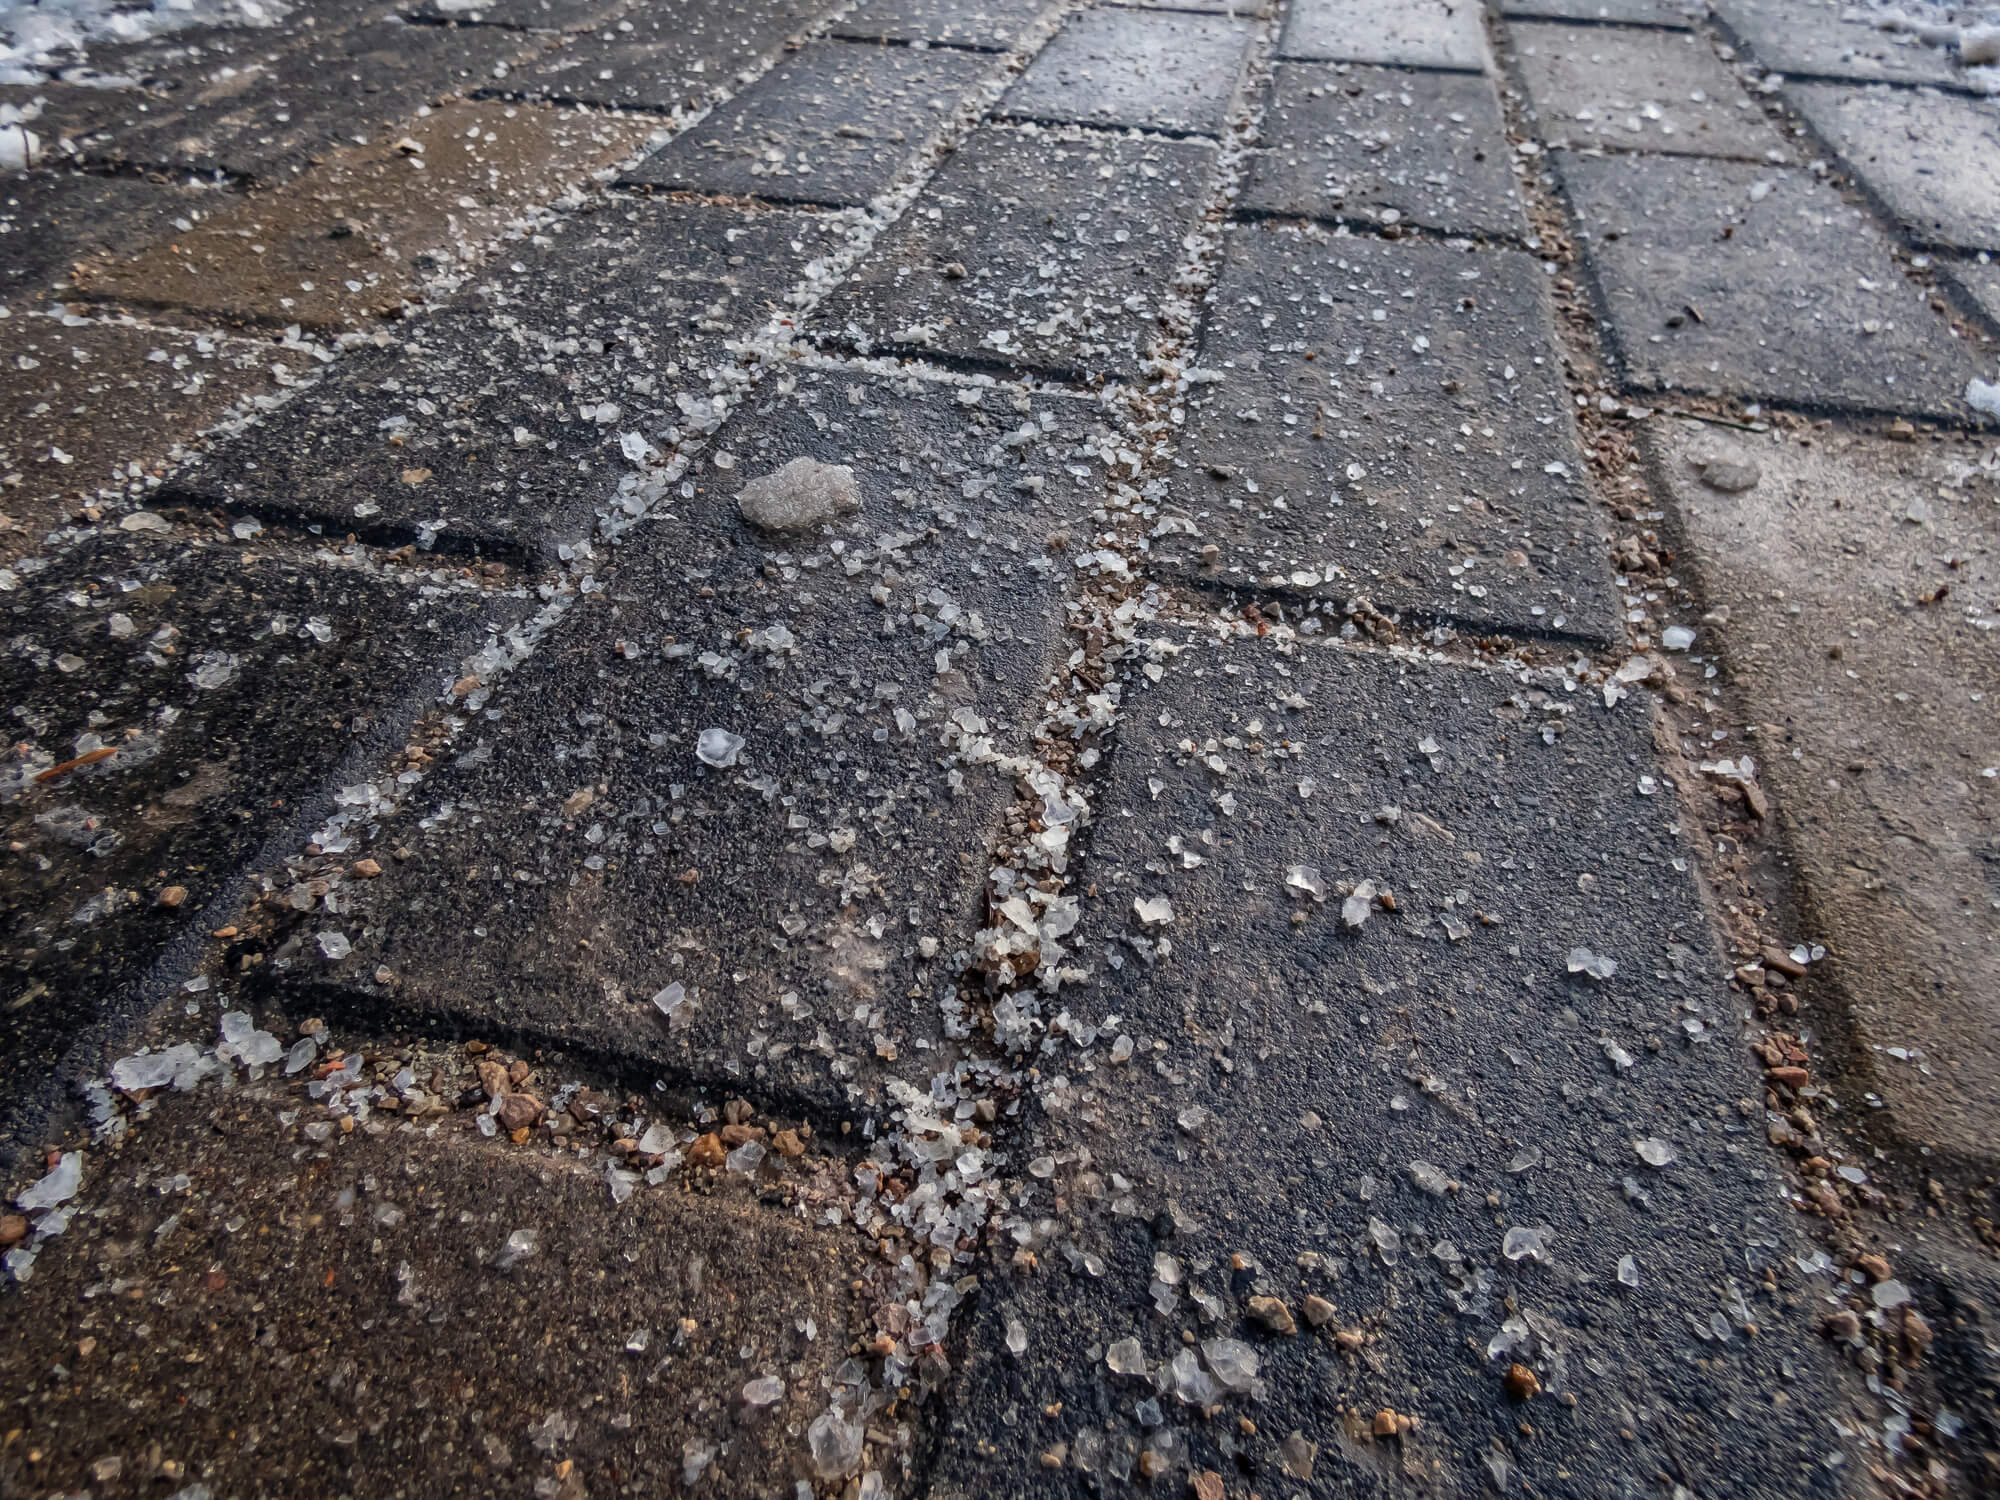
Traditional paver joint sand remains loose after installation. Over time, it can migrate out of joints, wash away during heavy rain, or collect organic debris that creates an environment for weeds and insects.
Polymeric sand contains water-activated binders that help the material cure into a more stable joint.
For many patios, walkways, pool decks, and residential driveways, that added stability makes polymeric sand the preferred option.
Polymeric Sand vs. Regular Paver Joint Sand
Regular paver joint sand stays loose, so it can migrate, wash out, or collect organic debris more easily. Polymeric sand includes binding agents that activate with water and cure once placed between the pavers.
That makes it a better fit for many patios, walkways, pool decks, and driveways.
How Polymeric Sand Actually Works Once It’s in the Joints
When polymeric sand is swept into clean joints, compacted, and activated with water, the binders lock the sand particles together into a cohesive mass rather than leaving them loose within the joint.
That cured joint helps maintain interlock between pavers, allowing the pavement system to distribute loads more effectively while reducing erosion and discouraging weed and ant activity.
It’s important to remember that polymeric sand supports a well-built paver system—it does not replace one.
Interlocking and Load Transfer
Polymeric sand does not carry the primary load of a pavement system. That responsibility still belongs to the pavers, bedding layer, and compacted base.
What polymeric sand does provide is improved joint stability, which helps those components work together more effectively.
When properly installed, polymeric sand can:
- Help limit paver movement and reduce shifting at the edges.
- Improve interlock between adjacent units.
- Assist in distributing loads across multiple pavers.
- Reduce minor settlement that can affect the appearance of the finished surface.
Contractors who install segmental pavement systems every day often see the same result: well-filled, properly cured joints typically lead to better long-term performance and fewer service calls.
Resistance to Weeds, Ants, and Washout
No jointing material can make a hardscape completely maintenance-free, but polymeric sand offers several advantages over loose joint sand.
Because cured joints contain fewer voids:
- Weed establishment becomes more difficult.
- Ants and other insects are less likely to disturb the joints.
- Rainfall and routine washing are less likely to erode the joint material.
- Routine cleaning becomes easier.
It’s important to understand that most weeds originate from seeds that land on the surface, not from below the pavers.
If leaves, dirt, and organic debris are allowed to accumulate and break down within the joints, weeds can still develop regardless of the jointing material used.
On many RCP pavers featuring Chroma Shield technology, the dense surface can make cleanup easier and may reduce the tendency for polymer residue to cling to the paver face.
That added protection is beneficial, but it does not replace proper installation practices, surface cleaning, or staged watering during activation.
When To Choose Polymeric Sand for Your Patio or Walkway
Polymeric sand performs best when it is used as part of a properly designed paver system with stable joints, a solid base, and effective drainage.
It is an excellent choice for patios, walkways, pool decks, and many residential driveways where homeowners and contractors want a clean finished appearance and reduced maintenance.
However, polymeric sand is not the right solution for every application.
It is generally less effective in very wide or irregular joints, highly textured surfaces, or areas that experience chronic standing water.
As a rule of thumb, polymeric sand is often a good choice when:
- The base is properly compacted and well-drained.
- Joint widths fall within the manufacturer’s recommended range.
- The installation surface is clean and dry.
- Weather conditions allow proper curing.
If you’re working with a marginal base, poorly drained conditions, constant moisture, or highly irregular joints, it may be worth reevaluating the design or considering a different jointing material.
Polymeric sand tends to perform best in the conditions shown on the left side of the table below and struggles most often in the high-risk conditions shown on the right.
This comparison provides a quick overview of where polymeric sand typically succeeds—and where it may create challenges:
| Where Polymeric Sand Works Well | Where Polymeric Sand Struggles |
| Patios and walks on a solid, compacted base | Surfaces built over soft, thin, or poorly compacted bases |
| Joints within the manufacturer’s recommended width | Very wide, irregular, or stone-style joints |
| Standard concrete pavers or clay paving stones with defined edges | Highly cleft or tumbled units that trap surface dust |
| Sites with good slope and drainage base away from the work | Areas with chronic standing water or soggy soils |
| Install days with dry pavers and no rain in the forecast | Rushed installs just before a gully washer storm or on damp surfaces |
Not every paver surface should be treated the same way.
Porcelain-topped products, specialty slabs, wide-joint systems, and highly textured pavers may require different installation methods or alternative jointing materials.
Before making a final product selection, review the current product guide and consult your dealer, contractor, or installation professional to confirm compatibility with your specific project.
Step-by-Step: How to Apply Polymeric Sand the Right Way
A good polymeric sand install is all about discipline: dry conditions, full joints, thorough compaction, clean faces, and careful watering. Always start by reading the instructions on the bag; if anything here conflicts, follow the manufacturer’s directions first.
For RCP pavers, slabs, porcelain-topped products, and specialty surfaces, also confirm the current RCP product guide before compacting or selecting joint material.
Tools And Conditions You Need First
Before you open a bag, make sure you have:
- A dry, clean paver surface and joints with proper depth.
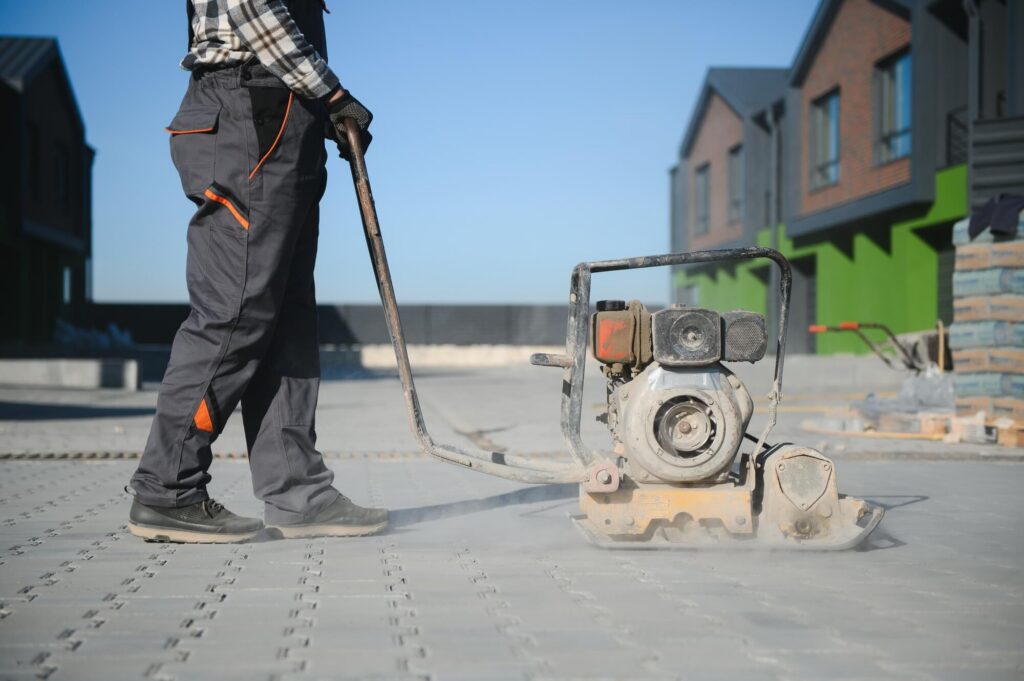
- The compaction method recommended for your specific paver or slab and square feet, which may be a vibratory plate compactor with a protective pad, a simple hand tamper, a roller compactor, or a buffer pad, depending on the product.
- A joint cleaning tool (stiff-bristle broom or leaf blower) and a gentle spray nozzle on a water hose for cleaning and watering.
If any of these pieces are missing, pause the job and fix that before you start placing sand.
Polymeric Sand Installation Steps That Protect Your Work
Step 1 — Confirm the base and joints are ready
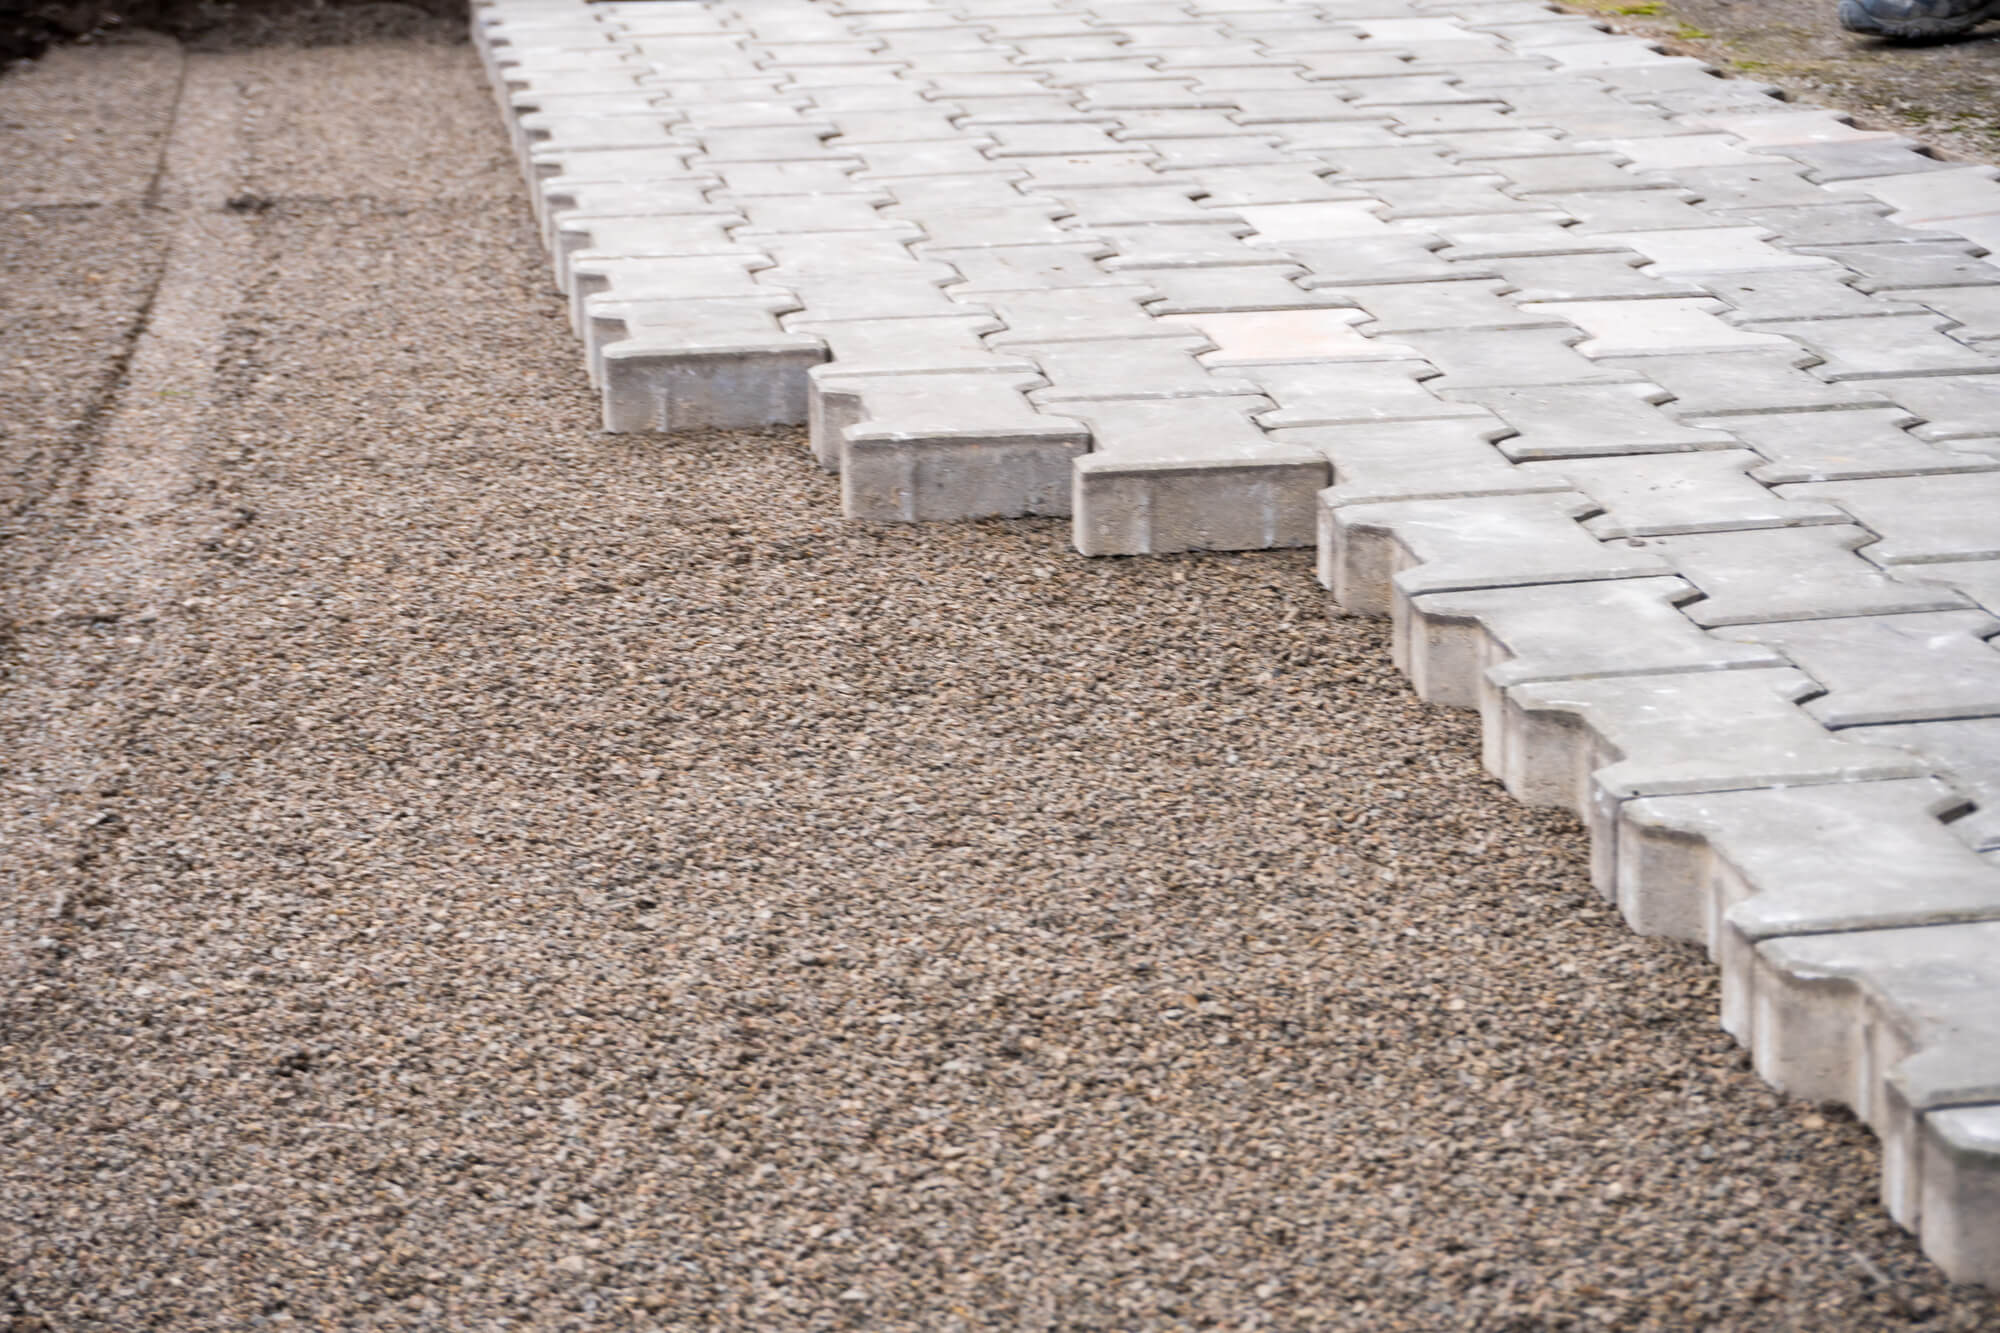
Check that the base is firm, the bedding course is smooth, and the joints are cleaned out to the minimum depth required by the jointing product instructions. If the base is soft, the surface moves, or the joints are too shallow for the selected sand, the jointing material will not have a fair chance to perform.
Step 2 — Start with bone-dry, clean pavers
Wait for all moisture to clear, then blow or sweep off dust, cuttings, and debris. Any dampness or leftover fines on the surface can turn into stubborn haze once the binders activate.
Step 3 — Sweep polymeric sand into the joints
Work in small areas, sweeping diagonally so the sand drops into the joints instead of riding over them.
Step 4 — Compact to settle and top up
Compact using the method recommended for that paver or slab. For many concrete pavers, that may mean a plate compactor with a protective pad; for some textured, wet-cast, porcelain-topped, or specialty products, a roller compactor or buffer pad may be required. Refill low joints and compact again until the joints meet the product’s fill-depth requirement.
Step 5 — Clean every paver face
Use a soft broom and blower to remove all loose dust, leaving only sand that’s actually in the joints. Any residue left now often becomes visible hazing later.
Step 6 — Water in light, staged passes
Use a gentle shower pattern; mist, let it soak, then repeat until the joints are wetted to the depth specified by the jointing product without flooding. A hard blast can wash binders out; too little water leaves uncured material below the surface. Aim for joints that look evenly dark and damp top to bottom, without puddles on the surface.
Step 7 — Protect while it cures
Keep traffic, sprinklers, and heavy water off the surface until the product’s cure window has passed and it is water- or rain-safe. Breaking the joint before it sets is a common cause of early cracking and washout.
Most Common Polymeric Sand Mistakes to Avoid
Many polymeric sand problems come from product mismatch, site conditions, or installation steps rather than the sand alone. The most common polymeric sand mistakes are installing over damp pavers, leaving residue on the surface, failing to compact and fill joints properly, choosing a sand that does not match the joint width, and using too much or too little water during activation.
Prep And Cleanup Mistakes
Most polymeric sand failures start before watering. If the pavers are damp, the joints are shallow, or dust remains on the surface, watch for these issues:
- Installing over damp pavers, which can glue fine dust to the surface as haze.
- Leaving a film of sand on top, so activated binders cure on the faces.
- Underfilled or uncompacted joints, leaving voids that collapse under load.
- Using the wrong product, especially when the paver surface, joint width, or project type calls for a different sand.
If you see gray haze, look first at moisture and leftover dust; if you see cured sand and pavers sinking or cracking, suspect underfilled or uncompacted areas before you blame the product.
Watering And Curing Mistakes
Water activates the binders, so this step needs control rather than force. Once you turn on the hose, avoid these mistakes:
- Overwatering with a hard spray, which can wash binders off.
- Not wetting deeply enough, leaving only the top portion cured and the rest loose.
- Allowing traffic or sprinklers too soon, breaking the polymeric sand before it fully sets.
Even experienced installers should follow the current bag instructions and adjust for temperature, humidity, shade, and drainage conditions. If joints look patchy, soft, or freshly disturbed, assume the cure was interrupted and address that before the surface sees more use.
Base, Drainage, and Edges: What Polymeric Sand Can’t Fix
Polymeric sand cannot compensate for deeper structural problems. If the base moves, edges spread, or water has nowhere to go, even the best joint product will eventually fail.
Polymeric sand helps a well-built hardscape perform better. It cannot compensate for structural problems that already exist.
Why Structure Beats Surface Fixes Every Time
If you’re seeing heaving, settling, or migration, look below the joints:
- Soft or thin base layers let pavers rock and pump sand out.
- Missing or loose edge restraints allow the pattern to creep outward.
- Poor slope and drainage trap water, amplifying freeze-thaw movement.
Repeated heaving, deep settlement, loose edges, or recurring washout usually point to a system issue below or around the pavers. Until the base, drainage, and edge restraint are corrected, replacing the sand only treats the symptom. In those cases, have a qualified hardscape professional evaluate the installation before going through the entire sand installation process again.
RCP’s paver material guidance also separates pedestrian and light vehicular applications, including different compacted gravel base ranges. That means patios, walks, pool decks, and driveways should not all be treated as the same build.
How to Choose the Best Polymeric Sand for the Job
The best polymeric sand is the product approved for your paver type, joint width, minimum depth, surface texture, traffic level, drainage conditions, and installation weather — and unlike regular sand, poly sand includes binders that activate with water and cure inside the joint to create a long-lasting bond that prevents washout and erosion, stays in place for years, and helps prevent insect penetration into paver joints. Regular sand stays loose and can be pulled out by rain, foot traffic, moss growth, and insects over time — and if you have an existing patio where old sand has washed out, lifted, or allowed weeds and moss to push through the joints, poly sand is often the best solution for getting rid of those problems and finally achieving the tight, clean surface your hardscape was designed to deliver.
A good jointing sand match cures cleanly, supports the surface as designed, and reduces the risk of haze, washout, cracking, or premature repairs. The wrong match can fail even when the installer follows most of the application steps correctly — and common mistakes include applying sand to damp pavers, not fully filling all the joints down to the bottom of the paver, and leaving excess sand on the surface before the watering process begins. Excess sand must be removed after application to prevent haze — sweep excess off the pavers before watering, and cover the patio with plastic during heavy rain if the poly sand has not yet had time to fully cure.
Before buying, confirm:
- Joint width and depth — polymeric sand works best in joints one quarter to one and a half inches wide, including the product’s minimum and maximum space requirements
- Surface texture, especially if the pavers are cleft, tumbled, textured, porcelain-topped, tiles, or difficult to clean after putting sand across the surface
- Traffic level in outdoor space, such as patio foot traffic, pool-deck use, or residential driveway loads — restrict pedestrian traffic for at least 24 hours after application to allow the poly sand to fully cure and harden properly
- Weather limits, including temperature, rain risk, humidity, shade, and cure time — cover the patio with plastic during heavy rain before the sand has fully cured to protect the watering process investment
- Drainage and water flow conditions, especially in damp, shaded, low-lying, or poorly draining areas where moss growth and moisture can compromise the curing process
- Product fit, including whether the project calls for polymeric sand, polymeric stone, resin sand, or another jointing material
Ask your supplier or installer one direct question before choosing — is this the best polymeric sand for my specific paver surface, width, traffic level, and site conditions? If the answer depends on the paver type, base, drainage, surface texture, weather, or even on your local insect activity, confirm the current product guide and manufacturer instructions before laying sand in any joint.
- Standard paver patios and walkways — polymeric sand is often the right paver joint sand when all factors meet the product requirements and the joints sit within the one quarter to one and a half inch width range where poly sand performs best
- Driveways, specialty surfaces, permeable applications, tiles, grout applications, or chronically damp areas may require a different jointing product or installation approach — confirm with your dealer or installer before putting poly sand into joints that may not be covered by the product specifications
Simple Maintenance and Repair Habits That Keep Joints Performing
A good polymeric sand install is low-maintenance, not maintenance-free. Joints still live in the real world — rain, leaves, moss, soil, and foot traffic all take a toll over time, and unlike regular sand which washes out freely, poly sand that has fully cured should hold its position through normal conditions. Light routine care and early repairs keep the system performing much longer and dramatically reduce the kinds of issues that lead to full tear-outs of an existing patio that could have been preserved with consistent attention.
Routine Care That Protects Your Joints
You do not need fancy tools — just consistent habits and the idea that prevention is always easier than repair:
- Blow or sweep debris off before it breaks down into organic material, moss, or soil in the joints — a tedious job done regularly is far easier than dealing with joints that have become soil pockets full of roots and moss
- Use gentle washing methods, avoiding aggressive power washer spray patterns or constant use of the leaf blower directly over the jointing sand — a garden hose with an adjustable nozzle is the right tool for rinsing the surface without disturbing cured poly sand, and a power washer used incorrectly can lift and pull cured sand out of joints
- Inspect joints each season, ideally in spring and fall, for early washout, ant activity, insect penetration, moss growth, or widening gaps that signal the poly sand is no longer doing its job in that section
These small habits keep joints from turning into soil pockets and let you catch problems when they are still easy to fix. Apply a sealer after the paver set hardens to add a protective coat that extends the life of both the paver surface and the poly sand joints — and if you plan to use paver sealers, cleaners, or resealers, verify that the product is appropriate for the paver surface and jointing sand before applying. Follow the cleaner or sealer instructions carefully, and consult an RCP dealer or qualified installer when working on specialty surfaces, tiles, or grout-adjacent applications near the house.
How To Fix Small Problems Before They Spread
When you spot a problem area, do not wait for it to grow — that is the critical idea behind effective joint maintenance. Remove the failed old sand in that section completely, including all the old sand down to the bottom of the paver so the new poly sand has a clean surface to bond to. Use a non-selective herbicide to kill weeds and moss before sand application if organic growth has taken hold in the joint — putting more sand over live roots will not solve the underlying problem. A pressure washer can help remove old sand effectively from existing patio joints before reinstalling, but allow the joints to dry completely before laying new poly sand since applying sand to damp pavers is one of the most common mistakes that causes poly sand to fail.
Dry the joints completely before you use polymeric sand — this step is critical and cannot be rushed. Fill all the joints deep with fresh poly sand, compact with a rubber mallet to settle the sand fully into every joint, sweep excess sand off all the pavers before the watering process begins, and then apply water lightly using a garden hose with an adjustable nozzle to activate the sand without washing it out of the joints. Cover the patio with plastic during heavy rain and restrict pedestrian traffic for at least 24 hours after the watering process so the poly sand can fully cure undisturbed. Apply a sealer coat after the paver set hardens to protect the finished surface.
Aggregate stability requires correcting underlying issues — a soft base, poor drainage, or missing edge restraint — before applying polymeric sand, since poly sand cannot fix structural problems and will fail again in the same spots if those issues are not addressed first. Localized touch-ups are far easier and far less expensive than rebuilding an existing patio surface that has been neglected for years, and they are exactly the kind of maintenance that keeps patios looking new instead of tired.
Build Hardscapes That Stay Tight, Clean, and Solid
Every successful hardscape starts with the same mindset — the joints are part of the system, not an afterthought. Unlike regular sand, poly sand that is correctly chosen, correctly installed, and properly maintained hardens and stays in place for years, providing the long-lasting bond that prevents washout, erosion, insect penetration, and moss growth that regular sand simply cannot resist. When you choose the right jointing product, install it over a solid base with good drainage and edge restraint, sweep excess sand off cleanly, complete the watering process correctly, cover the patio during rain before it fully cures, and apply a sealer coat after the paver set hardens, your patio, walkway, pool deck, or driveway has a much better chance of staying tight, clean, and solid over time.
If you are planning a new project or refreshing an older existing patio surface, work with a Rochester Concrete Products dealer, rep, designer, or qualified installer before choosing a jointing product. They can help you match the paver, base, edge restraint, drainage details, and joint material to your site conditions — and as covered in this blog post, the process of choosing and installing poly sand correctly involves more critical decisions than most homeowners expect when they first consider the idea of tackling jointing as a DIY project.
Product availability, specifications, installation methods, and suitability vary by project and region. Always follow the current RCP product guide, the jointing product manufacturer’s instructions, and guidance from a qualified dealer or installer.
Polymeric Sand FAQs
Is Polymeric Sand Used in Permeable Paver Systems?
Most permeable paver systems use open-graded aggregate in the joints rather than polymeric sand or poly sand. Always follow the permeable pavement design and installation guidelines for the specific system being used — and confirm with your dealer or installer before putting poly sand into a permeable application where drainage through the joint is a critical design requirement.
Is polymeric sand the same as paver joint sand?
Polymeric sand is a type of paver sand — but unlike regular loose sand, poly sand includes binders that activate with water and cure inside the joint to create a hardened, long-lasting bond that prevents washout, resists ant hills and insect penetration, and holds its position for years. Loose sand and existing joint sand stay loose and can be pulled out by rain, lifted by roots, or pushed aside by ants and insects over time.
What is the best polymeric sand for pavers?
The best polymeric sand is the product that matches the paver surface — whether concrete, brick, or stone — joint width between one quarter and one and a half inches, joint depth down to the entire depth of the paver, traffic level, drainage conditions, and installation weather. For RCP projects, confirm the right jointing product with the current product guide, your dealer, rep, or qualified installer before buying — the wrong product choice can cause poly sand or polymetric sand to fail even when applied properly and the application steps are followed correctly.
How do I apply polymeric sand to pavers?
Knowing how to apply polymeric sand to pavers correctly is as important as choosing the right product. Start by removing all existing joint sand and loose sand down to the entire depth of the joint — power wash the entire area if needed and allow everything to become completely dry before proceeding, since applying new polymeric sand to damp joints is one of the most common causes of failure. Address any sunken pavers, weed growth, or ant hills before reinstalling new sand — use a non-selective herbicide for weed growth and ensure sunken pavers are releveled and the base is solid before adding new sand.
Once the joints are completely dry and fully packed with new polymeric sand swept across the entire area, sweep excess sand off the surface completely before watering. Apply water on the lowest setting using a garden hose with an adjustable nozzle — excess water washes poly sand out of joints before it can cure, so light and controlled application is critical. Restrict foot traffic for at least 24 hours, and wait a few weeks before deciding to apply sealer over the fully dried and cured surface. Always follow the manufacturer’s installation guidelines for the specific product being used.
Can polymeric sand fix loose or uneven pavers?
No. Poly sand can help stabilize properly built joints on a solid existing patio with brick, concrete, or stone pavers — but it cannot fix a soft base, poor drainage, missing edge restraint, sunken pavers, or pavers that are already moving. Proper preparation and aggregate stability require correcting those underlying issues first. Remove all the existing joint sand and loose sand down to the entire depth of the joint, ensure the entire area is completely dry, then reinstall new polymeric sand using the disciplined process that gives the new sand the best chance to cure and perform as designed.