Concrete pavers are one of the most durable and low-maintenance paving materials available, but even the best paver patio, walkway, or driveway will eventually collect dirt, stains, algae, moss, or other surface buildup. Fortunately, the best way to clean concrete pavers is to start with the least aggressive method that will solve the problem without harsh chemicals or excessive pressure.
The key to cleaning concrete pavers is matching the cleaning method to the condition you’re trying to remove. Whether you’re performing routine maintenance, removing oil stains, treating mold or moss, or restoring the appearance of a weathered patio, the safest approach is usually the least aggressive one that effectively cleans the surface while protecting the pavers, joints, and surrounding landscape.
This same principle applies whether you need to clean patio pavers, remove stubborn stains, control recurring moss or weeds, or prepare the surface for sealing. Different types of stains and biological growth require different cleaning methods, and the best results come from understanding what you’re removing before selecting a cleaner or tool.
Learning how to clean pavers starts with identifying the condition of the pavement, understanding the materials used in your installation, and following the care recommendations for your specific paver system.
Important: This article provides general maintenance guidance. Approved cleaners, equipment, jointing materials, sealers, and warranty requirements may vary by product. Before cleaning your pavers, always review the applicable Rochester Concrete Products installation and maintenance literature, along with the instructions provided by the cleaner, jointing material, or sealer manufacturer.
How to Tell Cosmetic Issues From Actual Paver Damage
Not every change in the appearance of a concrete paver indicates damage. Dirt, dust, efflorescence, algae, moss, tire marks, leaf stains, and natural color variation are typically cosmetic conditions that can often be removed with proper cleaning. In contrast, exposed aggregate, scaling, deep pitting, flaking, chipped edges, or structural cracks may indicate that the paver has been physically damaged or that the pavement system is experiencing a more significant problem.
Common causes of paver damage include:
- Excessive pressure or abrasion. Holding a pressure washer too close to the surface, using narrow high-pressure nozzles, wire brushes, or abrasive blasting can permanently alter the surface texture or expose the aggregate.
- Harsh acidic cleaners. Full-strength muriatic acid or repeated acid washing can dissolve the cement paste, resulting in permanent changes to the color, finish, and durability of the paver surface.
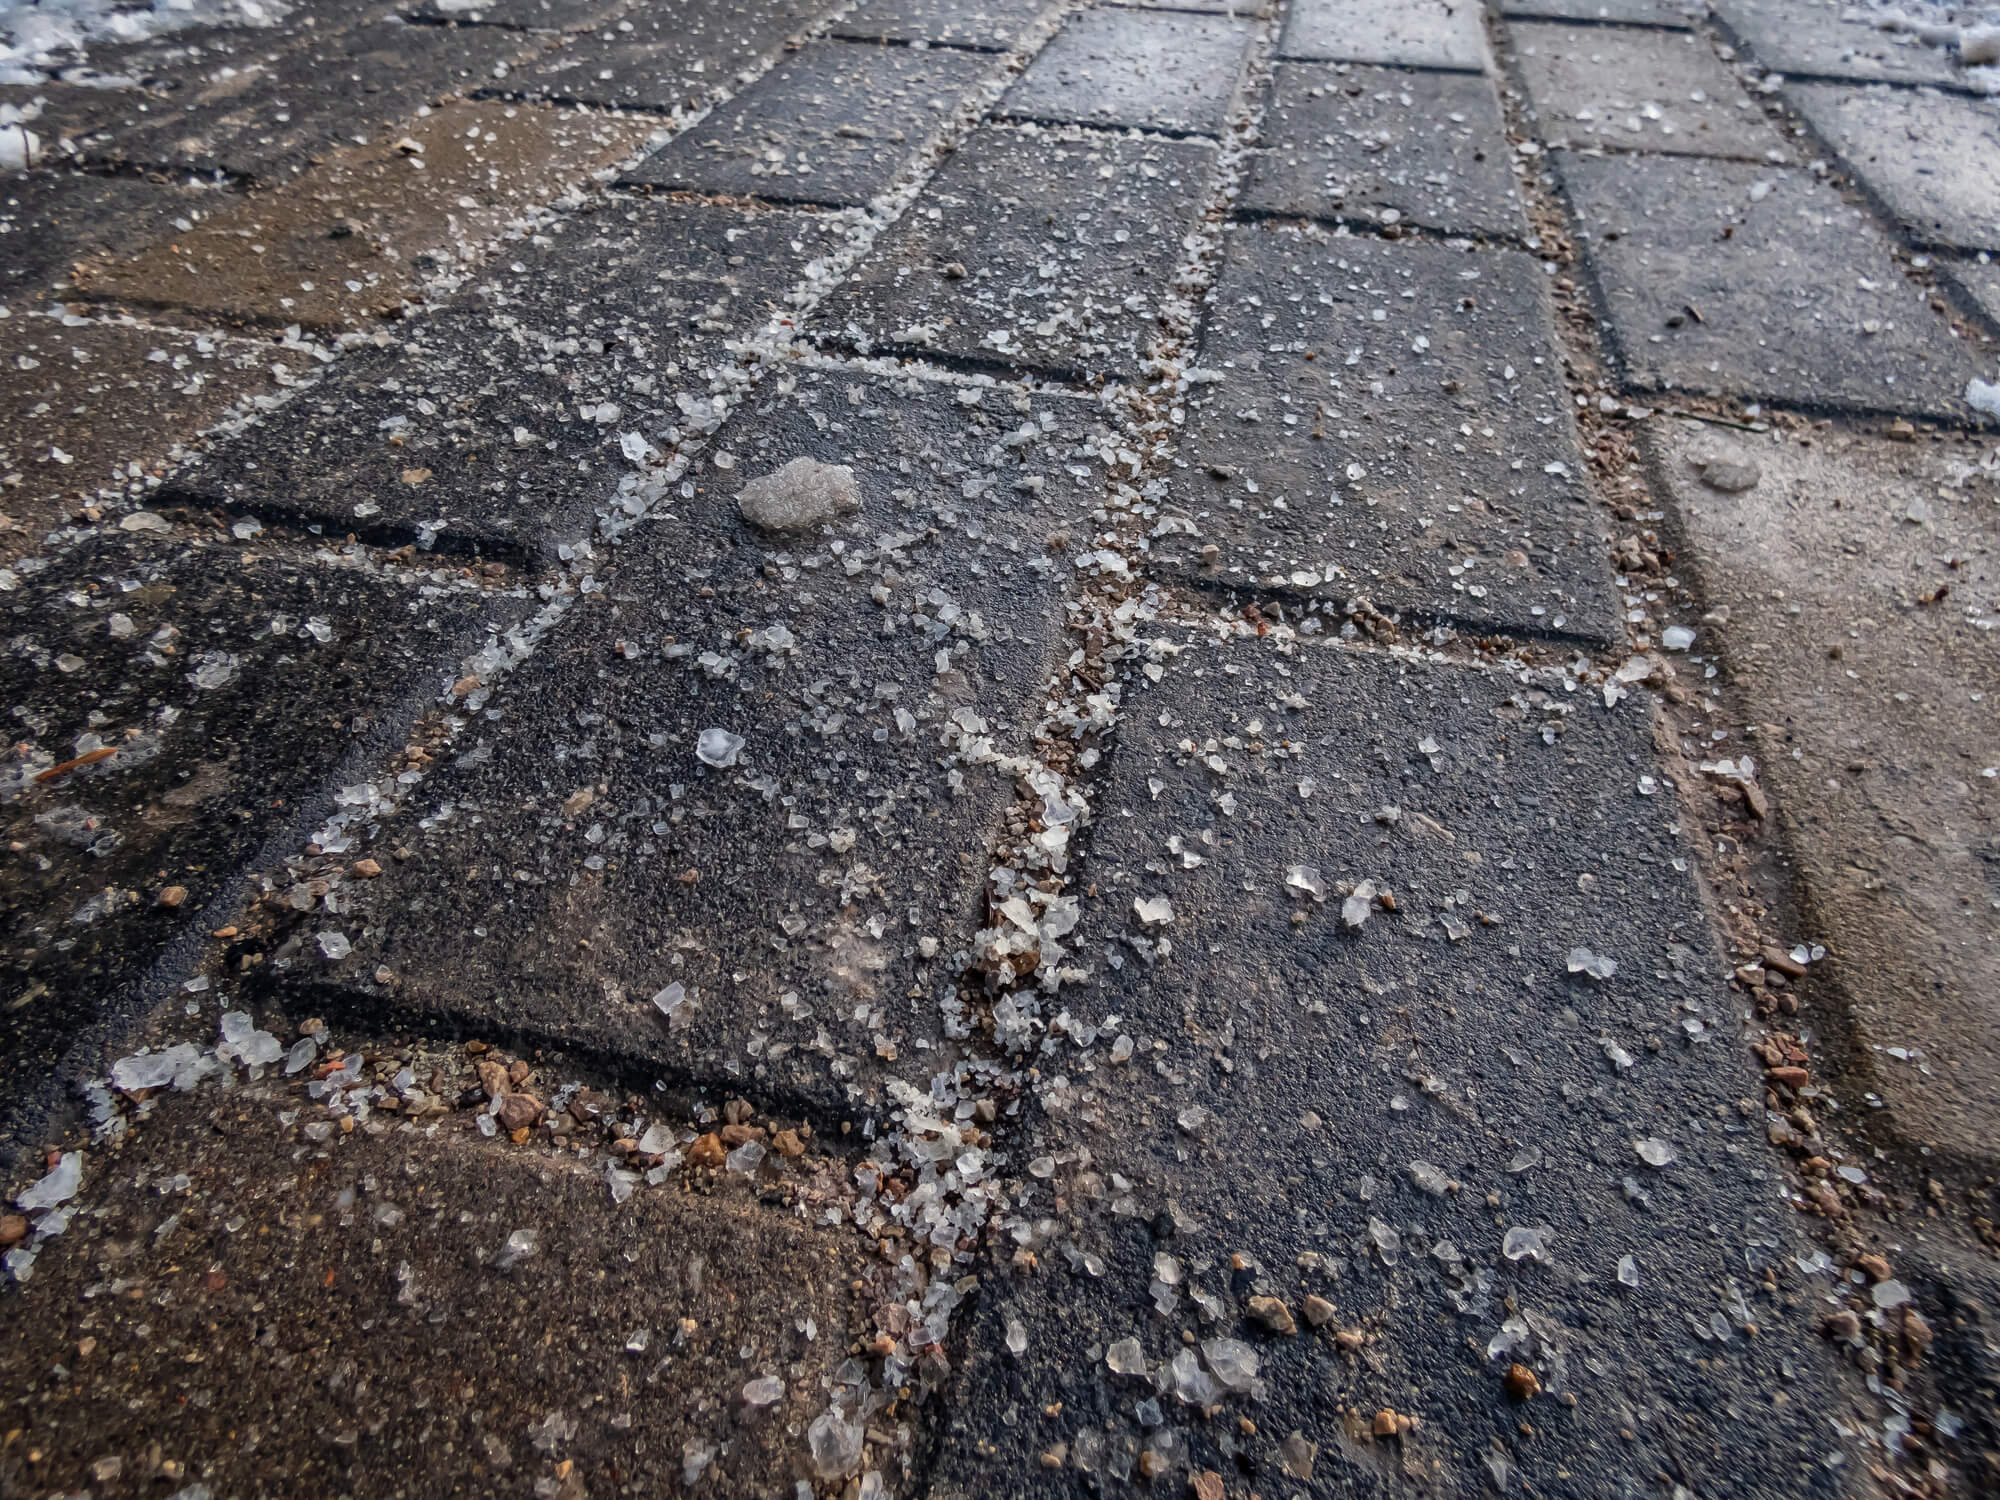
- Mechanical impact and aggressive deicers. Metal snow shovels, unprotected snowplow blades, studded tires, and certain deicing chemicals can chip paver edges or contribute to surface scaling in freeze-thaw climates.
When a condition appears to be cosmetic, begin with the least aggressive cleaning method—typically water, a mild detergent, and a stiff nonmetallic brush. If white deposits are present, identify whether they are efflorescence, mineral deposits, or another type of residue before selecting a specialty cleaner, as different conditions require different treatments.
If you observe widespread scaling, deep pitting, significant cracking, or damage associated with settlement, drainage problems, or pavement movement, cleaning alone will not solve the issue. Those conditions should be evaluated to determine whether the problem extends beyond the paver surface and into the supporting pavement system.
Cleaning recommendations can also differ between concrete pavers, natural stone, and porcelain pavers, so do not assume that a cleaner or technique suitable for one paving material is automatically appropriate for another.
A Step-by-Step Safe Cleaning Process for Concrete Pavers
Effective paver cleaning relies on the right technique—not excessive force. The goal is to remove dirt, stains, and surface buildup without damaging the pavers, dislodging jointing material, or affecting an existing sealer or surface treatment.
Proper preparation and testing are just as important as the cleaning itself. These simple steps provide a safe starting point for homeowners looking to clean paving stones without damaging the surface or disturbing the joints.
Step 1: Prepare the Area
Before cleaning, clear the work area so you can inspect the pavement and prevent loose debris from scratching the surface.
- Remove furniture, grills, planters, rugs, and other items from the area.
- Sweep or blow away loose dirt, leaves, sand, and loose grit.
- Inspect the pavement for cracked, loose, rocking, or sunken pavers.
- Note any areas where water consistently pools, as these may indicate drainage issues that cleaning alone will not resolve.
Step 2: Test the Cleaner
Not all concrete pavers, sealers, or surface treatments react the same way to cleaning products. Always test any cleaner before applying it to the entire surface. The Concrete Masonry & Hardscapes Association recommends testing cleaning products on a small, inconspicuous area before treating the entire pavement to evaluate cleaning results and potential color changes.
- Mix water with a small amount of a pH-neutral cleaner or use a cleaner recommended for concrete pavers.
- Test the solution in a small, inconspicuous area.
- Allow the test area to dry completely before evaluating the results.
- If the pavers have been sealed, follow the sealer manufacturer’s cleaning recommendations whenever possible. Water beading alone does not identify the type of sealer or confirm that a cleaner is compatible.
Step 3: Clean the Surface
Once you’re satisfied with the test results, clean the remaining surface in manageable sections.
- Work in small areas to prevent the cleaner from drying on the pavers.
- Scrub using a stiff brush with non-metallic bristles.
- Rinse thoroughly with clean water using a garden hose.
- If routine cleaning does not remove the buildup, consider a specialty cleaner or review the pressure-washing recommendations before using powered equipment.
Leaving cleaner residue on the surface can attract dirt and leave a dull or streaked appearance, so always rinse thoroughly.
Step 4: Inspect the Joints and Finish the Job
After the surface has dried, inspect both the pavers and the joints before considering the project complete.
- Refill any joints that lost jointing material during cleaning using a compatible product recommended for the pavement system.
- Confirm that the surface is clean, the joints remain full, and no additional stains or residue are visible.
- If sealing is appropriate, allow the pavers and joints to dry completely before applying any sealer, following the manufacturer’s recommendations.
- Make note of the cleaners, tools, and methods that produced the best results so future maintenance is faster and more consistent.
Always follow the instructions provided by the cleaner, sealer, and jointing material manufacturers, along with any applicable Rochester Concrete Products installation and maintenance guidance. If your pavers have specialized finishes, existing damage, or a previously applied sealer, verify product compatibility before using stronger cleaning methods.
Why Your Concrete Pavers Might Look Weathered and Tired After Cleaning
Freshly cleaned concrete pavers should look cleaner—not progressively rougher, lighter, or duller. If the surface appears to be losing color or texture over time, the issue may not be dirt at all, but damage caused by repeated cleaning with overly aggressive methods.
Most cleaning-related damage results from a few avoidable mistakes:
Using the Wrong Cleaning Products
Cleaners that are too strong for the condition being treated can damage concrete pavers, strip or affect some sealers, discolor the surface, or harm nearby plants and landscaping.
Avoid using concentrated acids, unapproved chemicals, or cleaning products that are not intended for concrete pavers unless specifically recommended by the product manufacturer.
Misidentifying the Problem
Not every white mark, stain, or color change requires a stronger cleaner. Efflorescence, mineral deposits, natural color variation, and surface dirt are different conditions that often require different treatments.
Before reaching for a specialty cleaner, identify what you’re trying to remove so you can choose the safest and most effective cleaning method.
Using Too Much Pressure
Pressure washers can be effective, but excessive pressure, narrow spray nozzles, slow passes, or holding the spray tip too close to the surface can permanently alter the finish of concrete pavers. High-pressure washing may also remove jointing sand, increasing the risk of weed growth, water infiltration, and future maintenance.
Always begin with the lowest effective pressure and follow the recommendations for your specific pavement system.
Follow Product-Specific Guidance
Concrete pavers are manufactured with different mix designs, surface technologies, finishes, and treatments. Some Rochester Concrete Products pavers incorporate technologies such as Chroma Color® facemix or Chroma Shield®, while others use different manufacturing methods.
Because cleaning recommendations may vary by product, always review the applicable Rochester Concrete Products maintenance guidance before using specialty cleaners, pressure-washing equipment, or sealers. Using the correct cleaning method helps preserve both the appearance and long-term performance of your pavers.
Can You Pressure Wash Concrete Pavers?
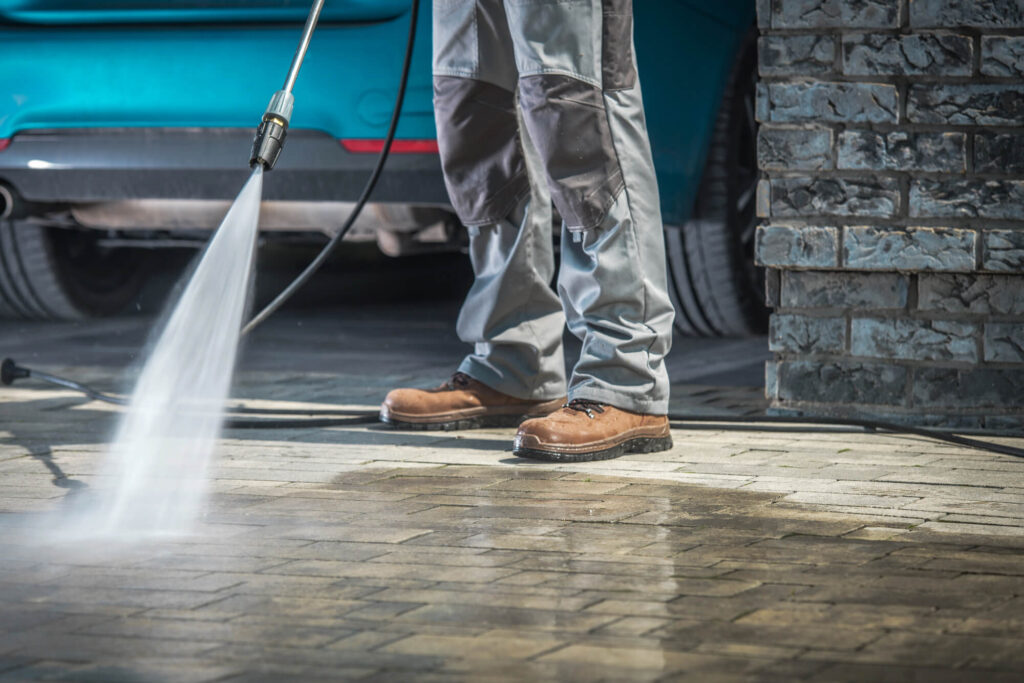
Pressure washing can be an effective way to remove embedded dirt, algae, and other stubborn surface buildup from concrete pavers, but it isn’t always the best place to start. It should be treated as a more aggressive cleaning tool rather than the default choice. For lighter dirt and surface growth, a little elbow grease with a garden hose, paver-safe cleaner and stiff brush may be all that’s needed.
When pressure washing is appropriate, the goal is to clean the surface—not damage it. Excessive pressure, narrow spray tips, repeated passes, or holding the nozzle too close to the pavement can permanently alter the surface finish, remove jointing material, or affect certain sealers and surface treatments.
Before using a pressure or power washer, review the maintenance recommendations for your specific paver, along with any applicable sealer or jointing material guidance. If product-specific recommendations aren’t available, begin with the least aggressive cleaning method before considering powered equipment.
Pressure Washing Best Practices
If pressure washing is appropriate for your pavement system:
- Keep the spray wand moving at all times.
- Avoid narrow, concentrated spray patterns.
- Do not hold the nozzle close to the paver surface.
- Avoid directing the spray into the joints.
- Test the cleaning method in a small, inconspicuous area before cleaning the entire surface.
- Allow the test area to dry completely before evaluating the results.
Signs the Cleaning Method Is Too Aggressive
Stop immediately if you notice any of the following:
- The surface becomes lighter, rougher, or uneven.
- Aggregate becomes exposed.
- Visible spray marks or inconsistent patches remain after drying.
- Jointing material begins washing out of the joints.
- An existing sealer turns hazy, peels, whitens, or changes appearance.
These are indications that the cleaning method may be damaging the pavement rather than simply removing dirt.
For routine maintenance, a garden hose, a paver-safe cleaning solution, and a stiff non-metallic brush or non-abrasive scrubbing pad are often all that’s needed. Reserve pressure washing for situations where gentler cleaning methods have not been effective, and compatibility with the paver, surface finish, jointing material, and any existing sealer has been confirmed.
After pressure washing, inspect the pavers, joints, and edges for any signs of damage or material loss. Replace any jointing material that was removed using a compatible product, and follow the manufacturer’s recommendations before applying a sealer or any additional treatment.
Targeted Stain Removal for Oil, Rust, Food, and Everyday Spills
Not all stains should be treated the same way. Oil, rust, food, grease, fertilizer, leaves, and other spills affect concrete pavers differently, and a cleaner that works well on one type of stain may be ineffective—or unnecessarily aggressive—on another.
The best approach is to identify the source of the stain before choosing a cleaning method. The type of stain, how long it has been on the surface, whether the pavers have been sealed, and the condition of the pavement all influence which treatment is most likely to be effective.
As with routine cleaning, begin with the least aggressive method that is appropriate for the stain. Escalate to specialty cleaners only when necessary, and always follow the cleaner manufacturer’s instructions along with any applicable Rochester Concrete Products maintenance guidance.
| Stain type | First response | If the stain remains |
| Fresh cooking oil or grease | Blot, then scrub with warm water and degreasing detergent | Use a masonry-safe oil-stain remover and repeat as directed |
| Old, dark oil spots | Gently scrape away buildup, then use degreasing detergent | Apply a specialty oil-stain remover made for concrete; several treatments may be necessary for stubborn spots |
| Rust from metal or fertilizer | Remove the source, then prewet the area | Use a rust stain remover labeled for masonry and follow the stated dwell time |
| Food and drink spills | Flush with clean water and mild detergent | Scrub again before the stain sets; use a masonry-safe cleaner if discoloration remains |
| Unknown or pigmented stains | Begin with a mild detergent in a small test area | Escalate only to cleaners labeled safe for colored concrete pavers |
Oil, Rust, Food, and Other Common Stains
Different stains require different cleaning methods, and treating them promptly usually improves the results.
- Oil and grease: Act as quickly as possible. Blot fresh spills rather than wiping them, which can spread the oil deeper into the surface. For larger spills, cat litter or other absorbent materials can help soak up excess oil before cleaning. Once the excess oil has been removed, clean the area with water, a paver-safe degreaser or concrete cleaner, and a stiff nonmetallic brush. Older oil stains may require multiple applications of a specialty cleaner formulated for concrete pavers. Keep in mind that deep oil stains may lighten significantly without disappearing completely.
- Rust: Before treating the stain, identify and eliminate the source. Common causes include metal furniture, planters, irrigation components, fertilizer, or steel tools left on the pavement. Prewet the surrounding area if recommended by the cleaner manufacturer, apply a masonry-safe rust remover according to the product instructions, then rinse thoroughly. Never mix cleaning chemicals or substitute unapproved acids.
- Food and beverage stains: Flush fresh spills with clean water as soon as possible, then scrub with a mild detergent or pH-neutral cleaner. Prompt cleaning is often enough to prevent the stain from becoming more difficult to remove.
Regardless of the stain, avoid unapproved solvent mixtures or homemade cleaning solutions that are not specifically intended for concrete pavers. Stronger chemicals are not necessarily more effective and may damage the paver surface, affect existing sealers, or discolor adjacent materials.
If several careful cleaning attempts produce little improvement, stop increasing the strength of the treatment. Instead, review the applicable Rochester Concrete Products maintenance guidance or consult a qualified hardscape professional to avoid causing permanent surface damage
How to Remove Moss From Pavers and Treat Mold or Mildew
Moss, mold, mildew, and algae usually indicate that part of the pavement remains damp longer than the surrounding area. While removing the visible growth improves the appearance and traction of your paver patio or walkway, the problem will often return unless the underlying moisture issue is corrected.
Shade, poor drainage, overwatering, accumulated organic debris, and limited airflow are among the most common causes of recurring biological growth.
Remove Organic Growth Safely
Early growth is typically easier to remove and requires less aggressive cleaning.
- For light surface growth, scrub with a stiff nonmetallic brush, a pH-neutral cleaner or mild detergent, and rinse thoroughly with clean water.
- For more established growth, use a cleaner specifically labeled for removing moss, mold, mildew, or algae from masonry or concrete pavers. Follow all manufacturer instructions and protect nearby plants before applying the product.
- Thick moss may need to be loosened with a stiff nonmetallic brush before the cleaner is applied.
If rinsing equipment is used, first confirm that it is appropriate for your specific paver system. Avoid directing concentrated spray into the joints, where it can remove jointing material or disturb the pavement structure.
Avoid using unapproved or overly concentrated cleaning solutions, including strong bleach mixtures, as they may discolor some pavers, affect existing sealers, or damage surrounding vegetation. Likewise, avoid using weed killer on moss or algae unless the product is specifically labeled for concrete pavers and safe for nearby plants.
Always wear appropriate personal protective equipment, including gloves and eye protection. Never mix cleaning chemicals, and dispose of runoff according to the cleaner manufacturer’s instructions and local regulations. Prevent cleaning solutions from entering storm drains, waterways, or landscaped areas whenever possible.
Prevent Organic Growth from Returning
Removing moss or mold is only part of the solution. Long-term control depends on reducing the conditions that allow moisture to remain on the pavement.
- Trim trees and shrubs that create persistent shade.
- Improve airflow where practical.
- Adjust irrigation so sprinkler heads do not repeatedly wet the pavers.
- Regularly remove leaves, mulch, soil, and other organic debris before they trap moisture.
- Correct drainage problems in areas that remain wet long after rainfall or snowmelt.
Routine cleaning each spring and after extended wet periods is usually much easier than removing heavy biological growth after it becomes established. Keeping the pavement clean and allowing it to dry more quickly will help reduce future moss, mold, mildew, and algae growth.
How Cleaning Fits Into Routine Paver Maintenance
Regular cleaning is an important part of paver maintenance, but it delivers the best long-term results when it’s part of a regular care routine. Routine inspections help identify stains, organic growth, jointing material loss, drainage concerns, and early signs of wear before they require more extensive cleaning or repairs.
How often you should clean your concrete pavers depends on the environment, the amount of traffic they receive, the type of buildup present, and the recommendations for your specific pavement system.
A simple seasonal maintenance routine can help keep your pavers looking their best throughout the year:
- Spring: Inspect for winter damage, replenish jointing material if needed, and remove early moss, algae, or mildew before it becomes established.
- Summer: Take advantage of warmer, drier conditions for deeper cleaning, joint maintenance, or optional sealing when appropriate for the product.
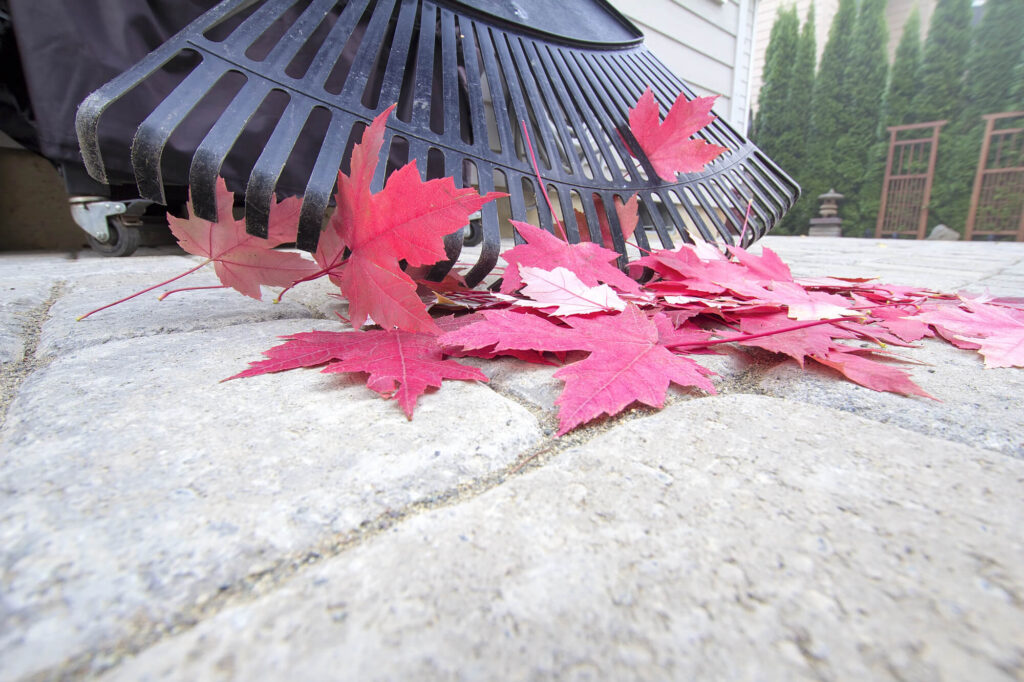
- Fall: Remove leaves, mulch, and other organic debris before they trap moisture or cause staining during the winter months.
- Winter: Use only deicers recommended for concrete pavers, remove snow carefully to avoid damaging edges, and minimize conditions that contribute to freeze-thaw deterioration.
Regardless of the season:
- Clean spills and stains as soon as practical.
- Remove moss, algae, mold, or mildew before surfaces become slippery.
- Replace jointing material wherever cleaning, weather, or traffic has caused it to become depleted.
- Watch for drainage problems or standing water that could lead to staining, biological growth, or pavement movement.
These simple maintenance practices can significantly reduce the need for more aggressive cleaning while helping preserve the appearance and long-term performance of your paver patio, walkway, or paver driveway.
For a more comprehensive seasonal checklist covering inspections, drainage, joint maintenance, debris removal, deicing practices, and freeze-thaw protection, explore our complete guide to year-round paver maintenance.
How Jointing Materials and Optional Sealers Can Protect Concrete Pavers
Cleaning pavers removes dirt, stains, and biological growth from the surface, but long-term pavement performance also depends on properly maintained joints and, in some cases, a compatible sealer.
Jointing material and sealers serve different purposes. Jointing material is an essential part of the interlocking pavement system, while sealer is an optional surface treatment whose benefits depend on the specific paver, installation, and site conditions.
Jointing Is More Than Filling the Gaps
Jointing material plays an important role in the performance of an interlocking concrete pavement by:
- Helping maintain the interlock between adjacent pavers.
- Assisting the pavement in distributing loads across multiple units.
- Reducing spaces where weeds, insects, and debris can accumulate.
If jointing material has been lost through weather, cleaning, or normal wear, replenish it using the same compatible product or another material approved for the pavement system.
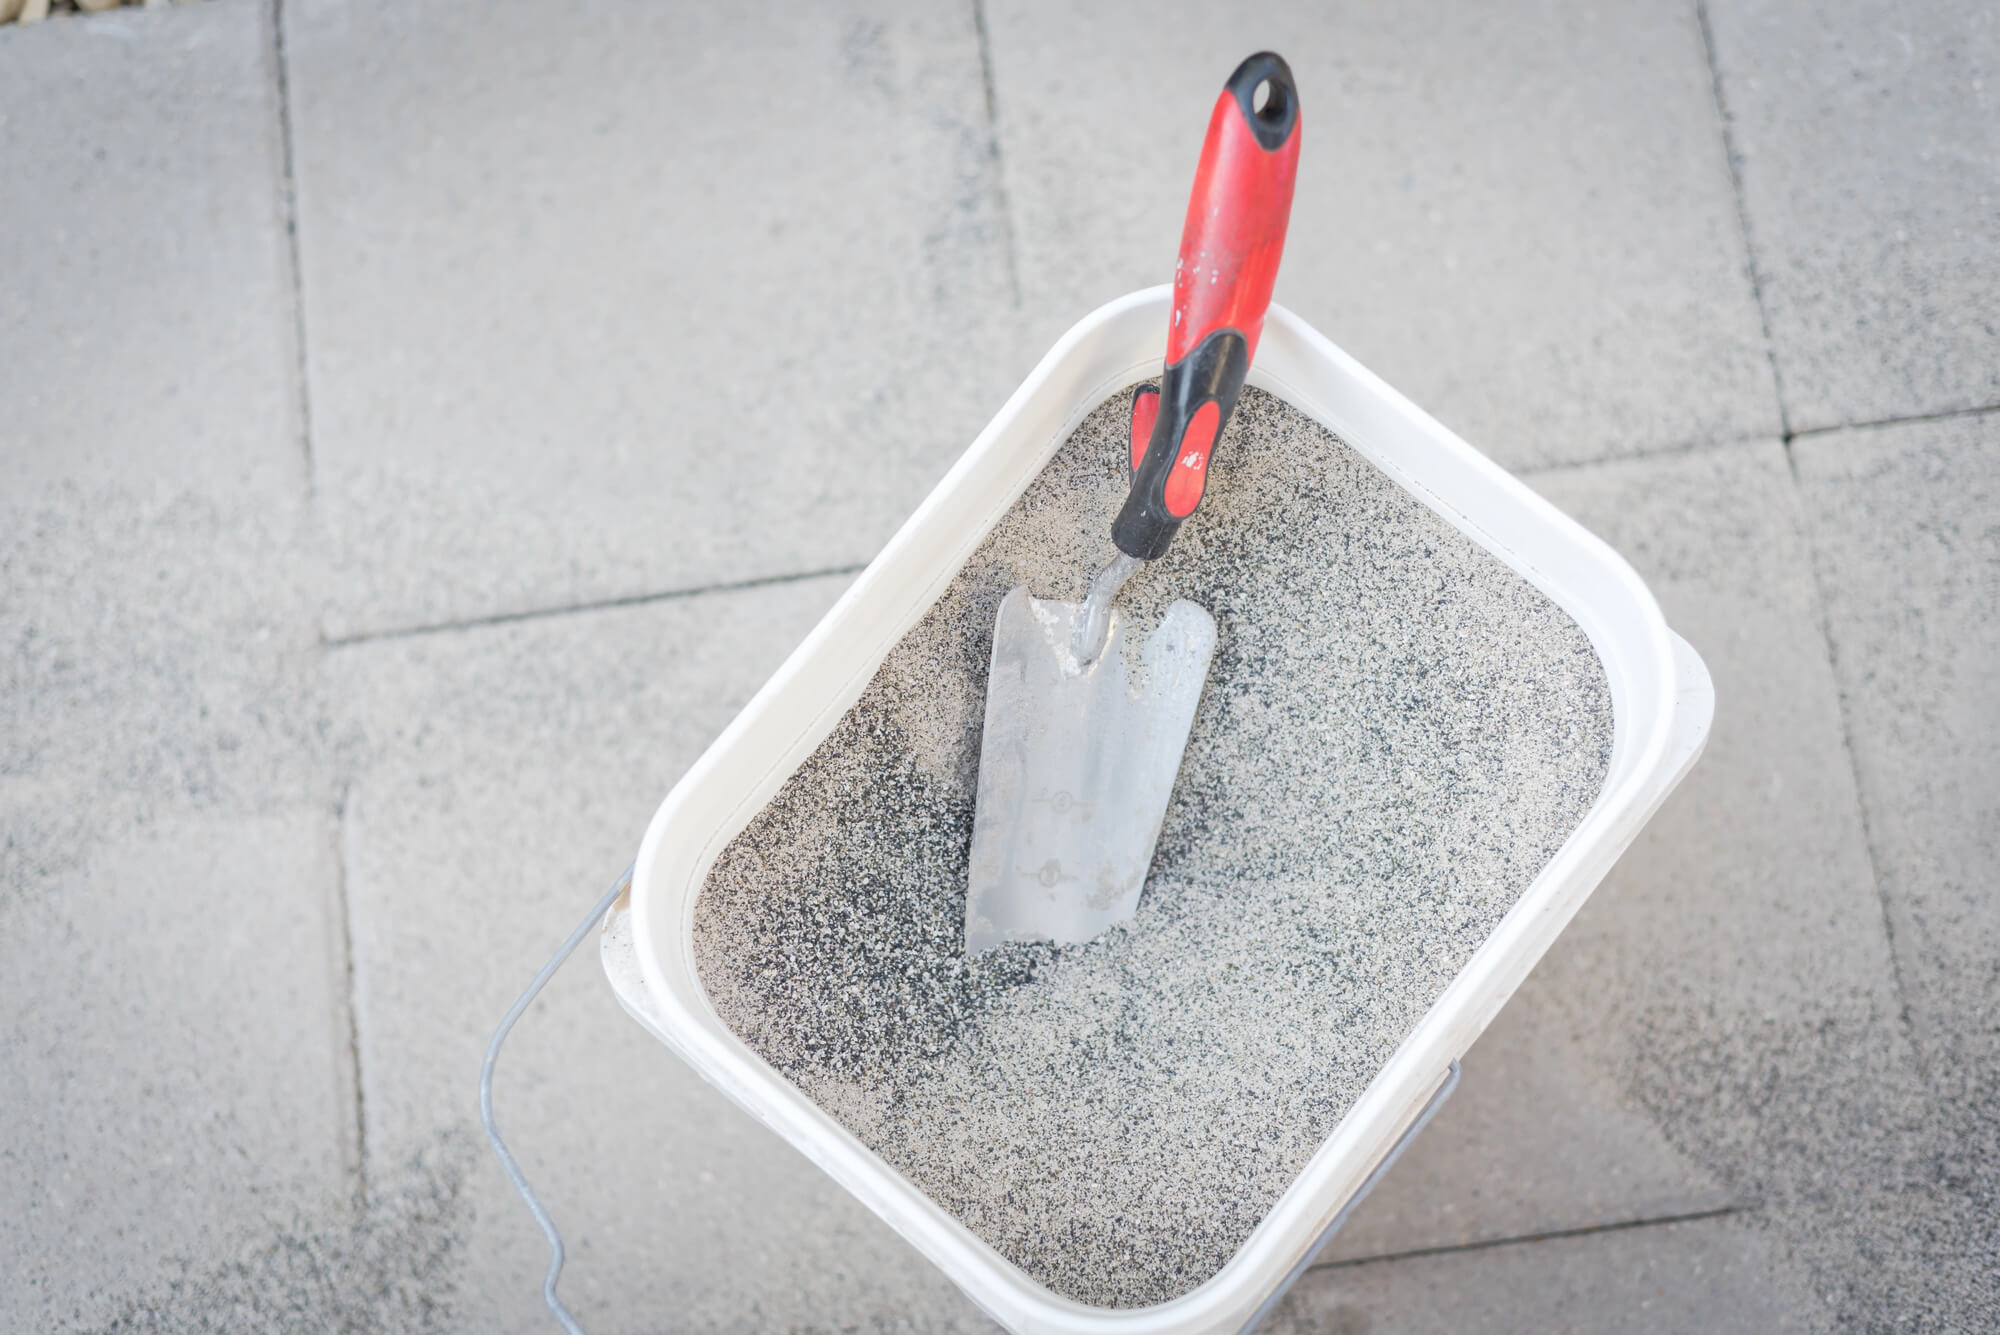
Polymeric sand may be appropriate for some installations, but it should always be selected, installed, and maintained according to both the manufacturer’s instructions and the requirements of the specific paver system.
What Sealing Does—and Doesn’t Do
A sealer is not a repair product, and it is not necessary for every concrete paver installation.
When a compatible sealer is appropriate, it may help reduce water absorption, make some stains easier to remove, enhance or deepen color, or change the surface sheen. Depending on the formulation, some film-forming sealers may also affect the appearance or slip resistance of the pavement when wet.
Some Rochester Concrete Products pavers incorporate technologies such as Chroma Color® facemix or Chroma Shield® to enhance color consistency and improve resistance to fading and certain types of staining. However, these factory-applied technologies do not mean every aftermarket sealer is compatible with every paver.
Before applying a sealer, confirm compatibility with the specific paver, any existing surface treatment, the jointing material, and the intended application. Never apply sealer over dirty or damp pavers, active efflorescence, unstable joints, or unresolved pavement problems. Always follow both the paver manufacturer’s and sealer manufacturer’s instructions, and test the complete cleaning and sealing process in a small, inconspicuous area before treating the entire surface.
When to Call a Concrete Paver Professional
Cleaning can restore the appearance of many paver installations, but it cannot correct every problem. If staining, biological growth, or surface changes continue to return, the underlying issue may extend beyond routine maintenance.
Consider consulting a qualified hardscape professional if you observe:
- Deep or persistent oil staining that does not respond to appropriate cleaners.
- Recurring moss, algae, or mildew caused by drainage or moisture problems.
- Jointing material that repeatedly washes out.
- Settlement, rocking pavers, or widening joints.
- Surface scaling, deep pitting, or etching.
- Widespread color changes or other signs of physical deterioration.
An experienced contractor can determine whether the problem is related to cleaning, maintenance, drainage, installation, or another condition affecting the pavement system and recommend the appropriate corrective action.
For product-specific maintenance information, installation resources, technical documentation, or assistance locating an RCP representative or authorized dealer, visit the Rochester Concrete Products resource center or use the Find Your Rep and Contact Us tools.